Sub-Total: $0.00
How to Care for a Sourdough Starter

 (1)")
Feeding, Maintaining, and Preparing It for Baking
One of the first questions new sourdough bakers ask is:
“How do I keep my starter healthy?”
At first, maintaining a sourdough starter can feel overwhelming. But once you understand the rhythm of feeding and fermentation, it becomes surprisingly simple.
In my working kitchen, I bake dozens of loaves of sourdough every week, and over time I’ve found a few habits that keep my starter strong, active, and reliable.
This guide will walk you through how to care for your starter, how often to feed it, and how I prepare mine before baking day.
What Is a Sourdough Starter?
A sourdough starter is a mixture of flour and water that contains a live culture of wild yeast and beneficial bacteria.
These microorganisms are what cause sourdough bread to ferment and rise naturally.
With regular feedings, the yeast multiplies and produces the gas that creates light, airy bread.
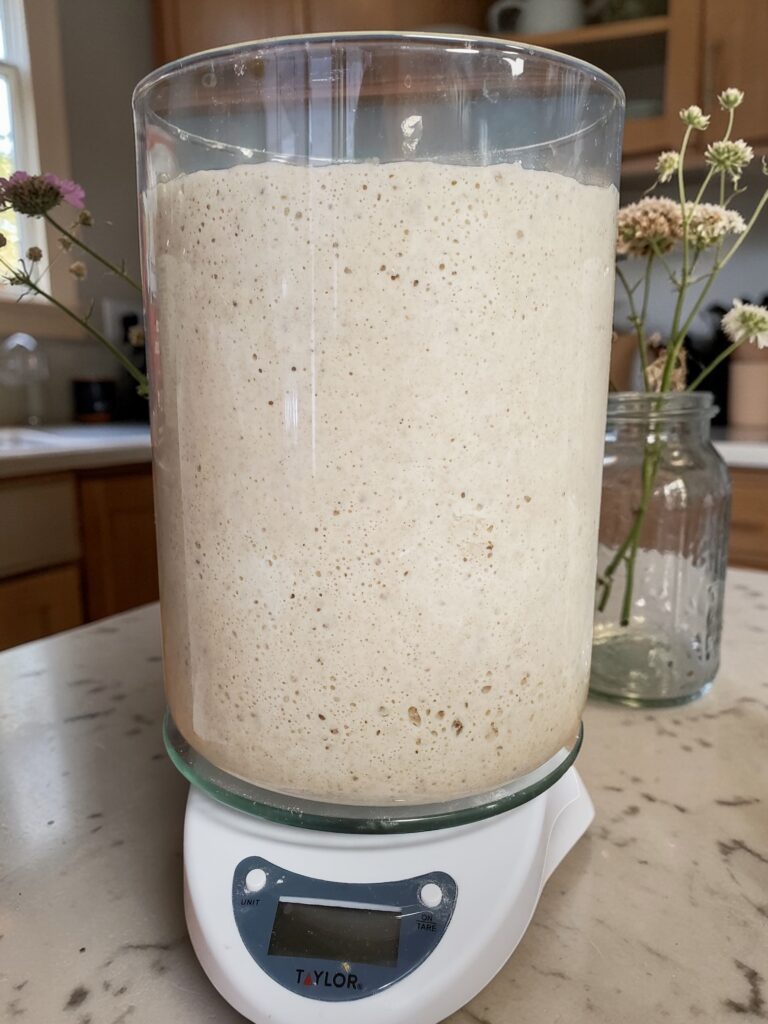
I always get asked about these jars. They are my favorite for small and medium amounts of starter. I love that the sides are straight so its easier to clean and stir.
Understanding Starter Feeding Ratios
Starter feeding ratios are written like this:
Starter : Water : Flour
For example:
1 : 4 : 4
That means:
- 1 part starter
- 4 parts water
- 4 parts flour
A typical feeding in my kitchen looks like this:
20g starter
80g water
80g flour
This keeps the starter active while still maintaining a manageable jar size.
A weak or underfed starter is one of the most common reasons sourdough bread turns out dense or flat.
I talk more about this and other common issues in my post Beginner Sourdough Mistakes (Why Your Loaf Is Flat, Dense, or Gummy) where I break down the problems many new bakers run into.
👉Beginner Sourdough Mistakes: Why Your Loaf Is Flat, Dense, or Gummy (And How to Fix It)
How Often Should You Feed a Starter?
If your starter is kept on the counter at room temperature, it’s best to feed it at least once every 24 hours.
A healthy starter will typically:
- rise after feeding
- reach a peak
- then slowly begin to fall
Once it begins falling, it means the starter has run out of food.
If this happens long before your next feeding, increasing the feeding ratio can help keep the starter happy longer.
For example:
1:3:3
1:4:4
1:5:5
1:6:6
Larger feedings provide more food for the yeast.
My Simple Daily Starter Routine
When I’m not baking, I keep my starter fairly small.
I usually discard most of the jar and leave about 20 grams of starter, then feed it using this ratio:
20g starter
80g water
80g flour
In a warm kitchen this typically doubles and begins falling again within 10-12 hours.
If your starter peaks very quickly, you can either:
- increase the feeding ratio
- or feed more often (such as every 12 hours)
The Best Time to Use Your Starter
The best time to bake with your starter is right after it reaches its peak.
At this point:
- the yeast population has fully multiplied
- fermentation activity is strongest
Signs your starter is ready:
- doubled or more in size
- bubbly throughout
- it was slightly domed on top but now has started to level out
- pleasantly tangy smell
Using starter too early means the yeast hasn’t fully developed yet.
Waiting too long means the starter may already be starving.
Once your starter reaches its peak and becomes bubbly and active, it’s ready to use in a recipe.
Pro Tip: When in Doubt, Wait for the Fall
If you’re unsure whether your starter is ready to use, it’s usually better to wait until it has just passed its peak and started to fall slightly.
A starter that is still rising may not have had enough time for the yeast population to fully develop. Waiting until peak ensures the yeast has multiplied and the starter is at full strength.
In my experience, a slightly hungry starter performs better than an immature starter that hasn’t finished developing.
So if you’re ever unsure, it’s safer to wait for the starter to begin falling slightly rather than using it too early.
If you’re looking for a simple place to start, I walk through my full process in my Simple Farmhouse Sourdough Bread Recipe, including mixing, stretch and folds, fermentation, shaping, and baking.
👉Simple Farmhouse Sourdough Bread Recipe (Beginner-Friendly + Digestible)
My Double-Feeding Technique Before Baking
When I’m planning to bake bread the next day, I usually feed my starter twice the day before.
This helps build fermentation strength and ensures the starter is very active.
A typical prep schedule looks like this:
First Feeding
Earlier in the day around 10 or 11am.
1 : 1 : 1 ratio
Second Feeding (Evening)
Around 8 or 9pm.
1 : 4 : 4 ratio
For example:
30g starter
120g water
120g flour
When I feed this ratio in the evening, my starter is usually at peak or just after peak about 12–13 hours later, which makes it perfect for mixing dough the next morning.
Temperature plays a big role, so this timing can vary depending on the season and how warm your kitchen is.
I break down and give more insight into this double feeding method in my Baking Schedule Blog you can find here:
👉 My Exact Sourdough Baking Schedule (How I Make It Work In My Home Bakery)
What Should You Feed Your Starter?
For the most reliable results I recommend:
- unbleached bread flour
- filtered water
Bleached flour and heavily chlorinated tap water can weaken the starter culture.
In my kitchen I feed my starter organic bread flour and reverse-osmosis water.
Optional Tip (but highly recommended): Adding Rye Flour
To keep my starter extra healthy, I always add a small amount of organic rye flour to feedings. The amount I add is always 1/3 the total amount of flour. So as you can see in the example below, I am feeding 120g of flour so 40g of that is rye flour.
For example:
30g starter
120g water
40g rye flour
80g bread flour
Rye flour contains additional nutrients that wild yeast loves.
This step isn’t 100% necessary, but it can help strengthen fermentation over time. I really think this is one of the key things that I do to keep my starter so happy and healthy 😊.
Storing Starter in the Refrigerator
If you plan to take a break from baking, your starter can be stored in the refrigerator.
Cold temperatures slow down fermentation, allowing the starter to go 1–2 weeks without feeding.
When you’re ready to bake again:
- Remove the starter from the fridge
- Discard and feed it
- Let it warm up and become active
It should usually be ready to bake with the next day.
Essential Sourdough Tools (From My Kitchen)
Over the years of baking sourdough every week, I’ve learned that good bread doesn’t require a lot of fancy equipment — but there are a few tools that make the process much easier and more consistent.
These are the items I use regularly in my own kitchen when feeding my starter and preparing dough.
You can find the full list here:
👉 My Essential Sourdough Baking Tools
Some of the items I rely on most include:
• Digital kitchen scale
• Glass starter jars
• Dough whisk
• Banneton baskets
• Bread lame for scoring
• Cast iron Dutch oven
Having reliable tools removes a lot of guesswork from sourdough baking and helps create consistent results.
If you’re just starting out, you don’t need everything right away — but these are the items that have proven most useful during my weekly baking routine in my home micro-bakery.
Final Thoughts
Sourdough baking doesn’t require perfection.
What it does require is a healthy starter and a little patience.
Once you learn the rhythm of feeding and watching your starter rise and fall, maintaining it becomes second nature.
And before long, it becomes just another part of the rhythm of your kitchen.
Ready to Start Baking?
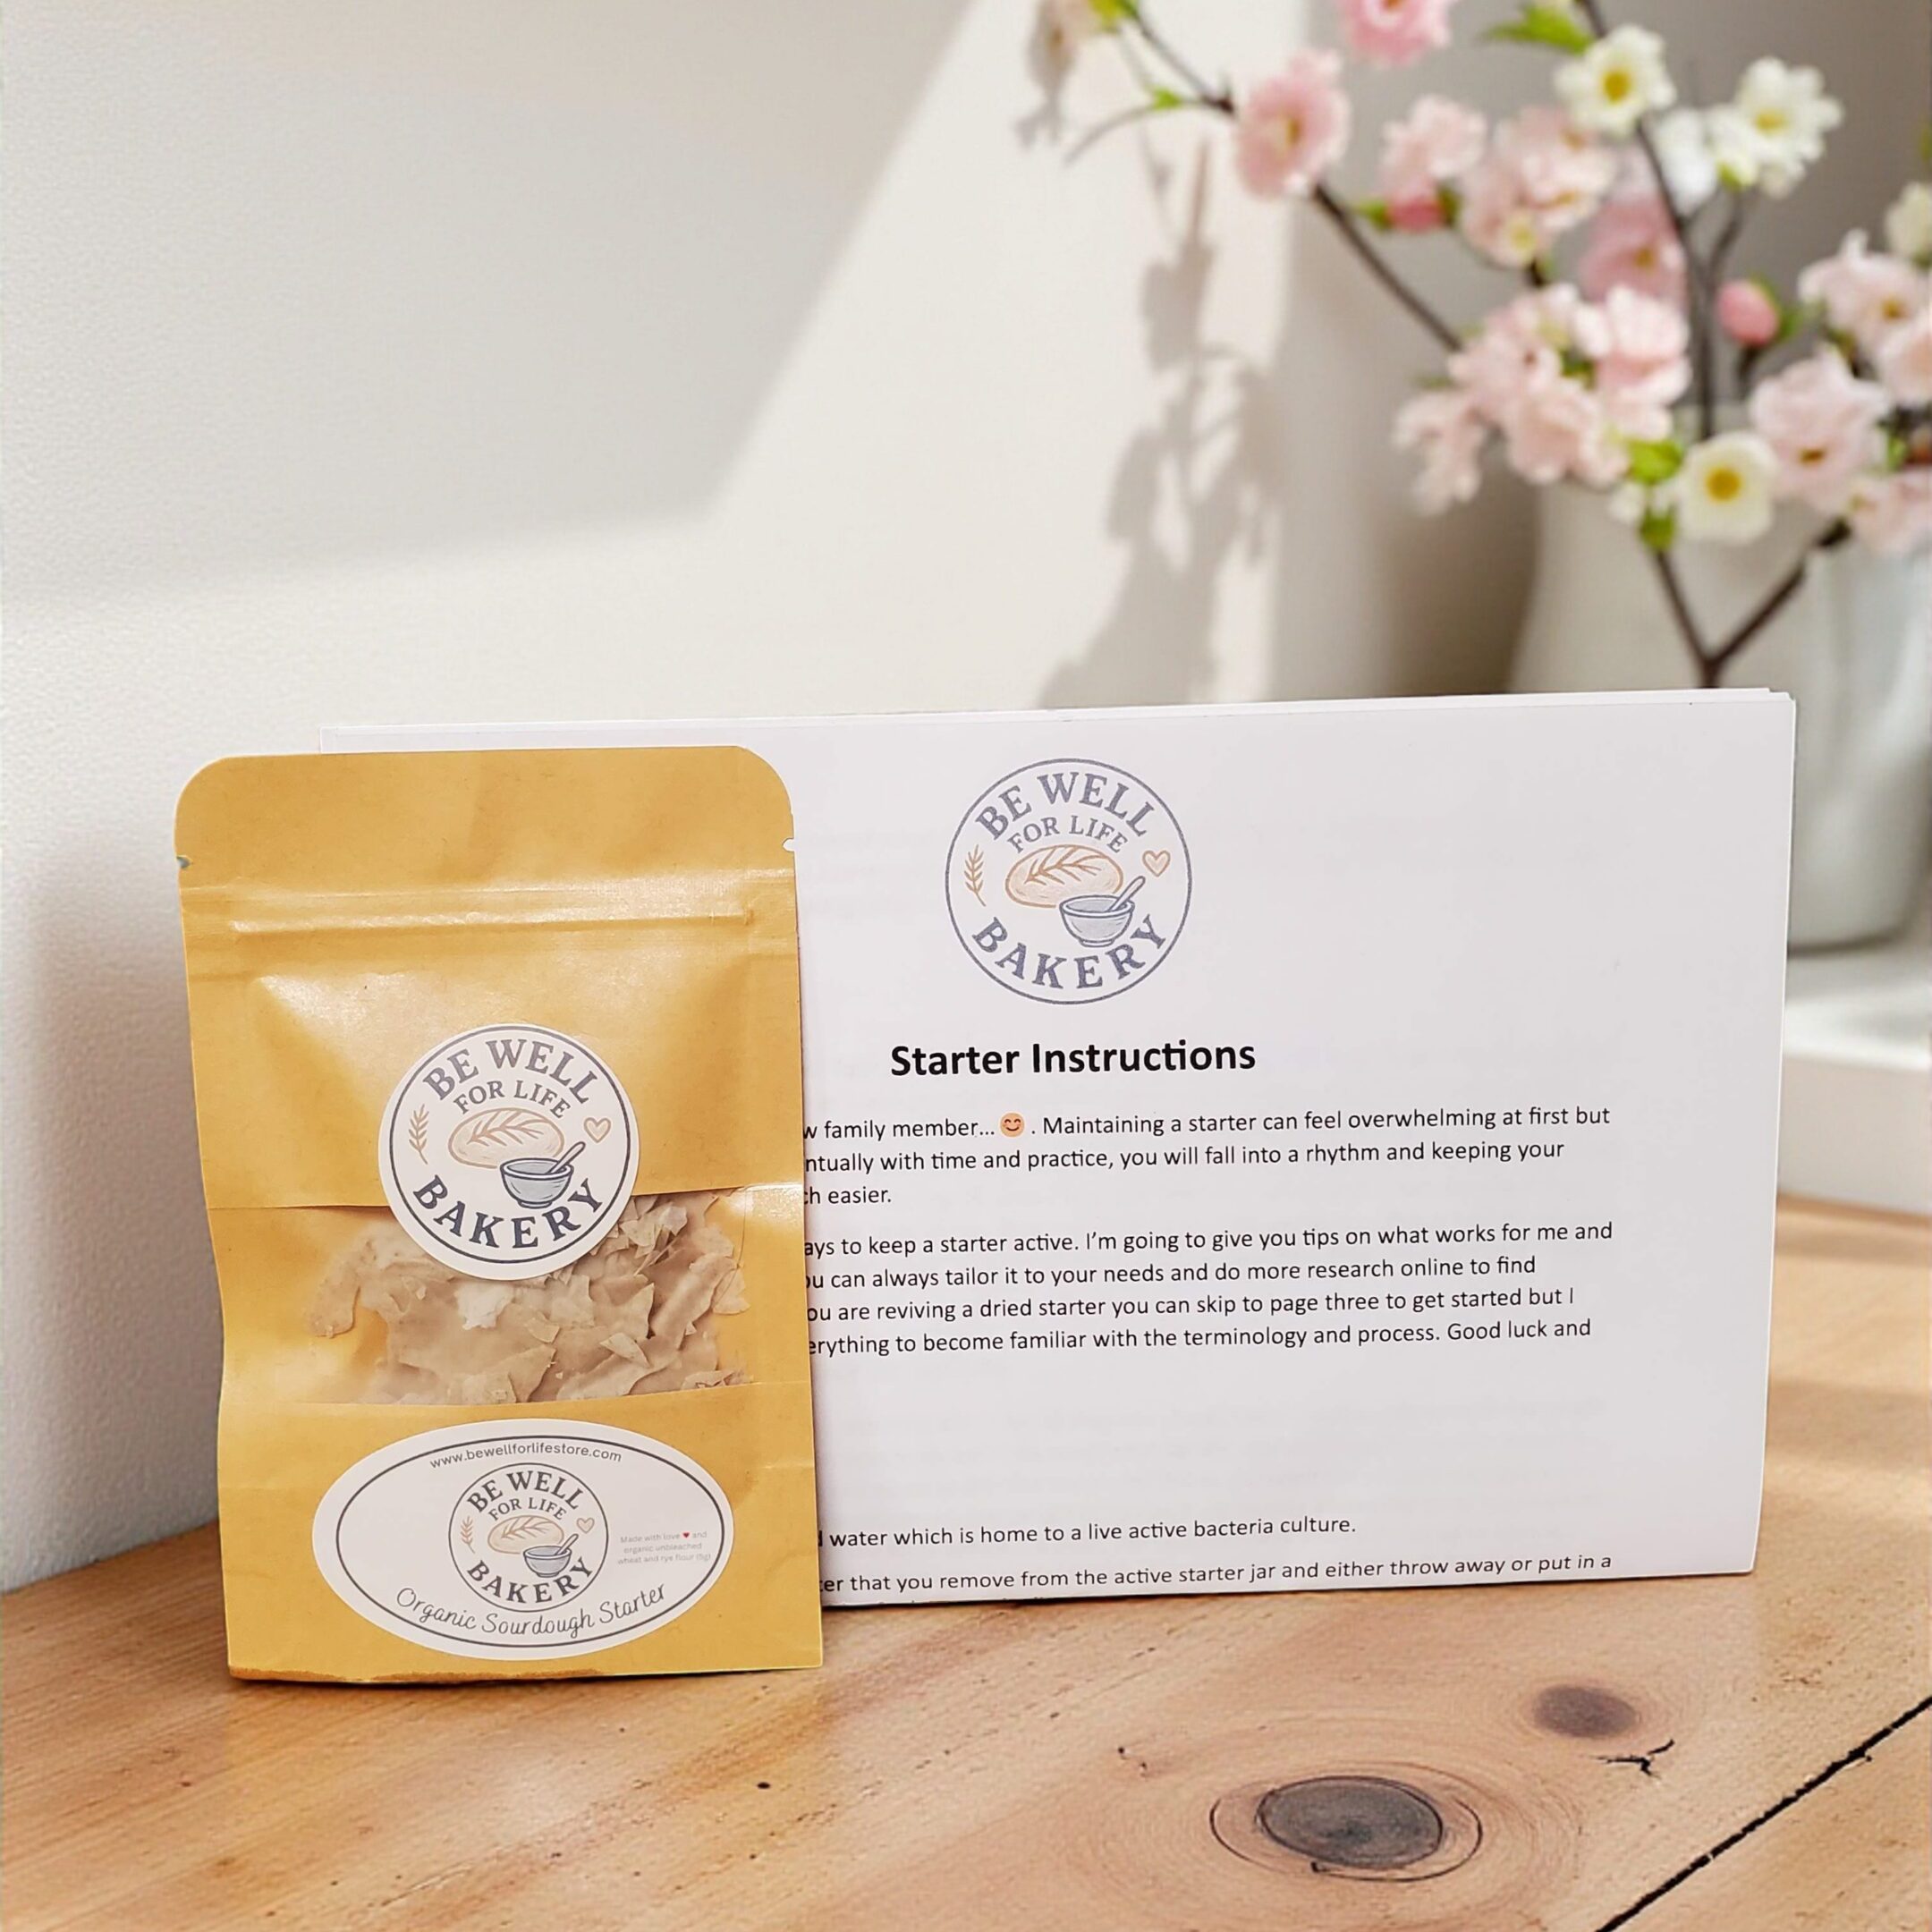
If you’re new to sourdough baking, my organic dehydrated sourdough starter includes beginner-friendly instructions to help you get started with confidence. This is the same dehydrated sourdough starter I use weekly in my kitchen.
FAQ Section
How often should you feed a sourdough starter?
If kept at room temperature, feed it at least once every 24 hours.
How do you know when sourdough starter is ready to bake with?
It should double in size, appear bubbly, and smell pleasantly tangy.
Can sourdough starter be stored in the refrigerator?
Yes, refrigeration slows fermentation and allows feedings every 1–2 weeks.
Continue Your Sourdough Journey
👉Simple Farmhouse Sourdough Bread Recipe (Beginner-Friendly + Digestible)
Learn the full beginner-friendly process for mixing, fermenting, shaping, and baking sourdough bread.
👉Beginner Sourdough Mistakes: Why Your Loaf Is Flat, Dense, or Gummy (And How to Fix It)
Common reasons sourdough loaves turn out flat, dense, or gummy — and how to fix them.
👉My Exact Sourdough Baking Schedule (How I Make It Work In My Home Bakery)
See how I manage fermentation, shaping, and baking when making dozens of loaves each week.
5 responses to “How to Care for a Sourdough Starter”
-
Thank you, this is very helpful 🙏😁 now I understand the starters life schedule ☺️😁
-
You’re welcome! I hope your starter is nice and healthy now 😊.
-
-
Thank you. I’m just starting to bake my own sourdough bread. There are so much information out there that I feel overwhelmed and can’t decide who to follow to learn it better. Feels like you definitely know what you’re doing! 🙏🏻♥️
-
You’re welcome! I hope my insights help you bake some delicious bread 😊.
-
-
I just started making my starter I played around with it I’m using unbleached bread flour & unbleached all purpose flour I learned to use less water and using a scale make a difference instead of using cups. So you can use your starter less than 7 days to make your bread I have 2 startws going one with Brad flour the other all purpose and the all purpose rising nicely the. Bread flour taking longer but it has bubbles smells good both flour are unbleached flour but any tips I appreciate it
Tags:

Leave a Comment