Sub-Total: $0.00
How to Fix Sticky Sourdough (7 Secrets for Soft, Airy Bread)

 (1)")
👉If you’ve struggled with sticky dough or flat loaves, I’m going to walk you through exactly how to fix it. With some tried and true methods from my home bakery.
If your sourdough dough is too sticky, hard to shape, or not rising properly—you’re not alone. The issue usually comes down to a few key factors like flour strength, starter health, and fermentation timing. The good news is—these are all fixable.
Most beginner struggles don’t come from complicated techniques. They come from a few key things that are often overlooked.
These are the exact methods I use to get dough that is strong, airy, and easy to handle—whether I’m making a couple loaves or 60+ loaves a week.
1️⃣ Ingredients Matter More Than You Think
The type of flour you use can completely change your dough.
If you’re using all-purpose flour, your dough will behave very differently than if you’re using a high-protein bread flour. Lower protein flours tend to create dough that is softer, stickier, and harder to build strength.
If you want dough that is:
- Easier to handle
- Less sticky
- More airy and structured
👉 You’ll get much better results using bread flour.
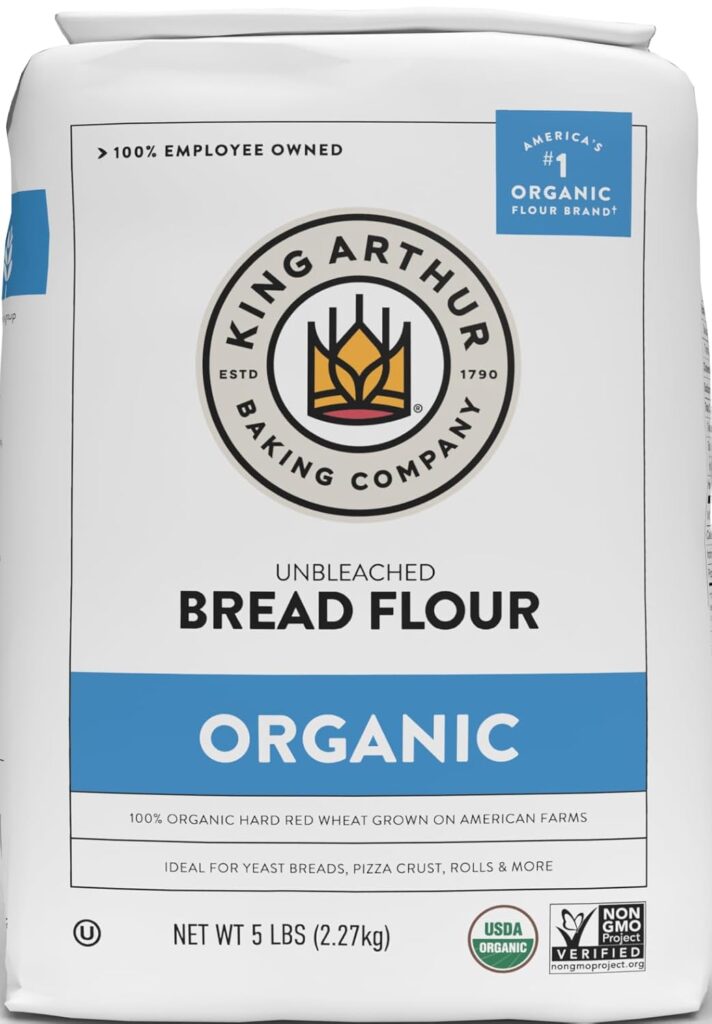
My personal favorite is King Arthur Baker’s Classic organic bread flour. It has a strong protein content (around 12.7%) and performs very consistently for me.
A Slightly Unconventional Approach (That Works Really Well)
I also do something a little different…
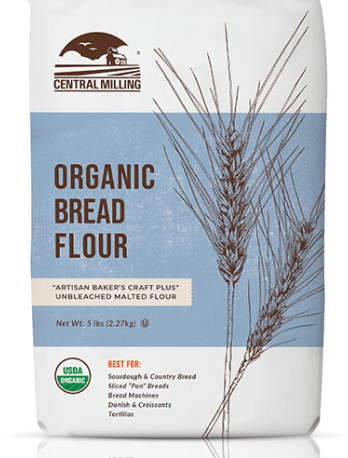
I feed my starter with Central Milling Organic Artisan Bakers Craft flour (about 11.5% protein), but I make my bread using King Arthur.
Is this necessary? Probably not. But it’s worked extremely well for me, and I like to be transparent about that.
If you’re thinking that sounds a little odd—you’re not wrong 😄
I originally used Central Milling for everything. It’s a great flour. But I started running into supply issues and couldn’t get it consistently, so I needed a reliable alternative.
That’s when I switched to King Arthur for baking. I was able to source it easily in bulk, and I loved how the dough performed—so I stuck with it.
At the same time, I still had Central Milling on hand for feeding my starter… and honestly, I didn’t want to mess with something that was already working well. So I never switched it.
And that’s the whole story.
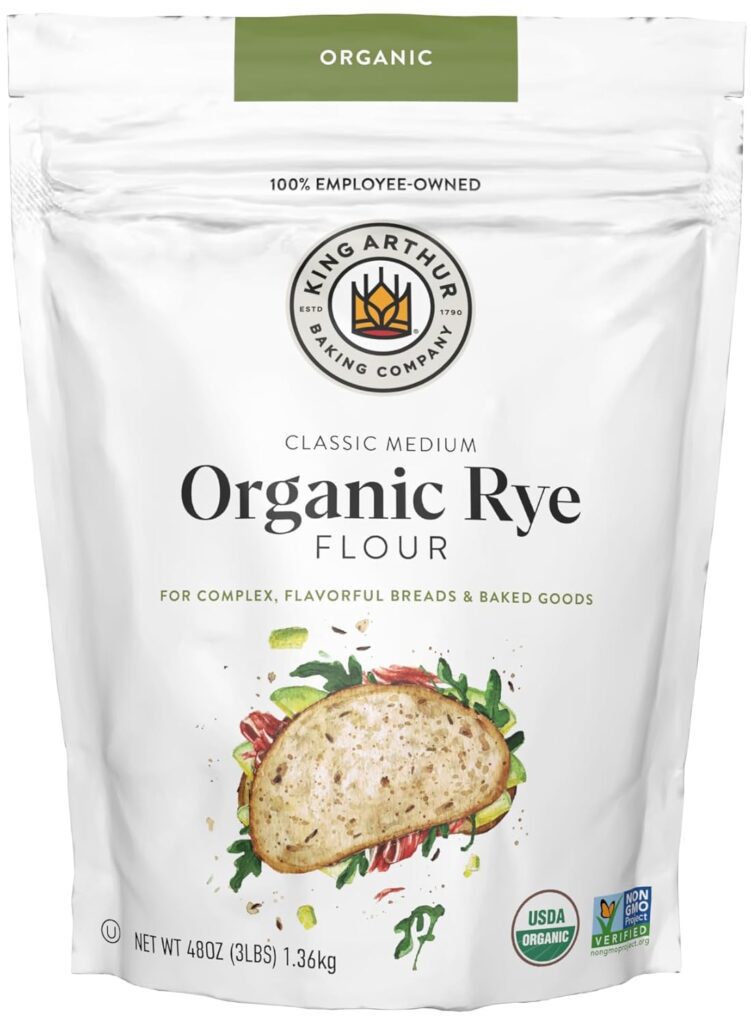
Another Optional Feeding Tip (but highly recommended): Adding Rye Flour
To keep my starter extra healthy, I always add a small amount of organic rye flour to feedings. The amount I add is always 1/3 the total amount of flour. So as you can see in the example below, I am feeding 120g of flour so 40g of that is rye flour.
For example:
- 30g starter
- 40g rye flour
- 80g bread flour
- 120g water
Rye flour contains additional nutrients that wild yeast loves.
This step isn’t 100% necessary, but it can help strengthen fermentation over time. I really think this is one of the key things that I do to keep my starter so happy and healthy 😊.
Why This Might Actually Help
Flour is the main source of yeast and bacteria in your starter.
Using different flour to feed your starter than what you use to make your dough may actually introduce more diversity into your starter. That diversity can help create a stronger, more resilient fermentation.
💡 Takeaway
If your dough feels sticky, weak, or hard to work with:
👉 Switching to a higher protein bread flour can make an immediate difference.
And if you want to experiment a bit, even introducing some variety in the flour you use to feed your starter may help strengthen it over time.
When you’re baking multiple loaves every week, you quickly learn what actually makes a difference—and what doesn’t.
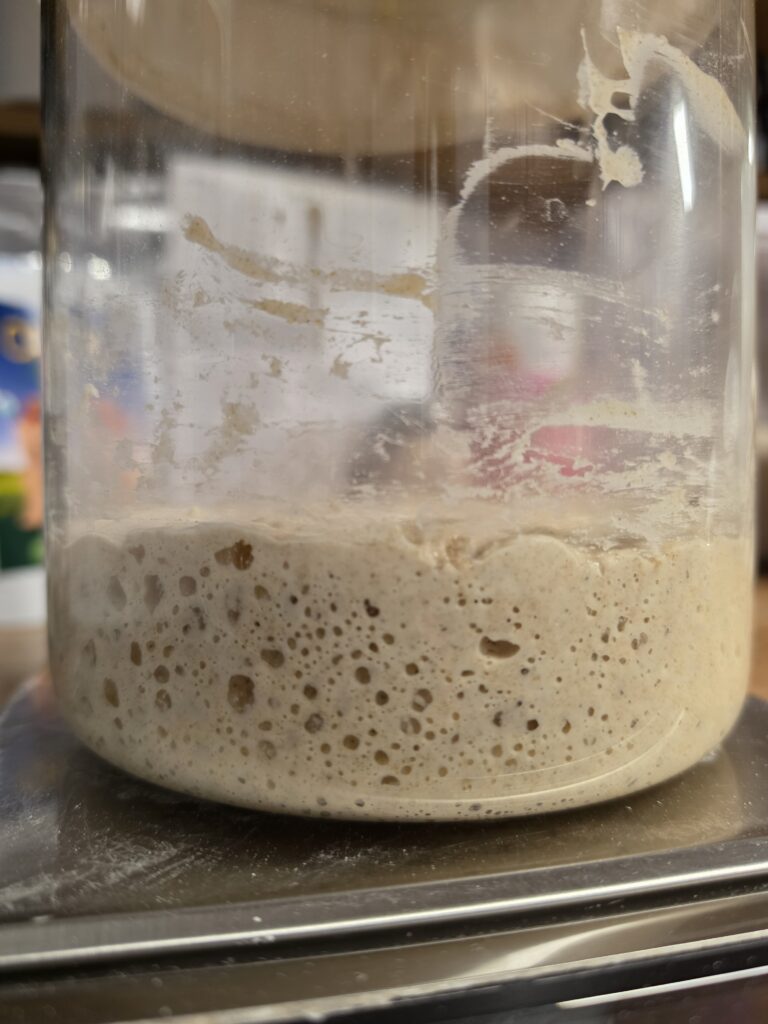
2️⃣ Your Starter Might Be “Active”… But Not Strong
Your starter can look perfectly fine—bubbly, rising, even doubling—and still not be strong enough to make great bread.
This usually comes down to balance.
A starter can have more lactic acid bacteria than yeast. When that happens, you may see what looks like a good rise, but it doesn’t provide the strength needed for proper fermentation.
This often leads to:
- Sticky dough
- Poor structure
- Dense or gummy bread
This is especially common with newer or recently established starters.
Why This Happens
Over time, your starter will naturally strengthen as the yeast population grows—but how you feed and maintain it plays a huge role in how well it performs.
If you want a deeper dive into feeding, maintenance, and troubleshooting, I break it all down here:
👉 How to Care for a Sourdough Starter
A Fun (and Slightly Gross) Fact
Every sourdough starter is completely unique.
In one study, researchers gave identical starters to different bakers. Over time, each one became significantly different based on its environment—and more specifically, the microbes from the baker’s hands. This just goes to show you, no two starters are alike—even if you got a starter from a friend or bought a dehydrated starter, eventually it changes based on its environment and the baker 😉.
Kind of wild… and a little gross 😄
But also really fascinating.
If you’re into the science side of sourdough, you can read more about it here:
💡 Takeaway
A bubbly starter doesn’t always mean a strong starter.
👉 What really matters is having enough active yeast to properly ferment your dough.
And that strength comes from consistent feeding, good ingredients, and time.
If you’re just getting started and don’t have an established starter yet, it can take a couple of weeks to build strength.
If you’d rather skip that process, you can also start with a mature, active starter (I’ve linked mine below).
3️⃣ My Double Feeding Method (How to Build a Strong Starter)
If there’s one thing that improved my sourdough the most, it’s this:
👉 I double feed my starter before baking.
Instead of feeding once and using it, I feed it twice within 24 hours—with no discard in between.
This builds a much stronger, more active starter and makes a noticeable difference in how your dough performs.
☀️ First Feeding (Morning – Around 10–11 AM)
Start small and intentional using a 1:1:1 ratio.
This allows your starter to peak within a few hours and prepares it for the final build later in the day.
📏 Feeding Comparison
| Ingredients | Small Batch (Home Baker) | Large Batch (My Method) |
|---|---|---|
| Starter | 10g | 83g |
| Water | 10g | 83g |
| Flour | 10g | 83g |
| Total After Feeding | 30g | ~250g |
👉 No discard after this feeding
🌙 Second Feeding (Evening – Around 6–8 PM)
Take your entire starter from the first feeding and build it into your final amount using a 1:4:4 ratio.
This gives your starter enough food to rise steadily overnight without over-peaking.
📏 Feeding Comparison
| Ingredients | Small Batch (Home Baker) | Large Batch (My Method) |
|---|---|---|
| Starter (no discard) | 30g | 250g |
| Water | 120g | 1,000g |
| Flour | 120g | 1,000g |
| Total Starter | 270g | ~2,250g |
This typically peaks in about 10–12 hours.
👉 If your kitchen is warm, you can increase the ratio slightly (like 1:5:5) to slow things down.
🧠 Simple Takeaway
No matter the batch size:
- First feeding = 1:1:1 (quick boost)
- Second feeding = 1:4:4 (overnight strength build)
- No discard between feedings
💡 Why This Works
Feeding twice:
- Strengthens the yeast population
- Balances bacteria
- Creates a more powerful fermentation
When it comes to sourdough, fermentation strength matters far more than fancy techniques.
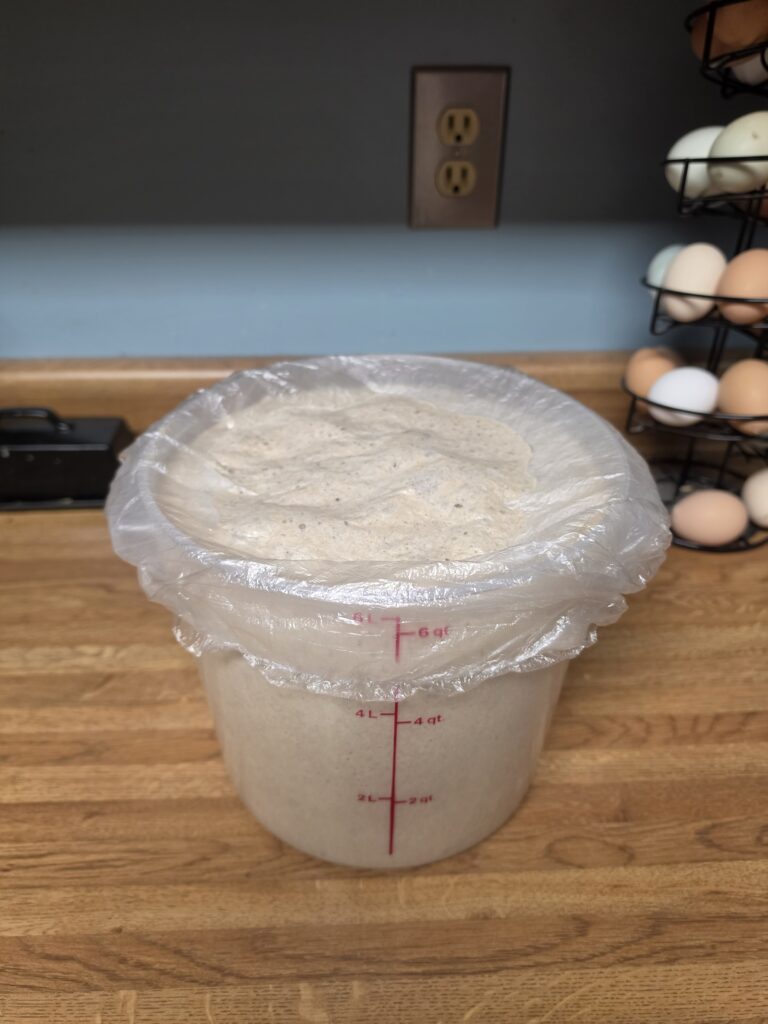
🧺 Helpful Setup Tip
If you’re making larger batches, having a container with enough room makes a big difference. I use a Cambro-style container that comfortably holds my full starter build without worrying about overflow.
I’ve linked the container I use here if you want something similar.
4️⃣ Water Temperature and Quality (A Small Detail That Makes a Big Difference)
Water might seem like a small detail, but it can have a noticeable impact on how your dough develops.
I always mix my dough with room temperature or slightly warm water (around 75–80°F).
This gives fermentation a gentle head start without pushing things too fast.
- In normal conditions → use slightly warm water
- In hot weather → use cooler water to slow things down
Your dough temperature will naturally adjust during fermentation, but starting slightly warm helps get everything moving.
🌡️ How I Warm My Water
To get the right temperature, I keep it simple.
I use an electric tea kettle on a low setting (around 120°F), then mix a small amount of that hot water into cooler filtered water until it feels slightly warm to the touch.
No thermometer needed—just go by feel.
I’ve linked a similar teapot to the one I use here.
👉 Teapot
💧 Does Water Type Matter?
For water, I personally use reverse osmosis water that’s been re-mineralized.
Is this necessary? Probably not 😄
But I like having control over my ingredients, and it works well for me.
That said, the main thing you want to avoid is heavily chlorinated water, since chlorine can interfere with your starter and fermentation.
Better options:
- Filtered tap water
- Spring water
💡 Takeaway
- Slightly warm water helps kickstart fermentation
- Cooler water slows things down when needed
- Avoid heavily chlorinated water for best results
Simple adjustments here can make your dough more predictable and easier to work with.
5️⃣ Stretch & Folds (Building Strength the Right Way)
For most home bakers, simple stretch and folds are one of the easiest and most effective ways to build strength in your dough—no kneading required.
During this stage, you’re helping develop gluten, which is what gives your dough structure and allows it to hold air and rise properly.
⏱️ My Simple Method
Here’s what I recommend:
- 3-4 sets total
- 30 minutes apart
That’s it.
After your final set, let the dough rest for the remainder of bulk fermentation.
🖐️ How to Do a Stretch & Fold
- Wet your hands slightly (this helps prevent sticking)
- Gently grab one side of the dough
- Stretch it up and fold it over itself
- Rotate the bowl and repeat 3–4 times
You’ll notice the dough start to tighten and become smoother with each set.
👀 What to Look For
As you go through your stretch and folds, your dough should:
- Feel stronger and more elastic
- Become less sticky over time
- Hold its shape a little more each round
If your dough still feels very loose after your folds, don’t panic—it will continue to strengthen during the rest of bulk fermentation.
🧺 Small Batch vs Large Batch
If you’re making just 1–2 loaves, stretch and folds work perfectly.
For larger batches, I like to use coil folds—they’re a little gentler and easier to manage with bigger amounts of dough.
💡 Takeaway
👉 More folds doesn’t necessarily mean better dough—proper timing matters more than quantity
Consistent, spaced-out folds will build strength far more effectively than doing too many all at once. The dough needs to rest between stretches to allow the gluten to relax and develop.
6️⃣ Dough Temperature & Bulk Fermentation (Why Your Dough Isn’t Rising Right)
Temperature plays a huge role in how your dough develops—and it’s one of the biggest factors in getting consistent results.
Personally, my ideal dough temperature during bulk fermentation is:
👉 74–76°F
At this temperature:
- Bulk fermentation is steady and predictable
- Dough develops strength and structure without overproofing too quickly
⏱️ What Is Bulk Fermentation?
Bulk fermentation is the time between the initial mixing of your dough and shaping it.
This is when:
- Your dough rises
- Gluten continues to develop
- Flavor builds
Getting this stage right makes a huge difference in how your final loaf turns out.
⏱️ A Typical Timeline (At This Temperature)
When my dough is in this temperature range, here’s what my process usually looks like:
- First 2 hours → Mixing + stretch and folds
- Next ~5 hours → Bulk fermentation
- Around the 7-hour mark → Dough is ready to shape
👀 What to Look For (Don’t Just Watch the Clock)
Instead of relying only on time, look for these signs that your dough is ready:
- Dough has risen noticeably (about 50–75%)
- Surface looks slightly domed
- Edges begin to pull slightly from the bowl
- Dough feels lighter, airy, and jiggly
👉 If your dough is still dense or tight, it likely needs more time.
🧺 Small Batch vs Large Batch (Important!)
This is something many people don’t realize:
- Small batches → stay cooler → ferment slower
- Large batches → generate their own heat → ferment faster
When you’re making larger amounts of dough, the fermentation activity creates warmth, which speeds things up.
On the flip side, smaller batches (1–2 loaves) tend to stay cooler and can lag behind.
🔥 Helping Your Dough Stay Warm
If you’re working with a small batch—especially in cooler months—you may need to give your dough a little help.
I sometimes use a dough heating mat underneath my bowl to maintain a steady temperature.
I’ve linked the one I use here if you need a simple setup.
Even something as simple as a warm spot in your kitchen can make a big difference.
💡 Takeaway
- Temperature controls how fast (or slow) your dough ferments
- Warmer dough = faster fermentation
- Cooler dough = slower, more forgiving fermentation
👉 When you dial in your dough temperature, everything else becomes much easier to manage.
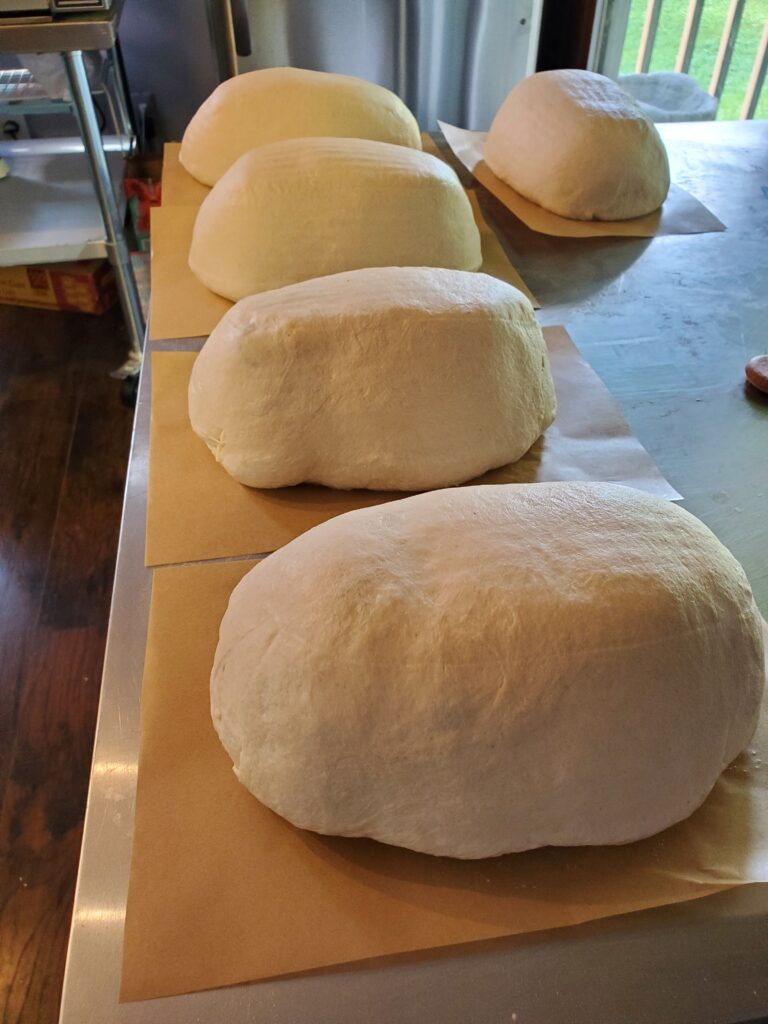
7️⃣ Shaping, Rest, and Cold Proof (Setting Up a Better Bake)
Once bulk fermentation is complete (usually 7 hours for me):
- Shape your dough
- Transfer it into a banneton
- Let it rest at room temperature
- Then move it to the fridge
From mixing to fridge, my process is typically about 8–8.5 hours.
⏱️ After Shaping: What to Expect
After shaping, I let the dough rest in the banneton at room temperature for about 1–1.5 hours before refrigerating.
👀 Learning to Read Your Dough
This is where experience—and a little bit of gut instinct—comes into play.
I don’t rely on time alone. I’m watching how the dough looks and feels:
- Is it puffy and slightly airy?
- Has it gained noticeable volume?
That’s how I decide when it’s ready to go into the fridge.
💡 My Advice (Especially for Beginners)
Start simple:
👉 Let it rest for about 1 hour after shaping and see how it goes.
Then adjust from there:
- If you didn’t get the rise you were hoping for → let it go 15 minutes longer next time
- If it felt like it over-proofed or collapsed → reduce the time by 15 minutes
It really is a bit of trial and error—and that’s completely normal.
🌙 Optional: Overnight Method (Perfect for Busy Schedules)
If you don’t have time during the day, you can easily shift this process to the evening:
- Mix dough at night
- Do 2–3 stretch and folds
- Let it ferment overnight in a cool space
- Shape in the morning and refrigerate
From there, you can bake whenever it fits your schedule.
💛 Final Thoughts
If your sourdough dough has been sticky, weak, or frustrating to work with—it’s not you.
It’s usually one (or a combination) of these things:
- Flour quality
- Starter strength
- Fermentation timing
- Temperature
Once you dial these in, everything gets easier.
And the best part?
👉 You don’t need complicated techniques—just consistency and a few key adjustments.
Continue Your Sourdough Journey
👉Simple Farmhouse Sourdough Bread Recipe (Beginner-Friendly + Digestible)
Learn the full beginner-friendly process for mixing, fermenting, shaping, and baking sourdough bread.
👉My Exact Sourdough Baking Schedule (How I Make It Work In My Home Bakery)
See how I manage fermentation, shaping, and baking when making dozens of loaves each week.
👉How to Care for a Sourdough Starter
Feeding, Maintaining, and Preparing It for Baking
Let’s Chat
Have you struggled with sticky sourdough dough?
Tell me what’s been the hardest part—I’d love to help!
6 responses to “How to Fix Sticky Sourdough (7 Secrets for Soft, Airy Bread)”
-
I tried this recipe today and this was the first time I’ve used bread flour for the loaf. I usually let it sit for 2 hours after folds and then shape and into fridge. But you’re looked so good that I had to try. Well…. Something went wrong during fermentation. All I had was a sloppy sticky mess I could do nothing with. Maybe I over fermented?? I’m going to try again using King Arthur, and double feeding to see if that helps. Broke my heart lol. Back to the drawing board.
-
Oh no! Dang….how long do you think you left it out? Was it warm in your house?
-
-
I’m new . Trying my 3rd recipe and still not having any luck. I’ve been bulk fermenting for 8 hours – daytime – and still very little rise , a little puffy, jiggly , but does not pull away from bowl.
How important is it to use my starter at peak . It had fallen some but I decided to use it anyway (I missed the peak by an hour or two ? Really not sure )
I don’t know what to do
With my dough tonight .-
Hi, Using your starter right at peak is not super important. I actually prefer to use mine after it has started falling a bit, so that shouldn’t be a problem. How old is your starter? If it’s new, it may just need more time… if you start form scratch it can take 1-3 months to actually have a robust starter that makes good loaves.
-
-
This is so helpful! Thank you!
Will try it tomorrow. I’ve had some great loaves, but suddenly a bunch of flat dense ones. If I left my starter in the fridge while I got my nerve back up to try again, does that effect feeding before baking? And if I plan to travel for a few months, what do I do with my starter and how do I “bring her back to life”?-
Yay! I’m glad you found it useful. If your starter has been in the fridge a while it could take a little bit to wake up and be very active. I would try my double feeding method and see if that helps. So start with a very small amount, feed 1:1:1 around midday and then don’t discard any and feed 1:4:4 before bed. Your starter should be nice an active by the morning. This would be the same method I would use to wake it up after a vacation.
-
Tags:

Leave a Comment