Sub-Total: $12.00
-
×
 Organic Sourdough Starter
1 × $12.00
Organic Sourdough Starter
1 × $12.00
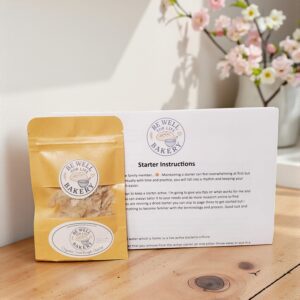 Organic Sourdough Starter
 Subtotal: $12.00

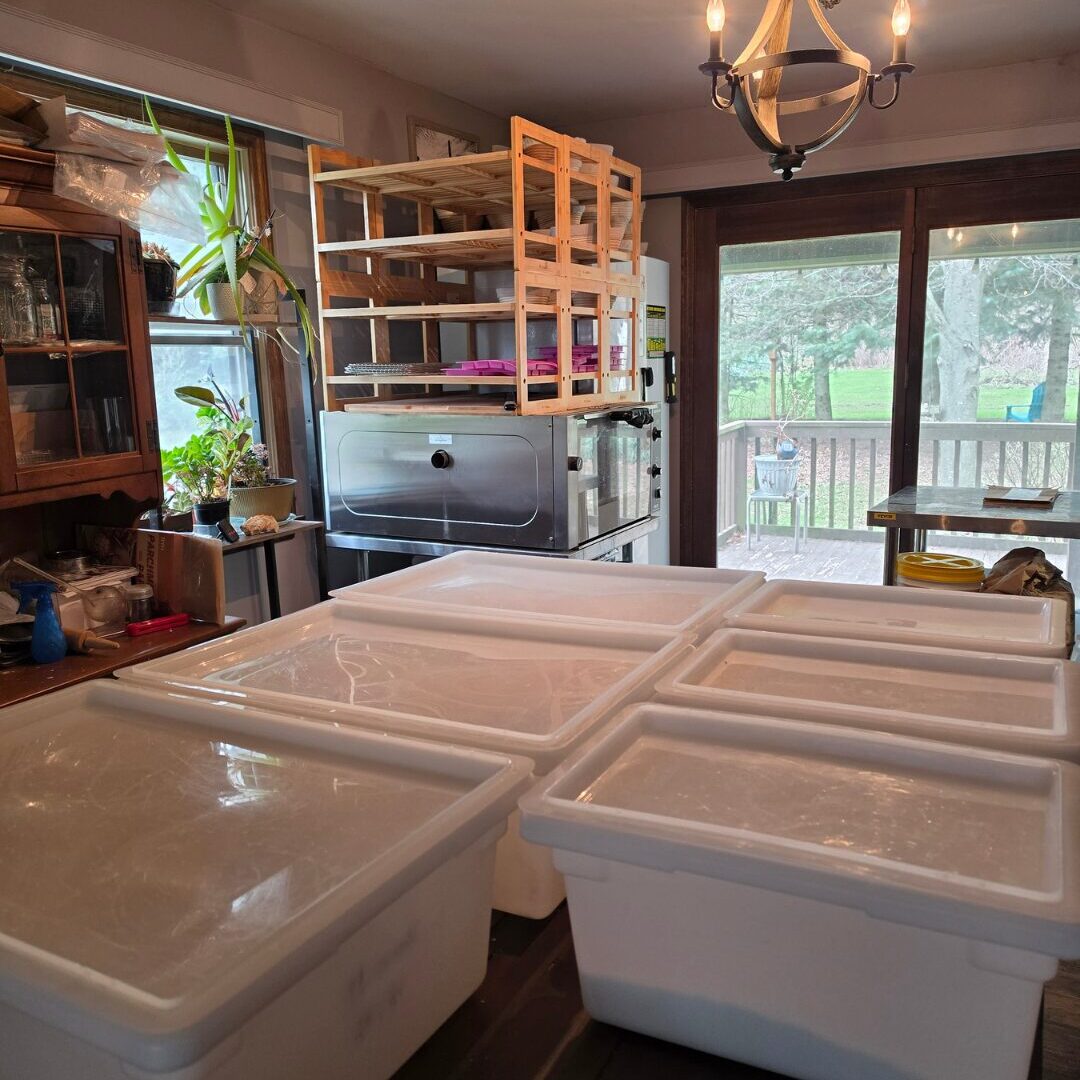
When people picture a bakery setup, they often imagine a huge space filled with complicated equipment, not a modest home kitchen with minimal space.
But my micro bakery runs out of my home with a simple, well-used set of micro bakery tools that I rely on every single day. I don’t have a lot of fancy equipment, not even a mixer…but what I do have is the right tools to start or scale your sourdough business.
These are the essentials that keep everything moving—from mixing dough to baking bread to getting orders out the door. After more than 3 years of running a home bakery, I’m only sharing the products I genuinely use and love in my own kitchen. These recommendations aren’t just for the affiliate perks — they’re the tools that have truly worked for me day after day.
(Some of the links below may be affiliate links, which means I earn a small commission at no extra cost to you. I only share what I personally use and love.)
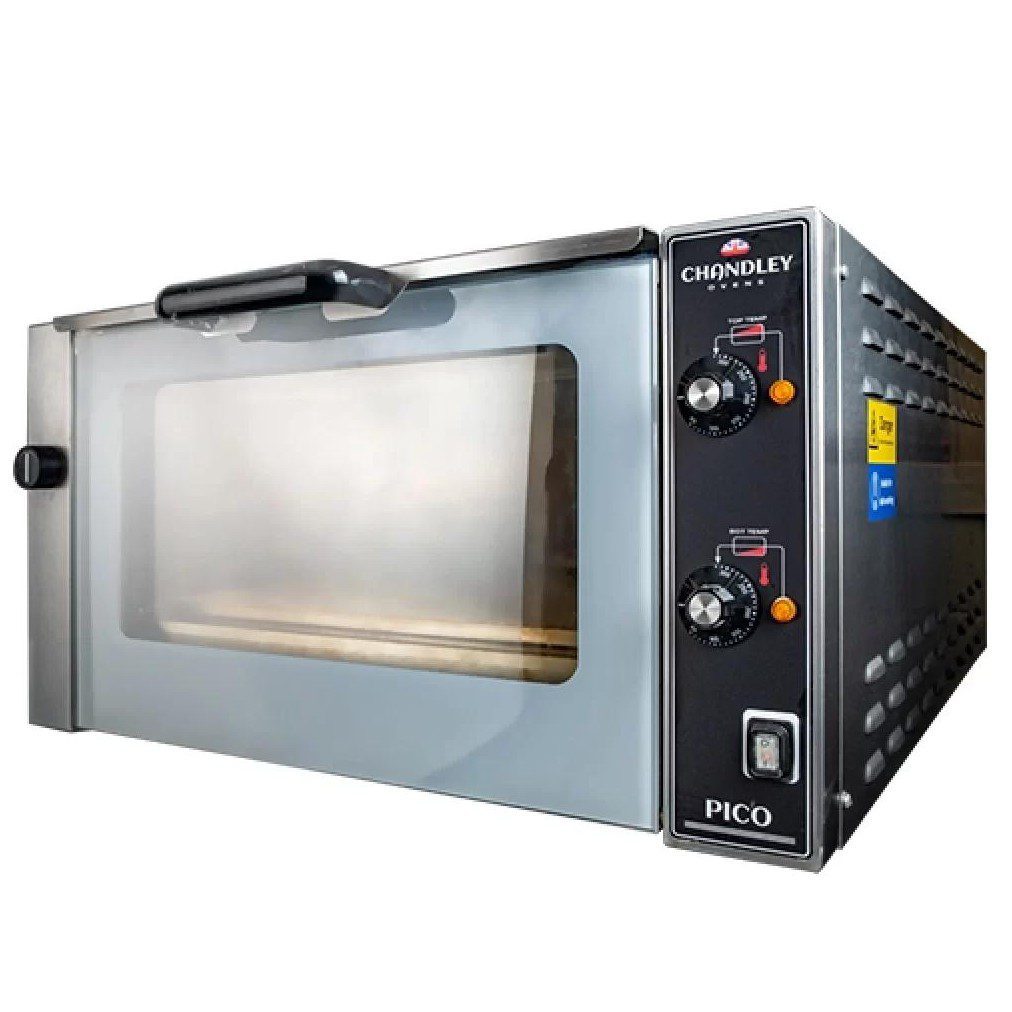
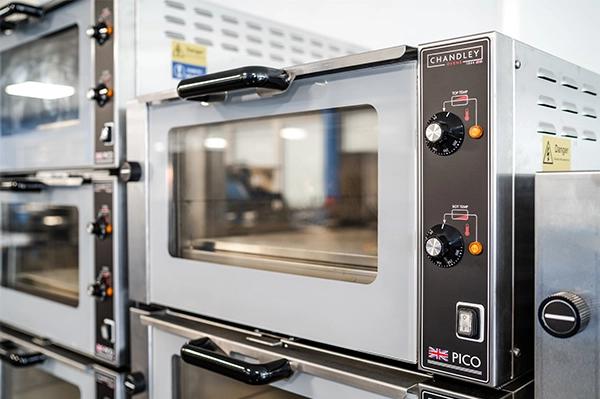
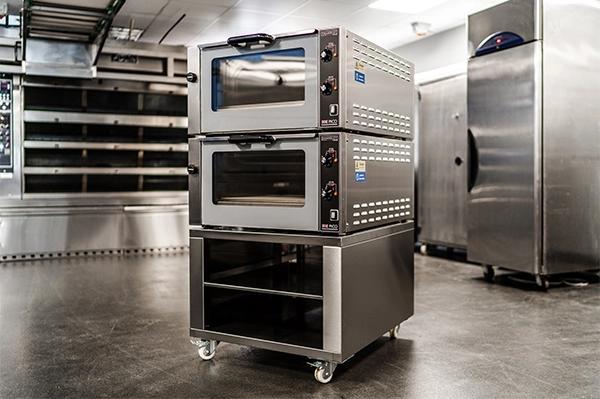
My Pico Plus oven is the center of everything I do.
This is what allows me to produce high-quality bread consistently in a small space. I like this oven so much I have a second one ordered and on the way.
👉 If you’re serious about increasing your baking capacity, this is one of the biggest upgrades you can make.
Pico Plus Oven -This is the link for purchasing in the US. For other countries you will have to check directly with Chandley Ovens for purchasing options.
ISCA’s Sourdough Bread Oven Comparison Chart – This chart is a great comparison of the price and features of some of the most popular microbakery bread ovens on the market. One of the biggest reasons I chose the Pico Plus was the upfront cost. You do get a slight discount for buying two, but just buying one is a really good affordable starting point in my opinion.
*Note – If you decide to purchase this oven, here is the exact steel cart that I have mine sitting on. It’s the perfect size (30×36) and a little more heavy duty than the workspace cart I have listed below.
No — most home bakers absolutely do not need a bread oven to make great sourdough.
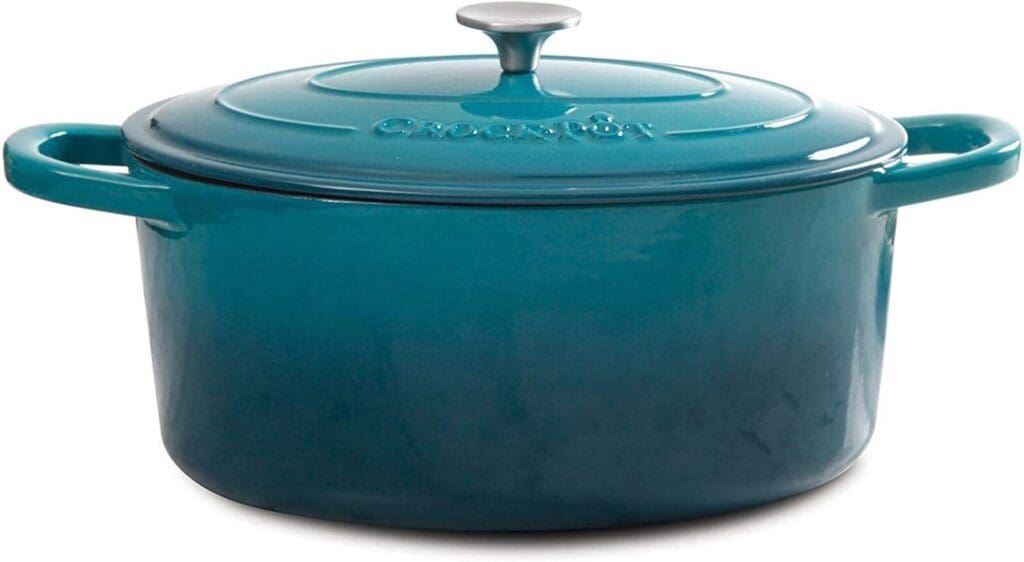
Before I upgraded, I started baking all of my loaves in a Dutch oven, and it worked beautifully. In fact, if you’re baking at home, a good Dutch oven is one of the best tools you can have because it traps steam and helps create that beautiful oven spring and crust.
This is the Dutch oven I used and still recommend:
👉 Crock-Pot Artisan 7-Quart Oval
Once my business outgrew the Dutch ovens, I switched to open baking in my kitchen oven. I accomplished this by using two large baking stones on my oven rack and a couple cast iron pots for steam.
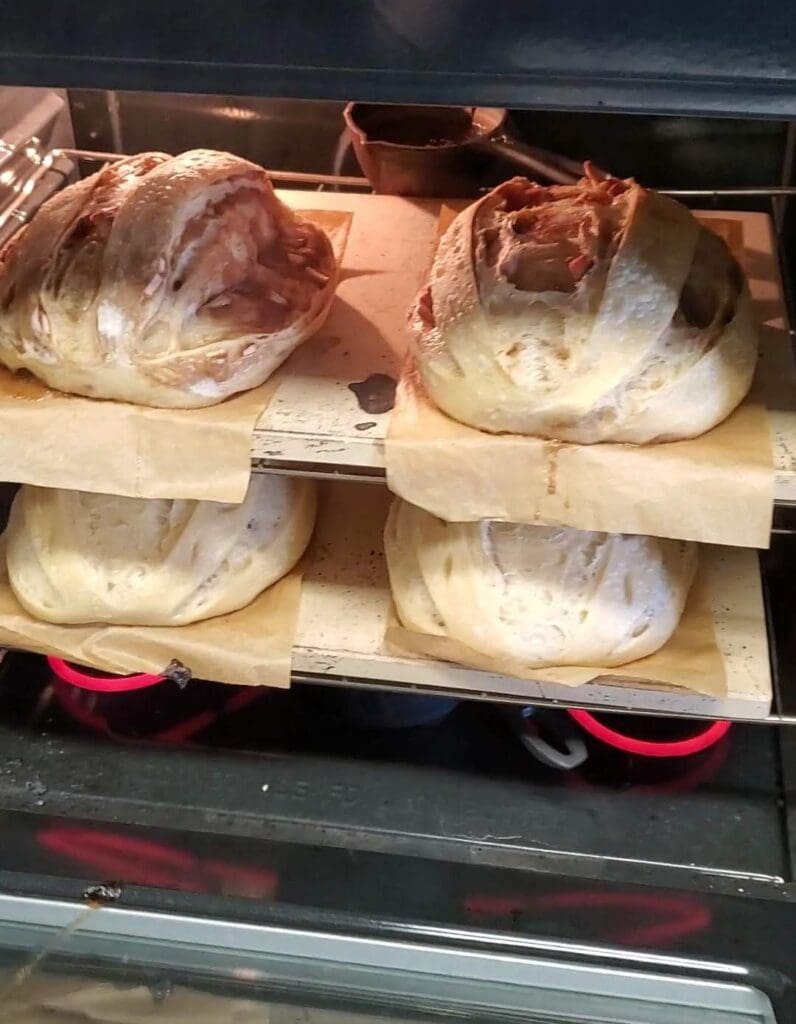
To use this method, I would preheat the oven with my stones and cast iron pots inside then I would add my bread and hot water to the pots. I steamed for about 20 minutes and then removed the pots, baked for 10 more minutes and then rotated the loaves top to bottom and baked an additional 10 minutes or so.
This method works great if you want traditional boule style loaves in your kitchen oven. Here are the items I used for this method.
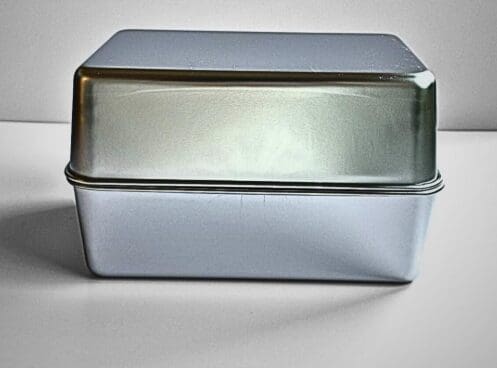
Another method that is very popular that I have not actually tried myself is the double loaf pan. The second pan on top holds in the steam and basically creates a mini Dutch oven effect. Most matching pans with work for this method.
A bread oven is an amazing upgrade if you’re running a micro-bakery or baking at scale, but you absolutely do not need one to make incredible sourdough at home.
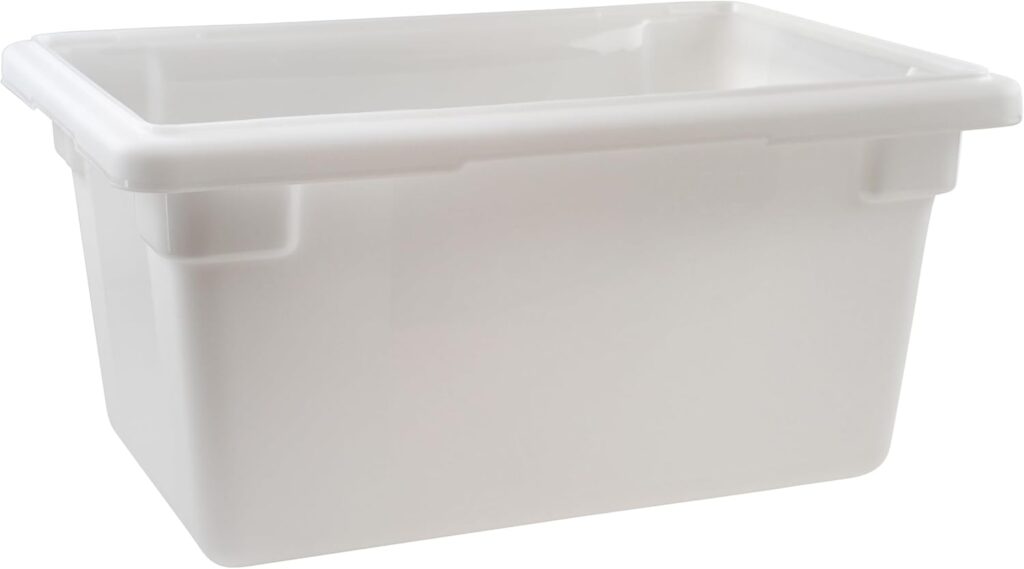
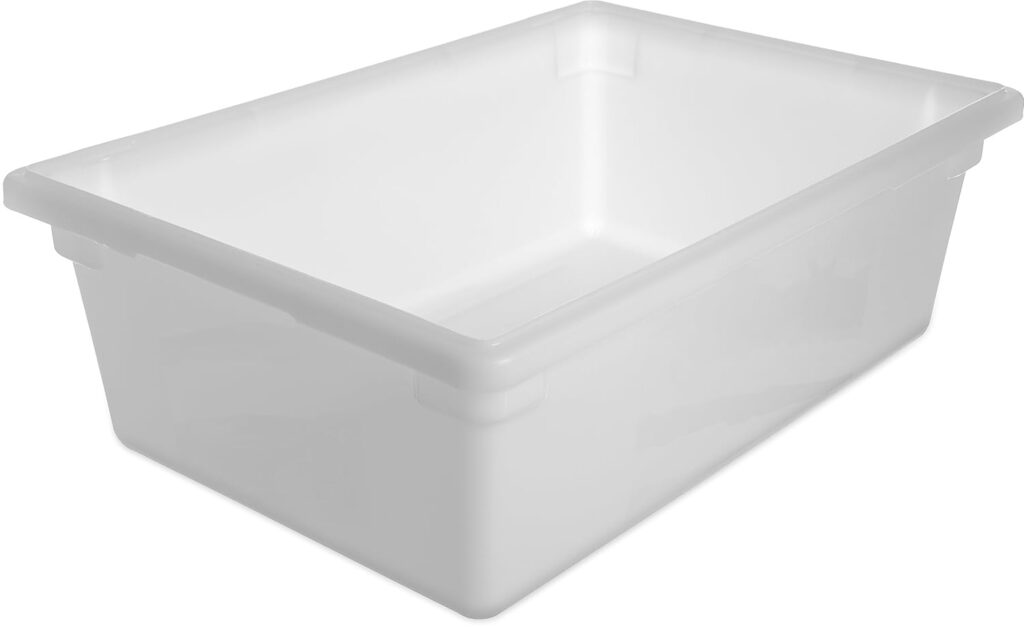
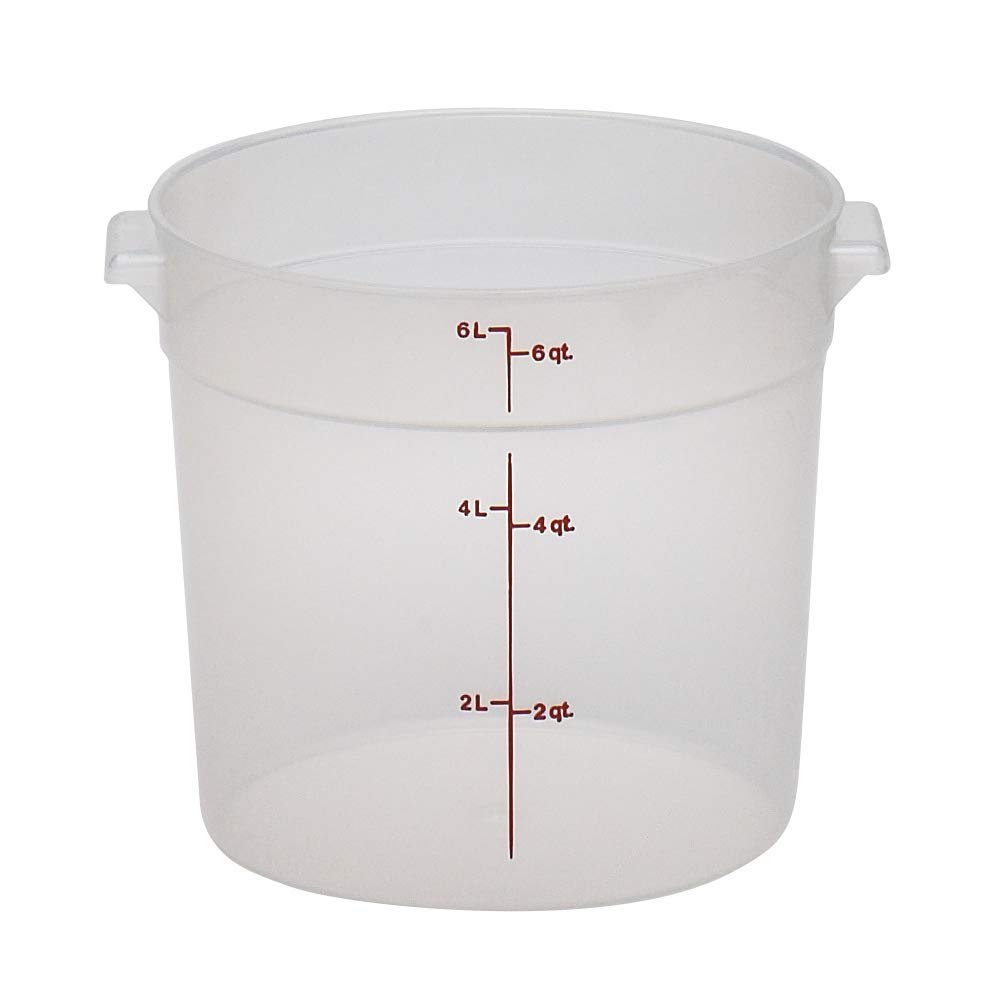
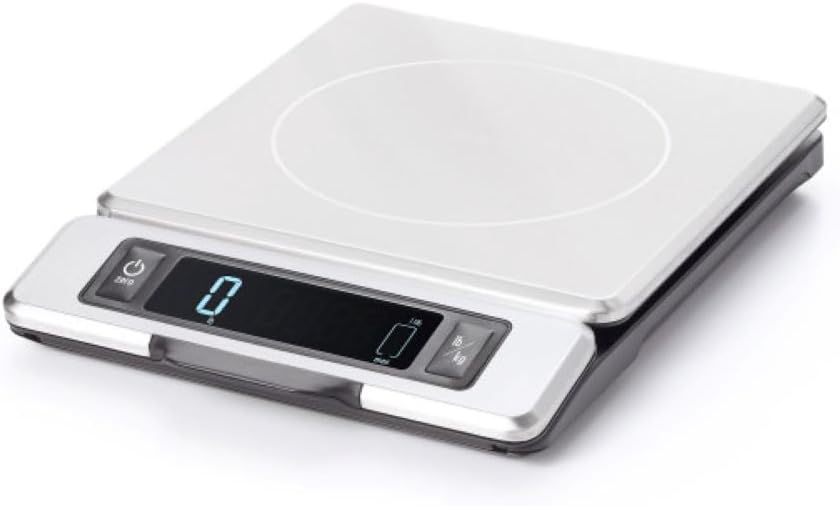
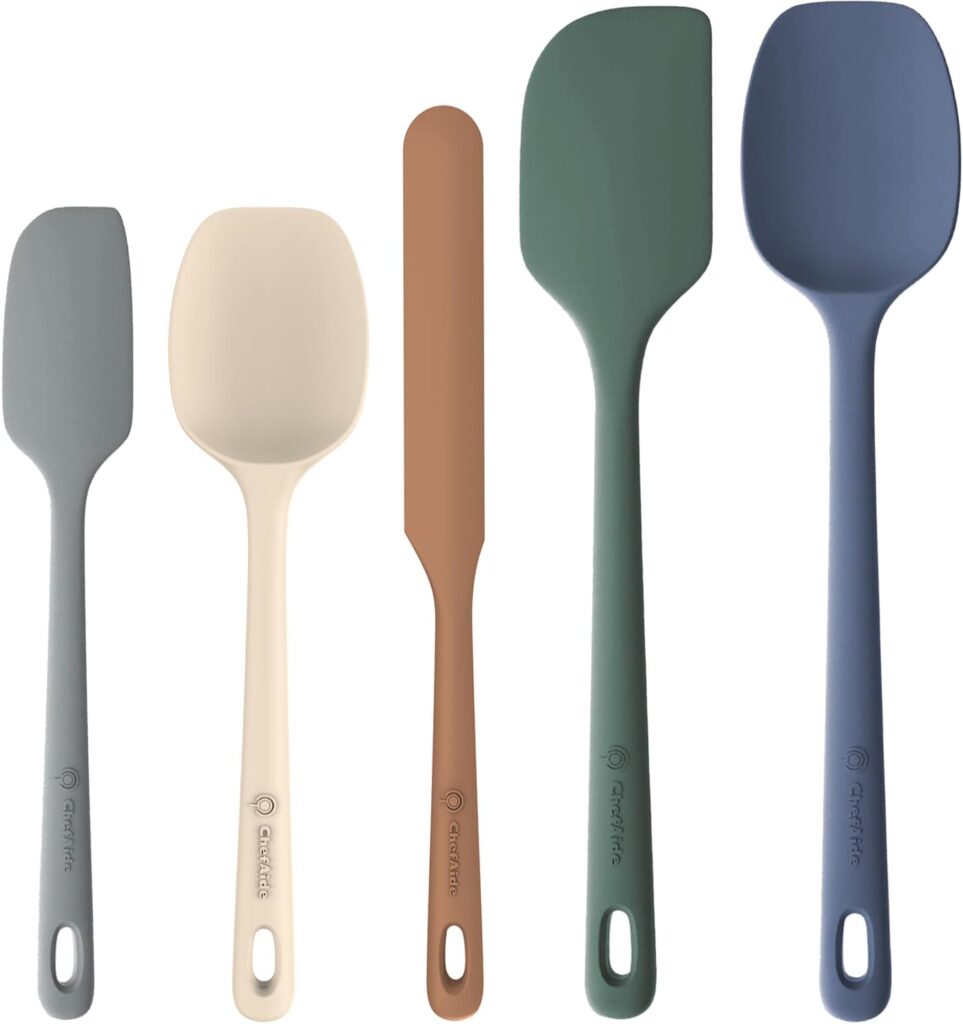
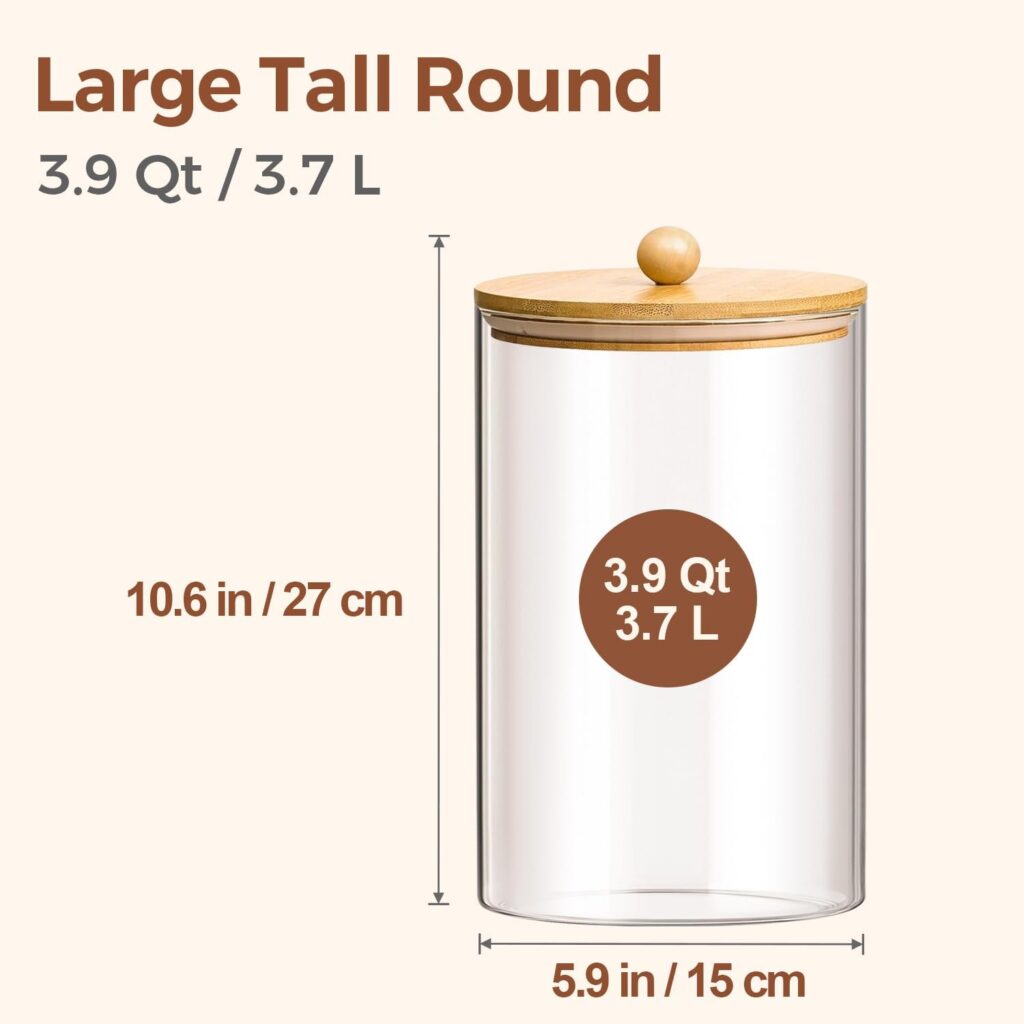
These are the tools I use from the very beginning of the process:
👉 These are some of my most-used items—simple, affordable, and they make a huge difference in staying organized.
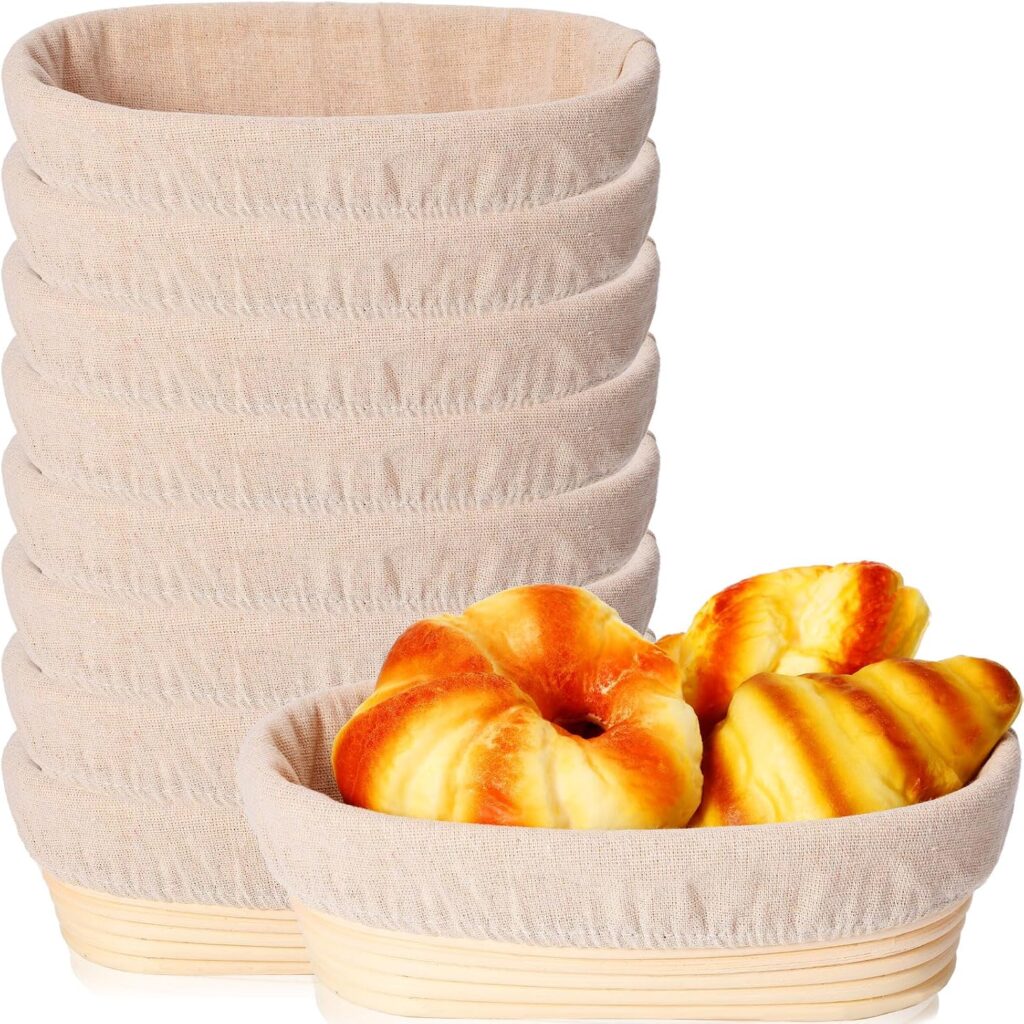
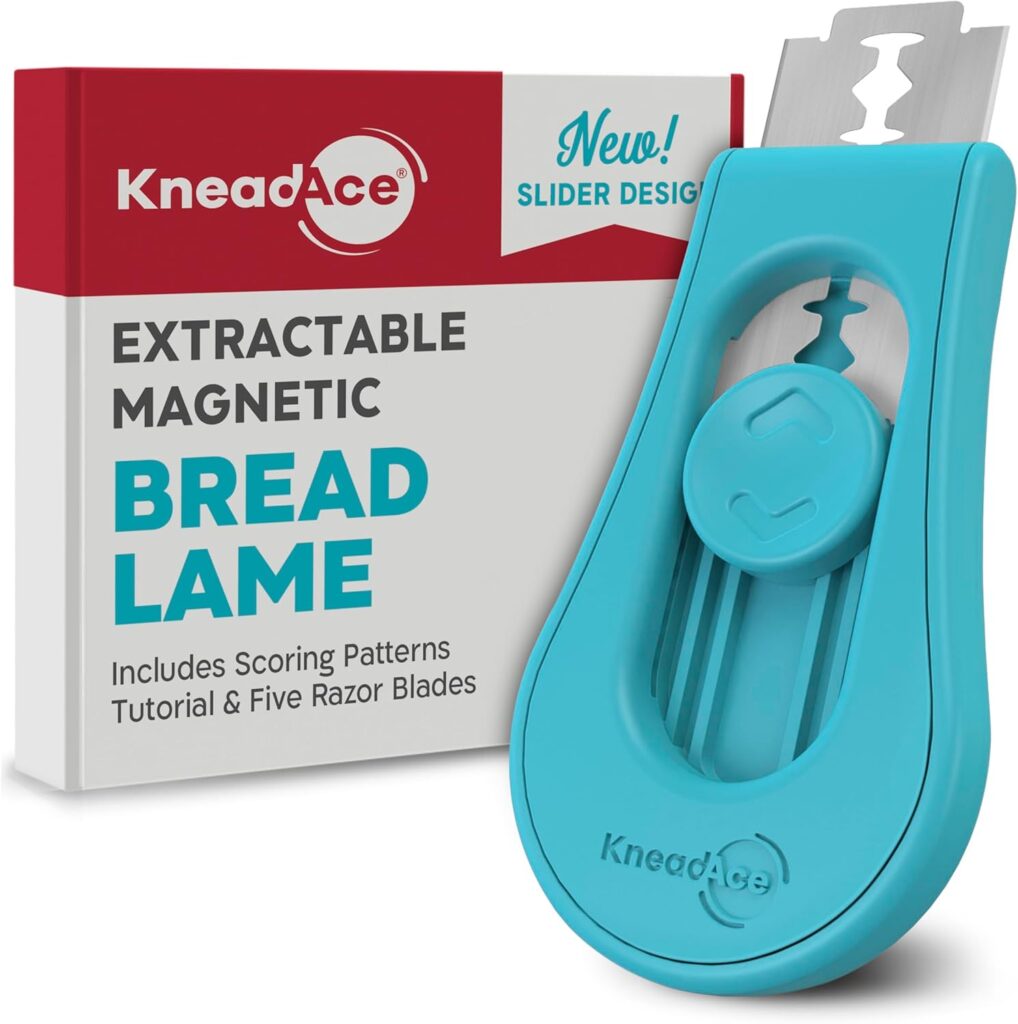
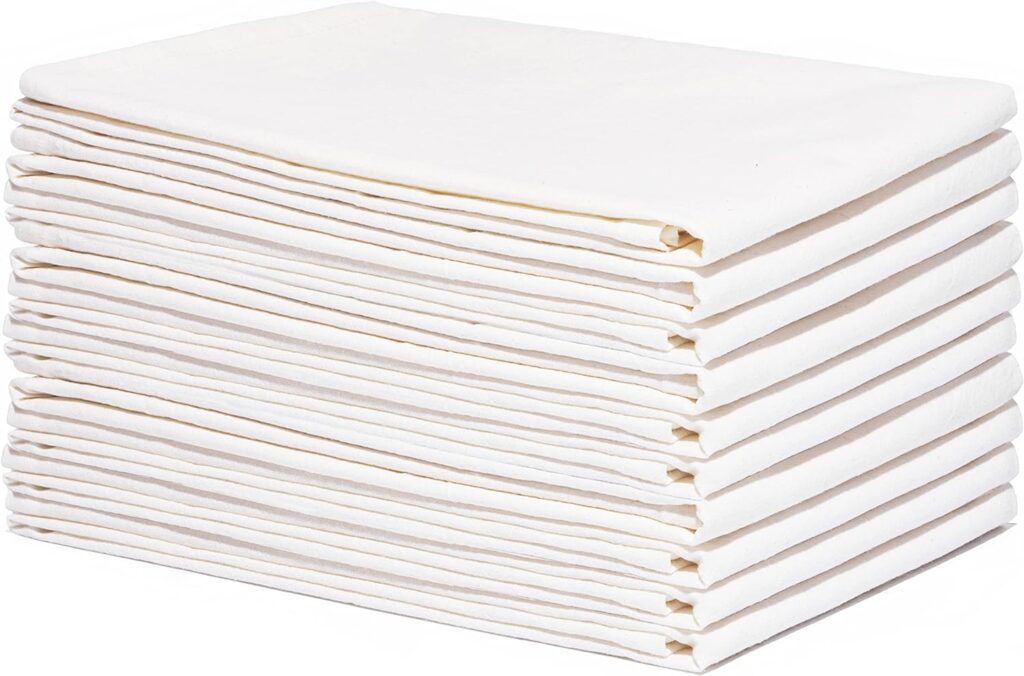
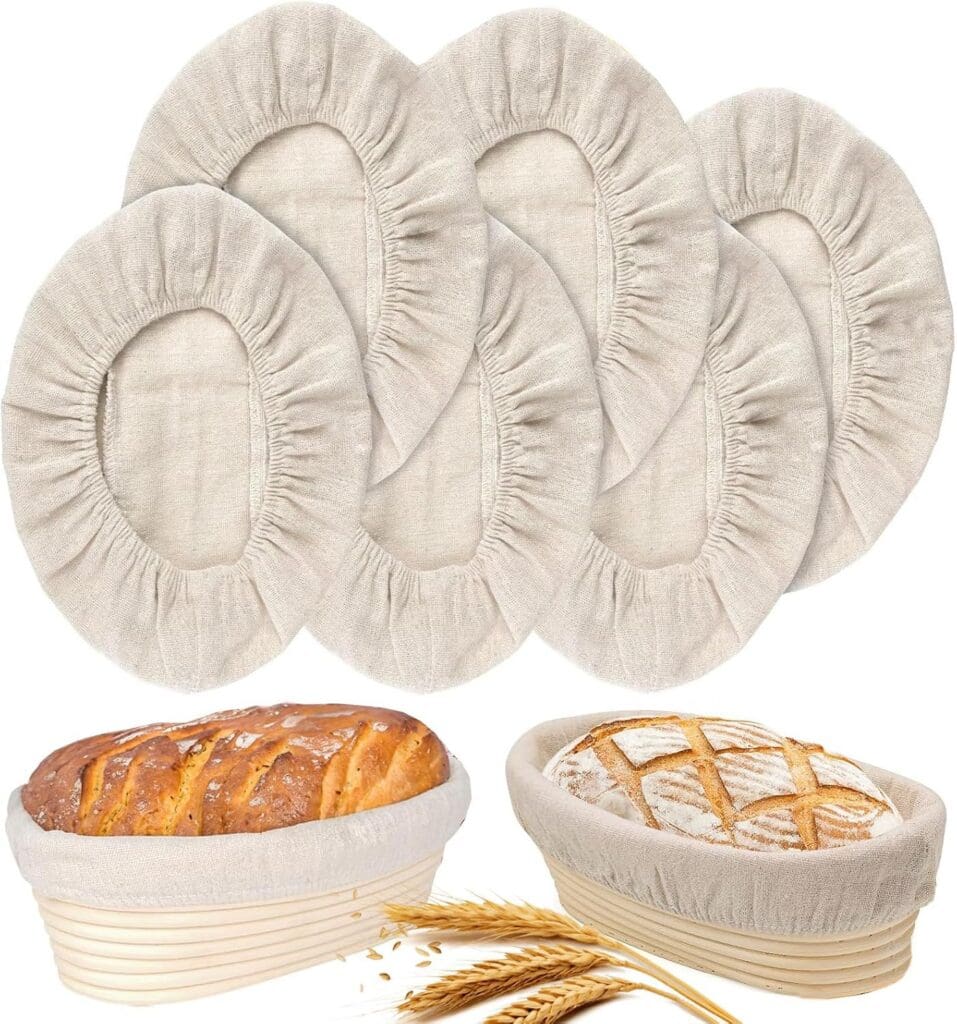
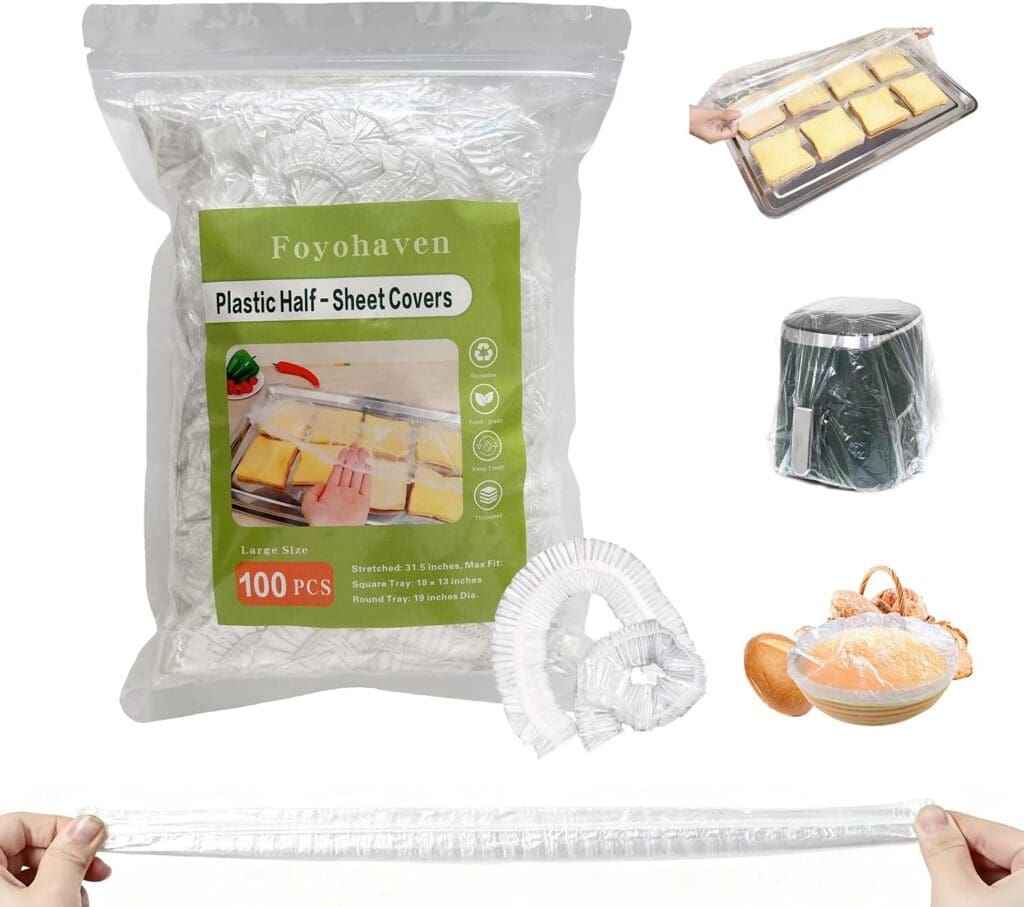
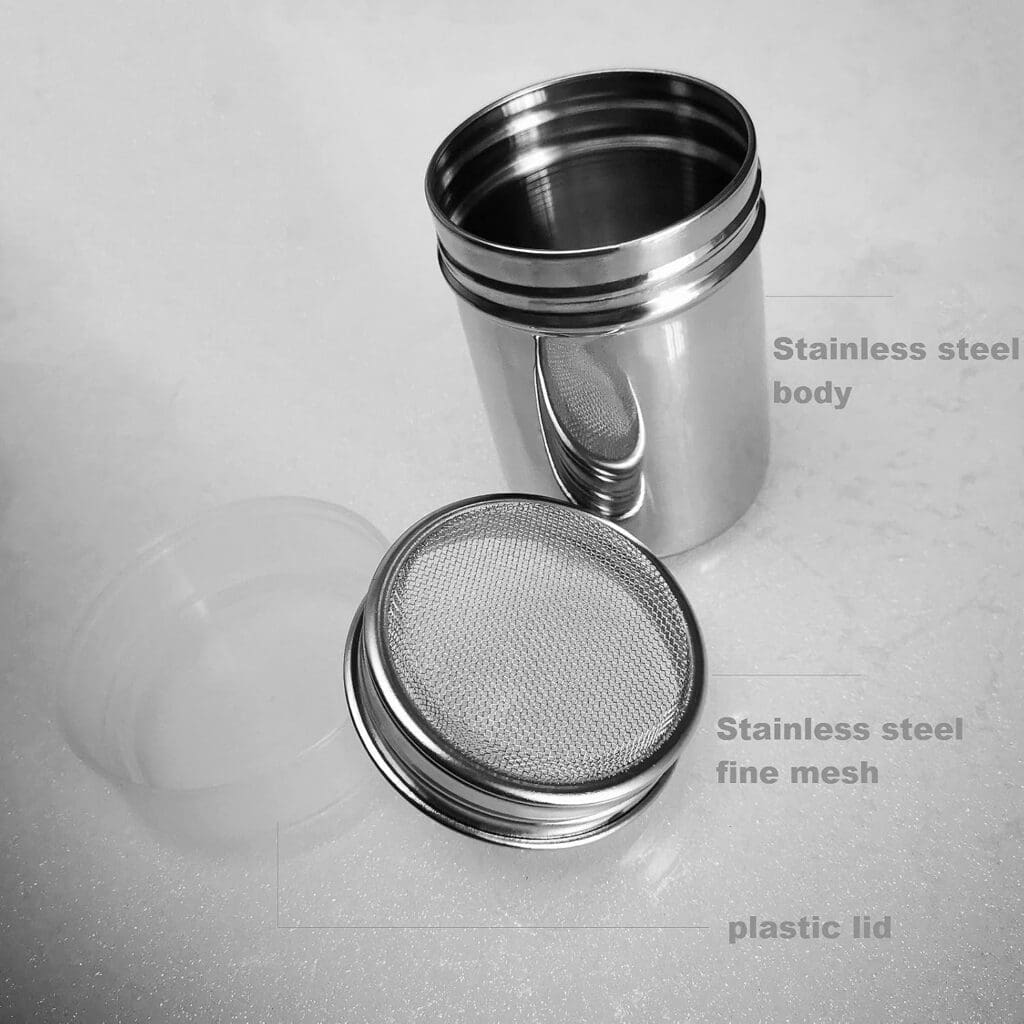
Once the dough is ready, these are my go-to tools:
👉 If you want that artisan-style finish, these tools are what make the biggest visual difference.
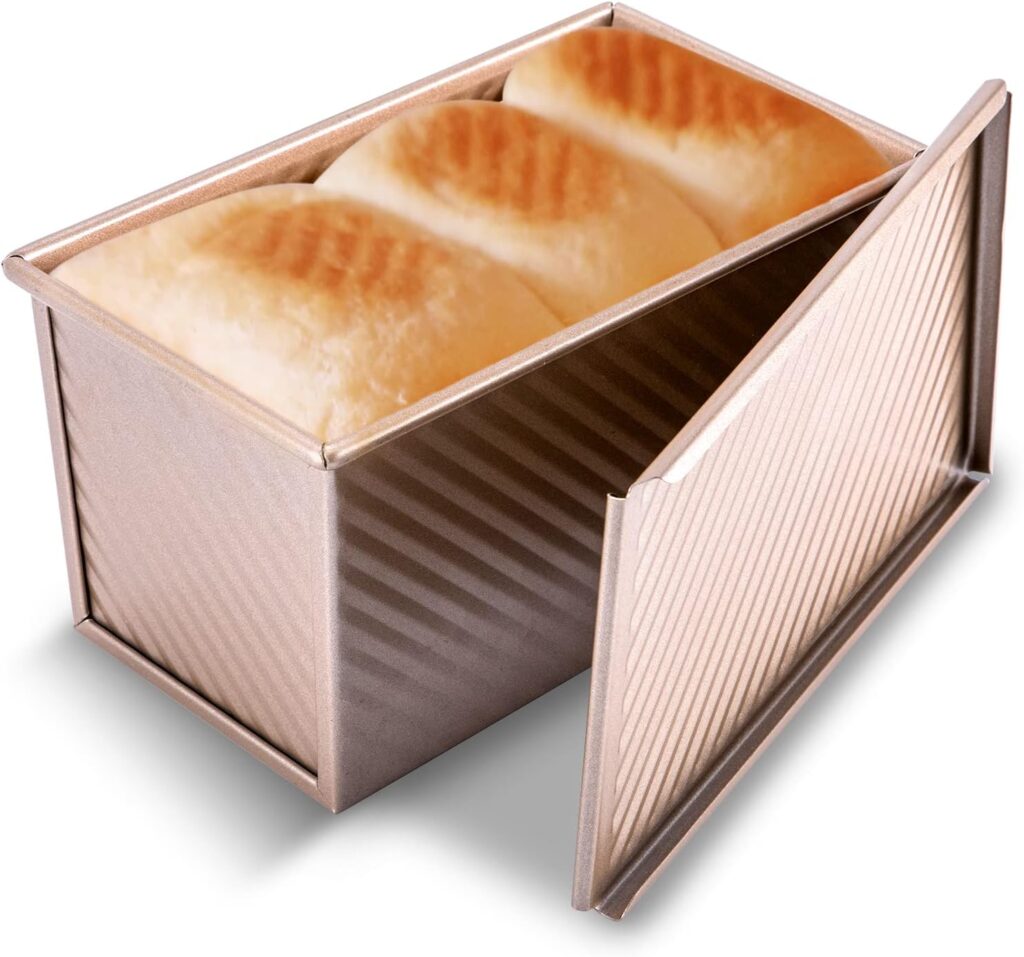
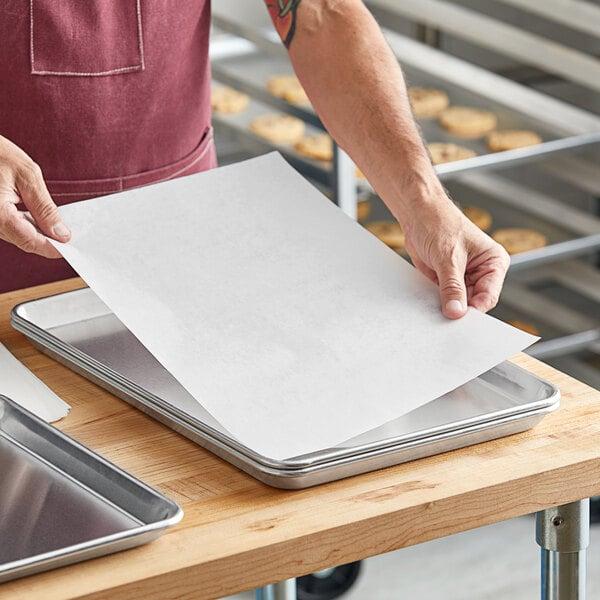
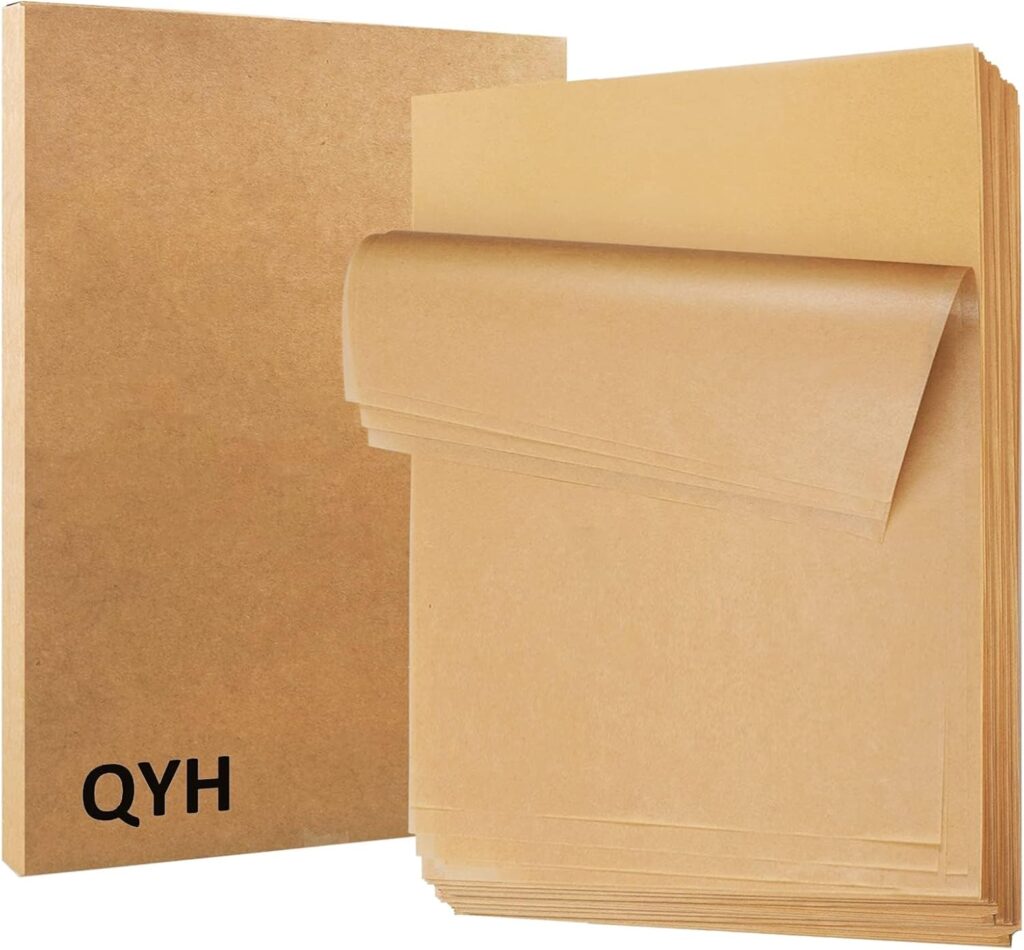
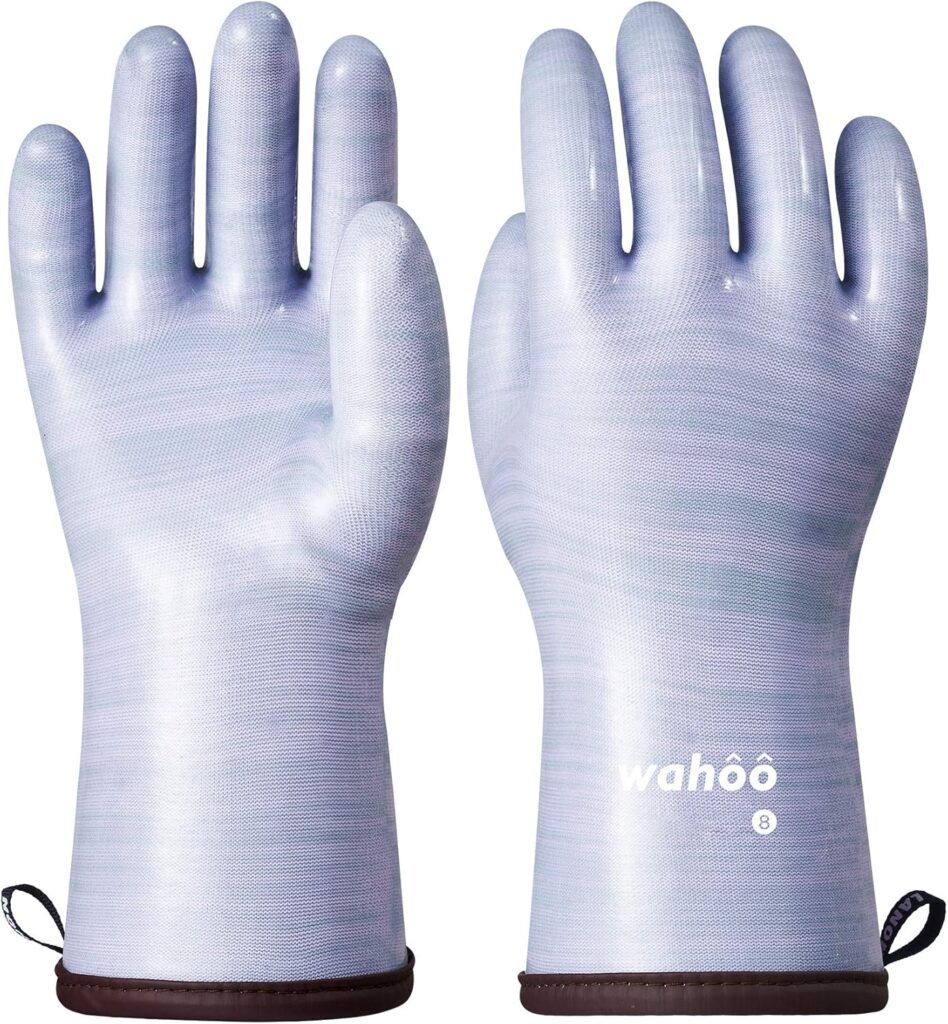
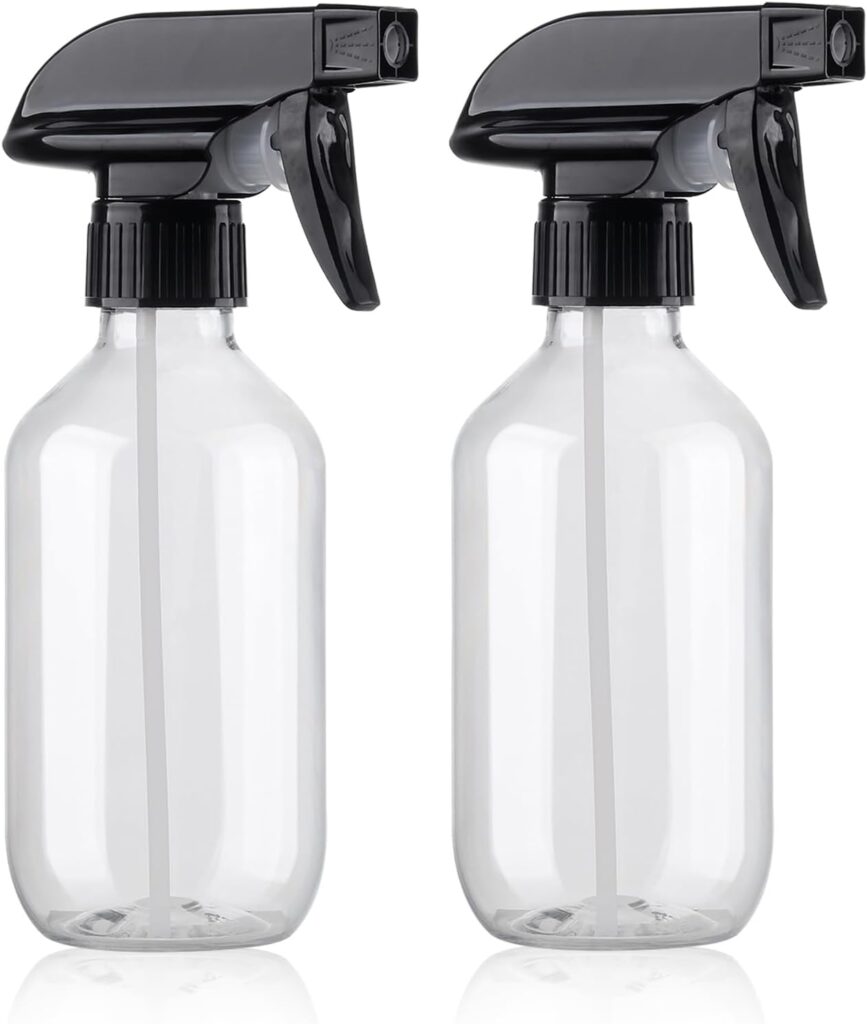
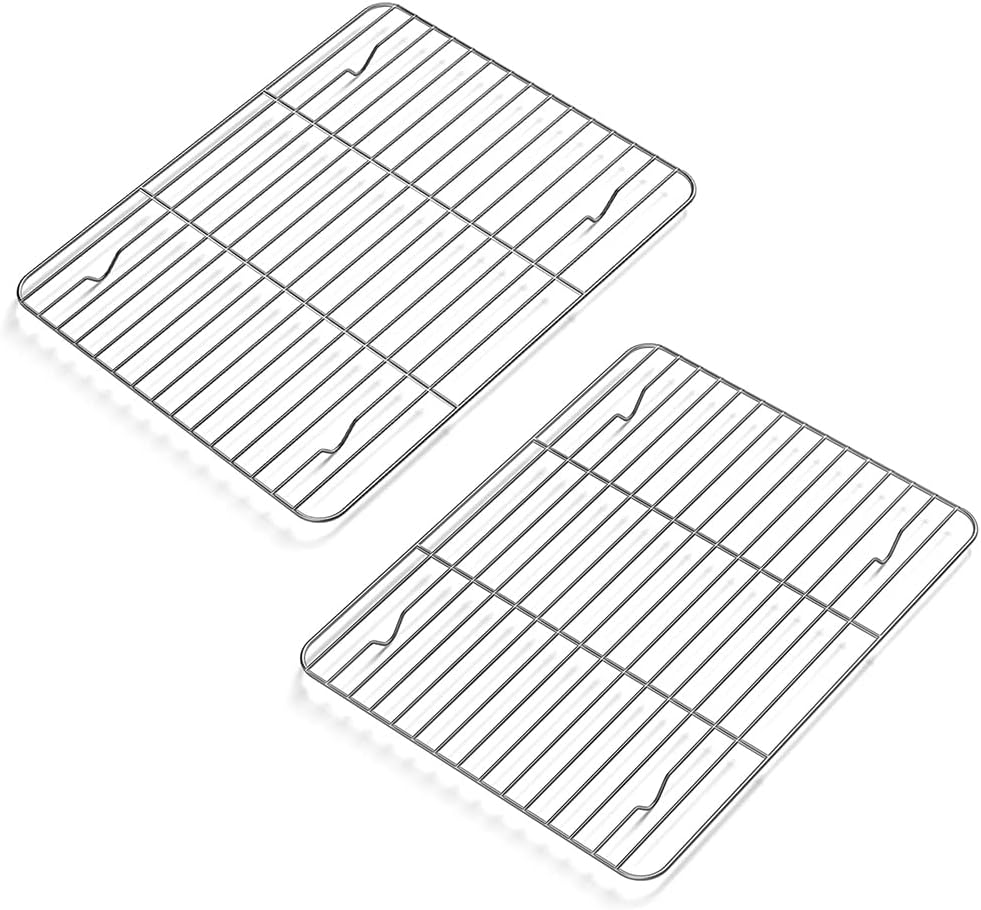
This is what I use when it’s time to bake:
👉 These are the kind of tools you don’t think about until you need them—and then you use them every single bake day.
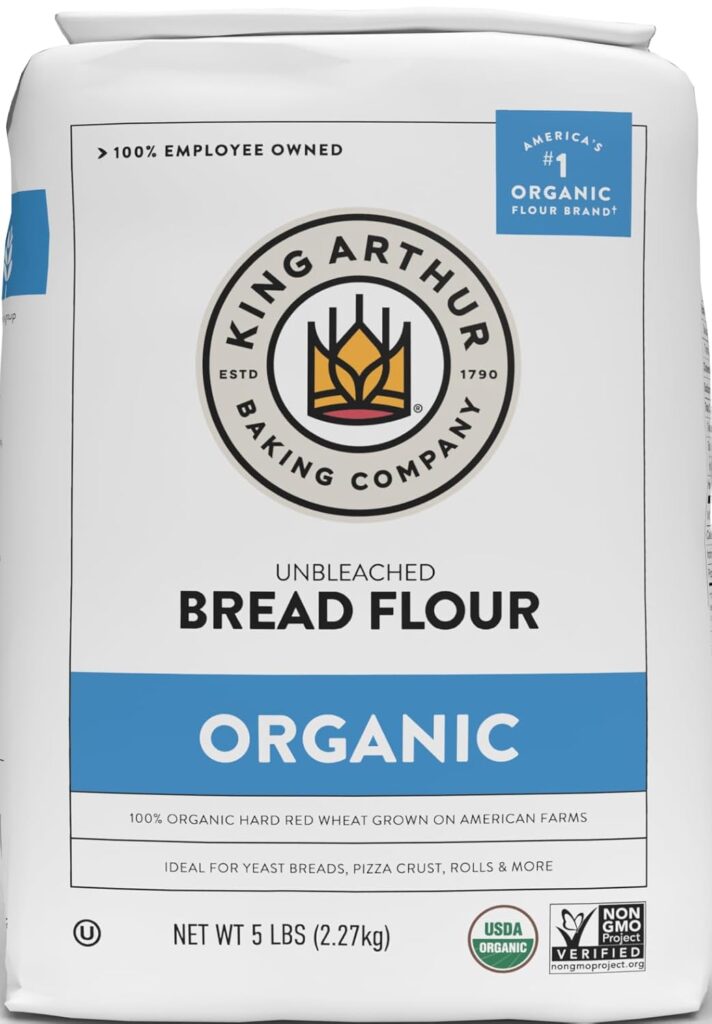
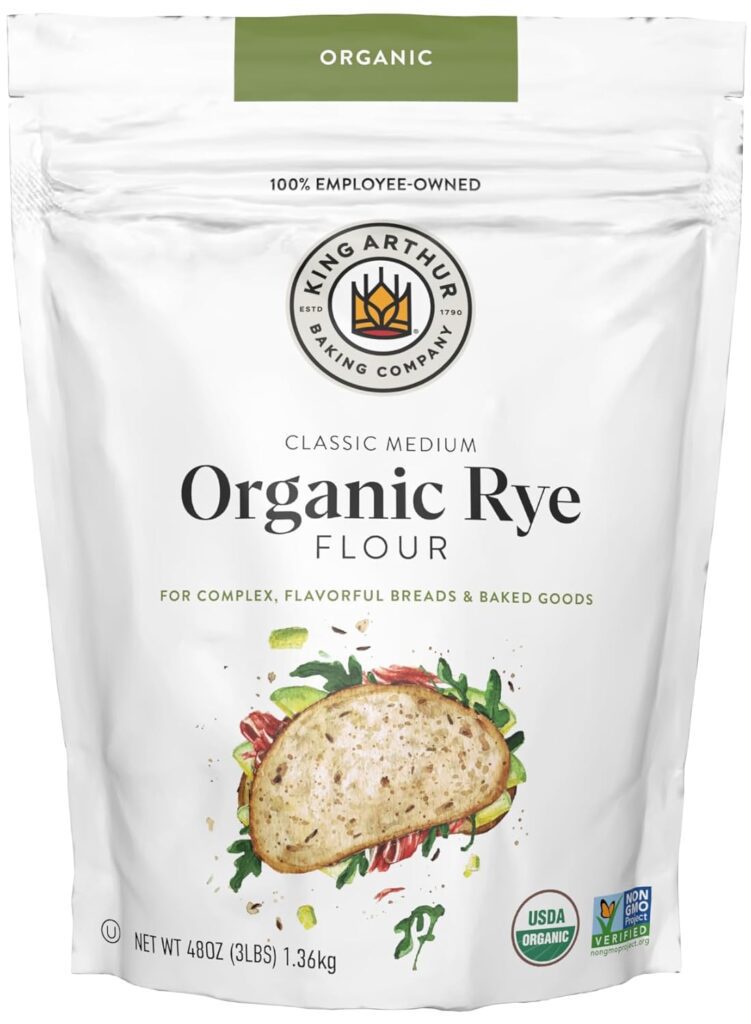
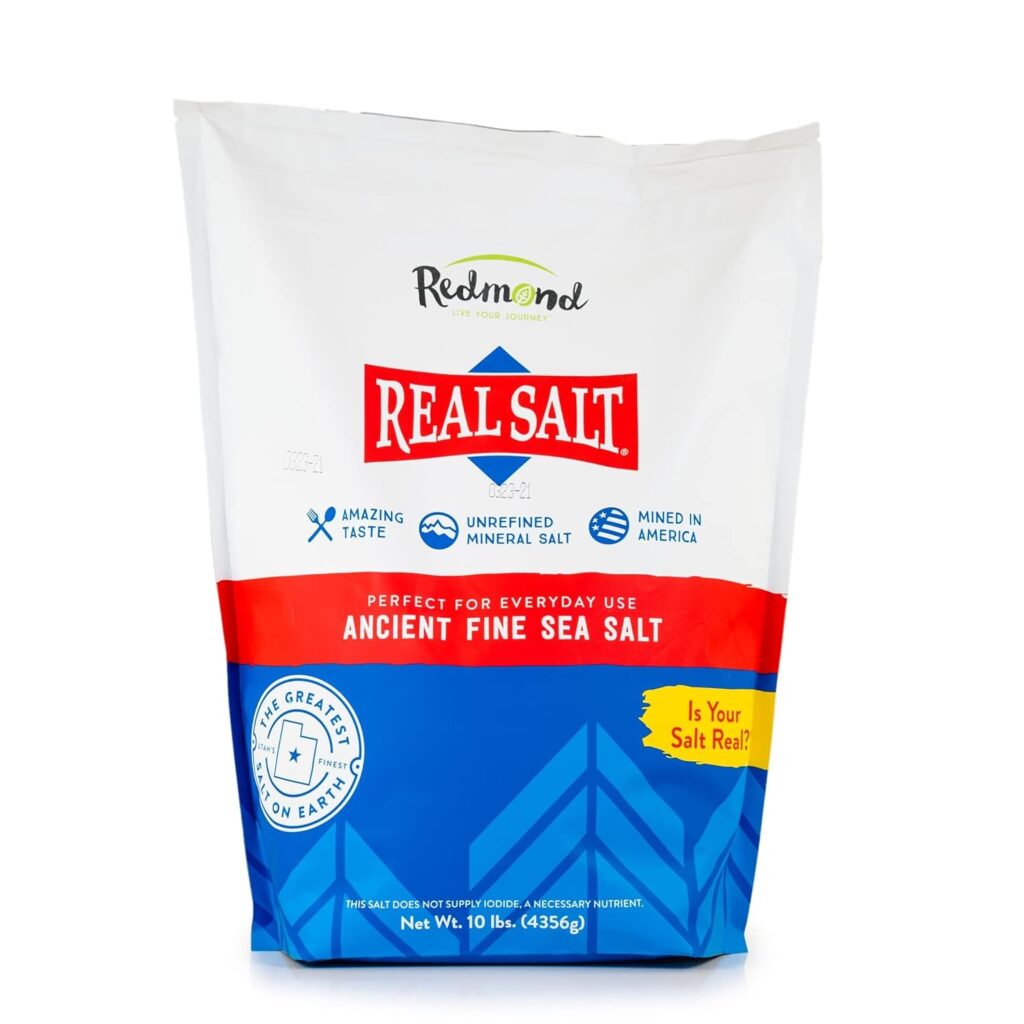
I keep my ingredients simple and consistent:
👉 Good ingredients really do matter—you’ll notice a difference in both flavor and performance.
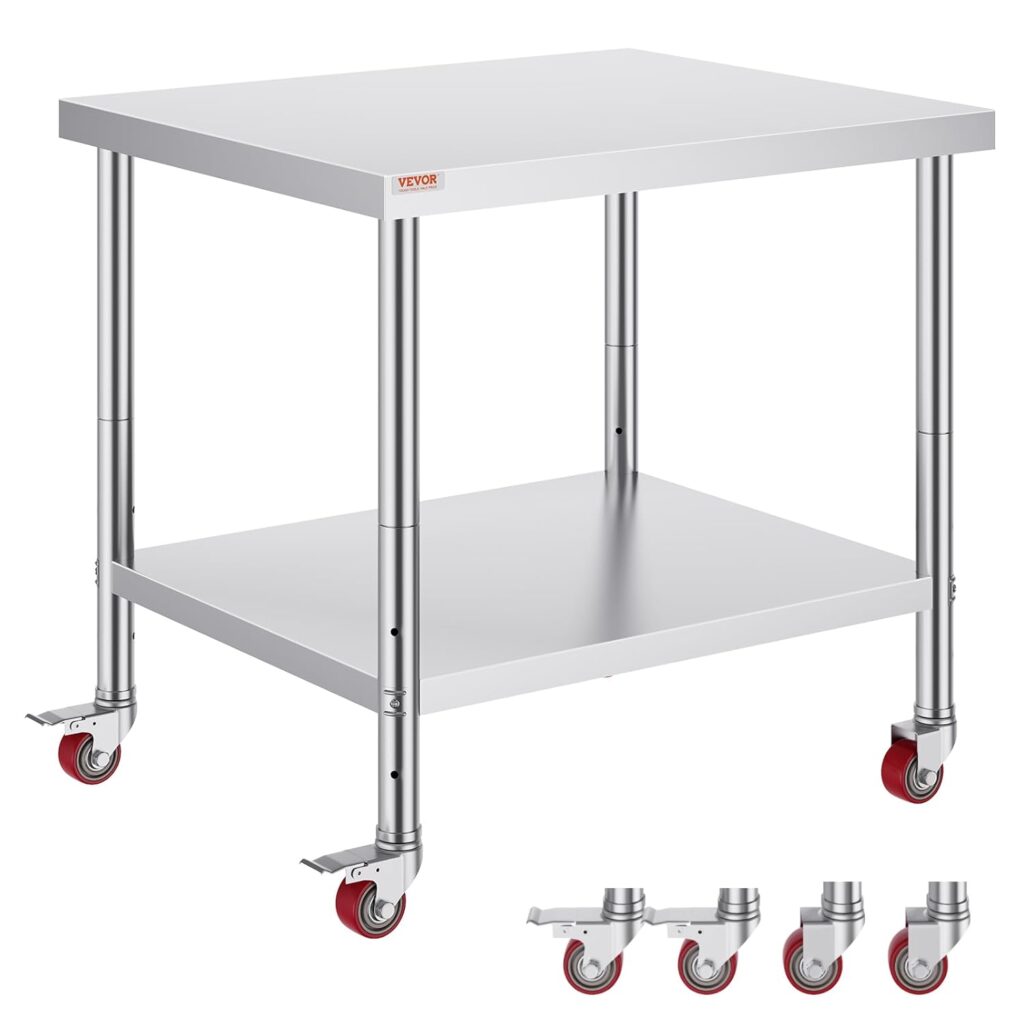
A stainless steel work table is one of the most practical upgrades I’ve made.
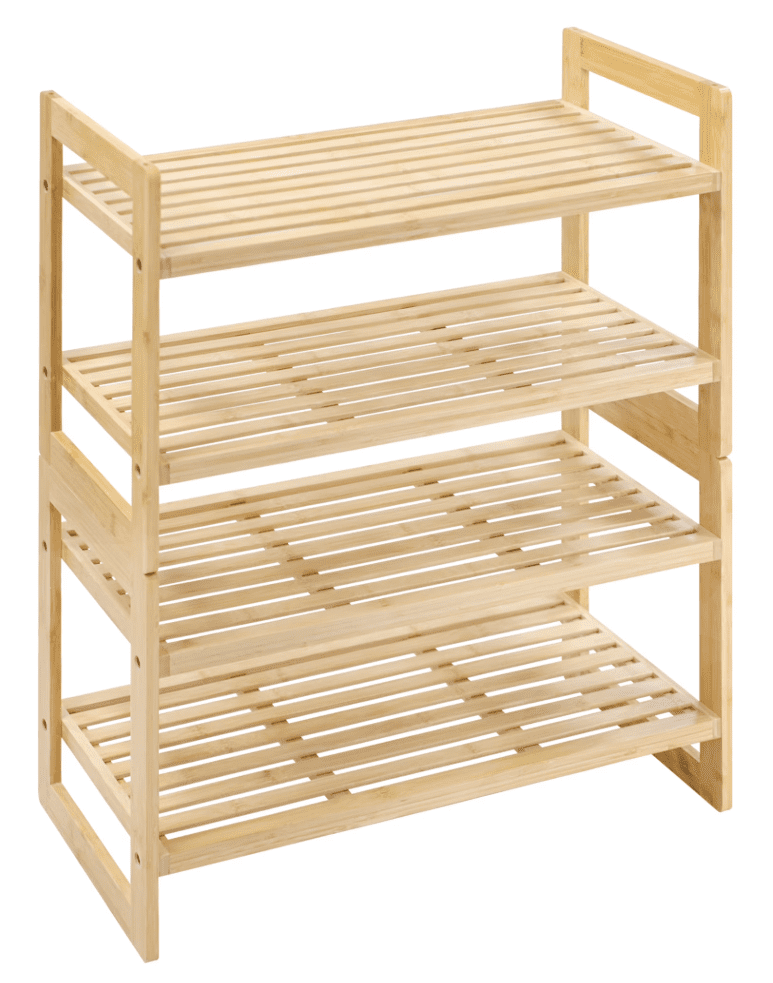
I also use multiple four-tier bamboo racks which are essential on baking days.
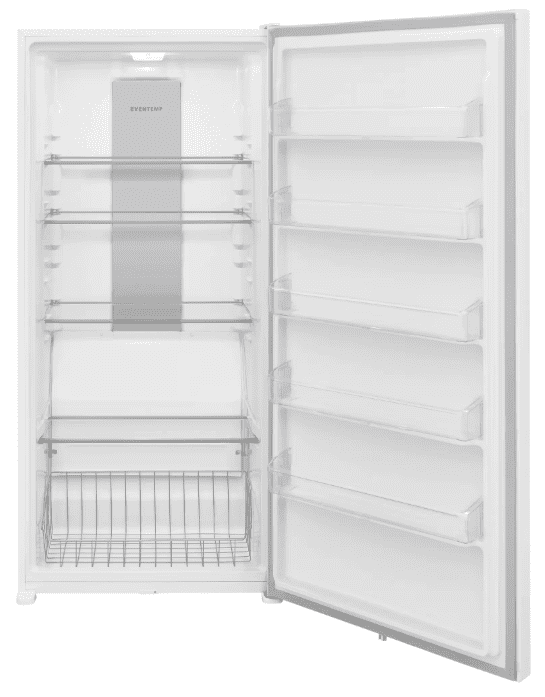
And I keep a dedicated refrigerator—my Frigidaire FRAE2024AW—as part of my setup.
Cold fermentation is an important part of my process—it allows the dough to develop deeper flavor, better texture, and a more complex crumb.
This model has a large 20 cu. ft. capacity and consistent cooling, which makes it really practical for small-scale production.
👉 Having a dedicated workspace (even a small one) makes everything feel more efficient and less chaotic.
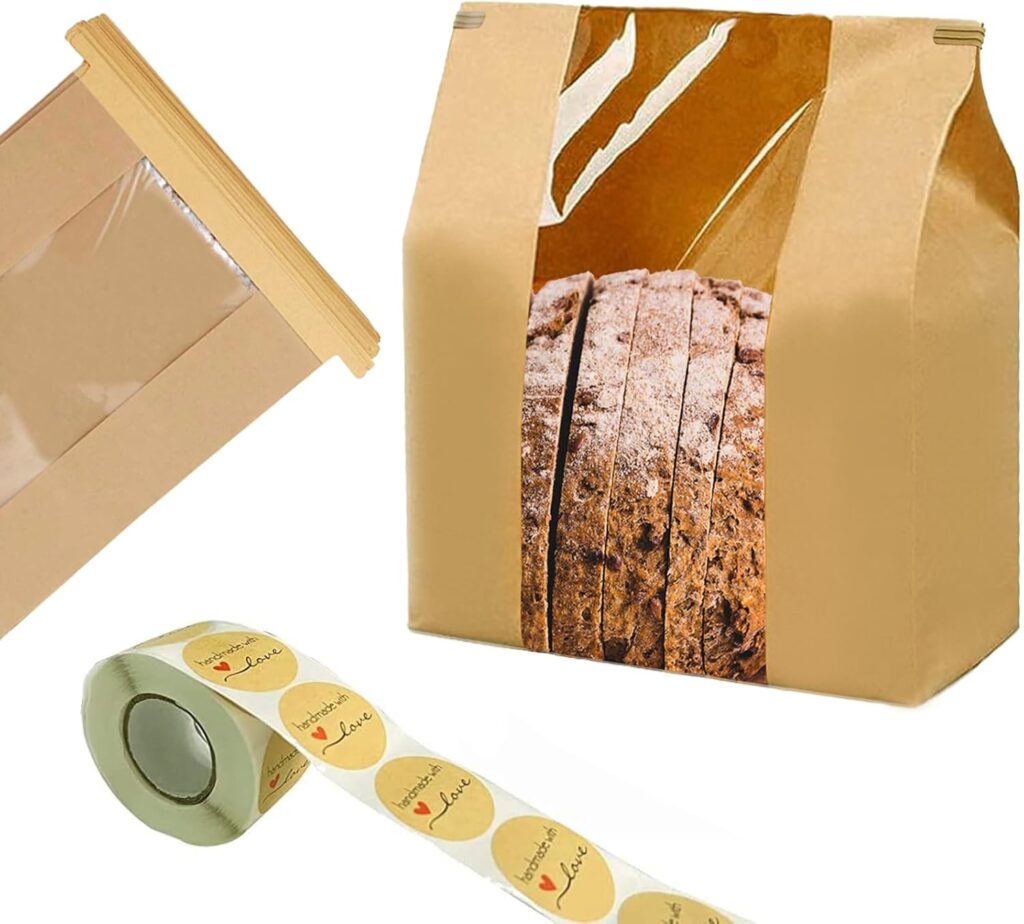
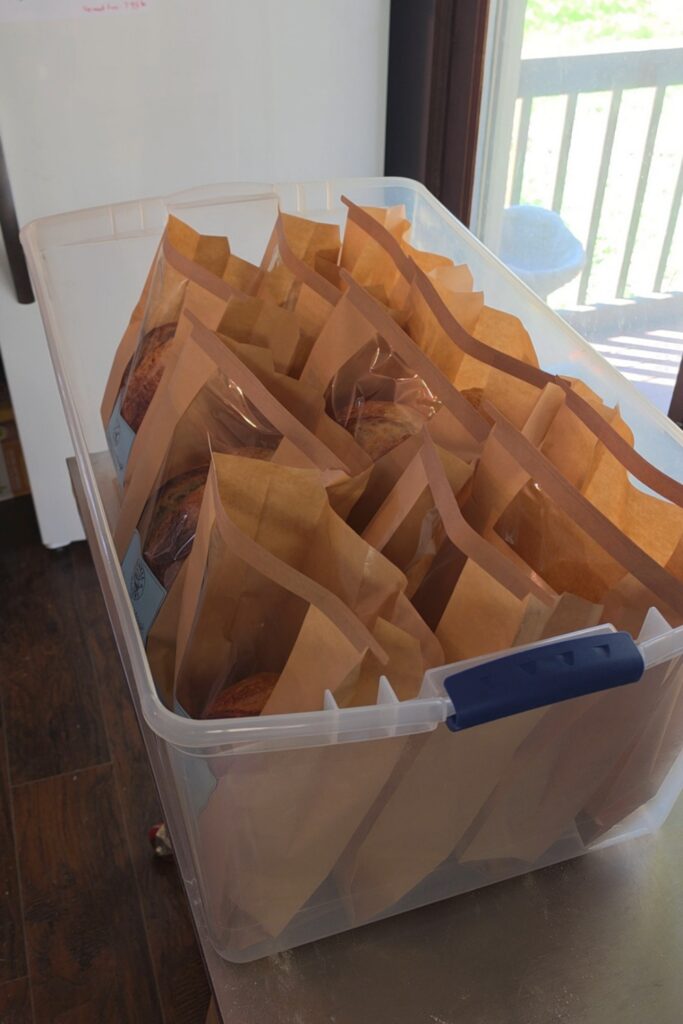
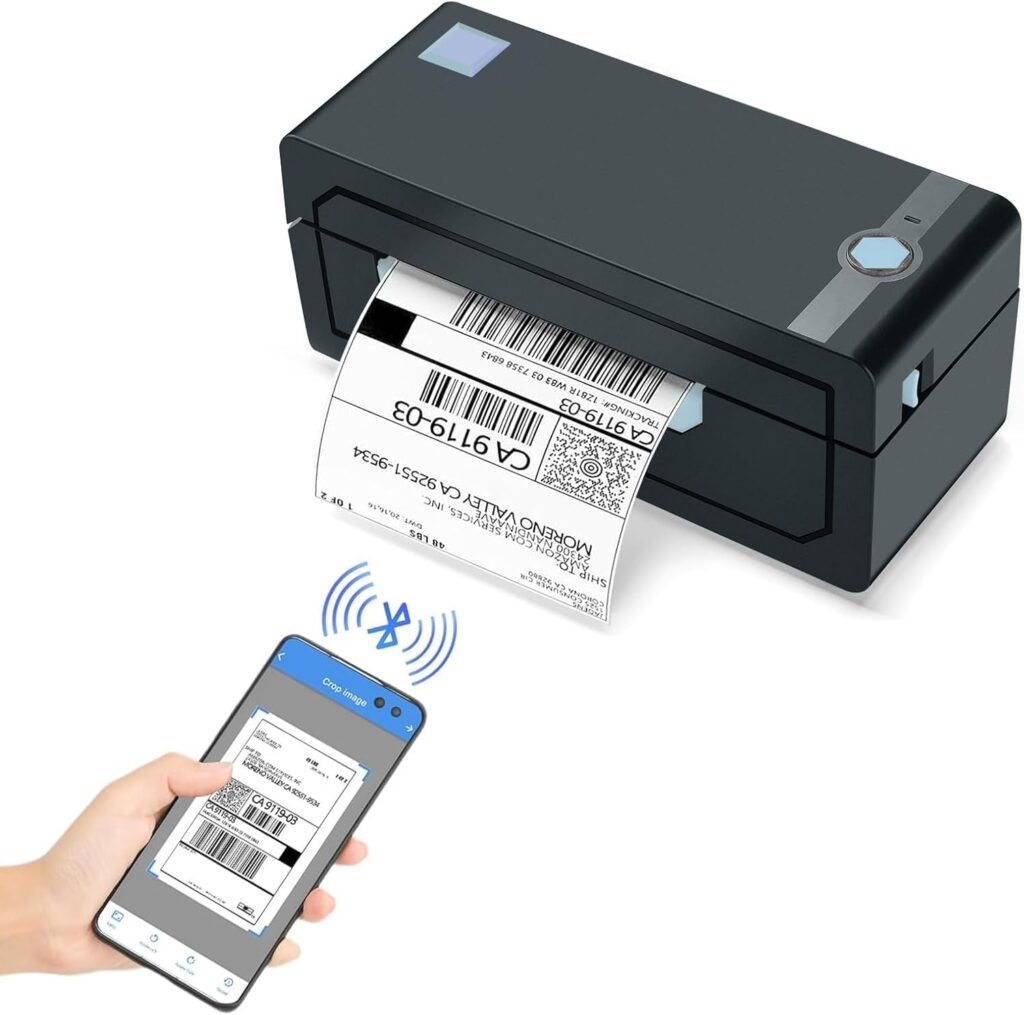
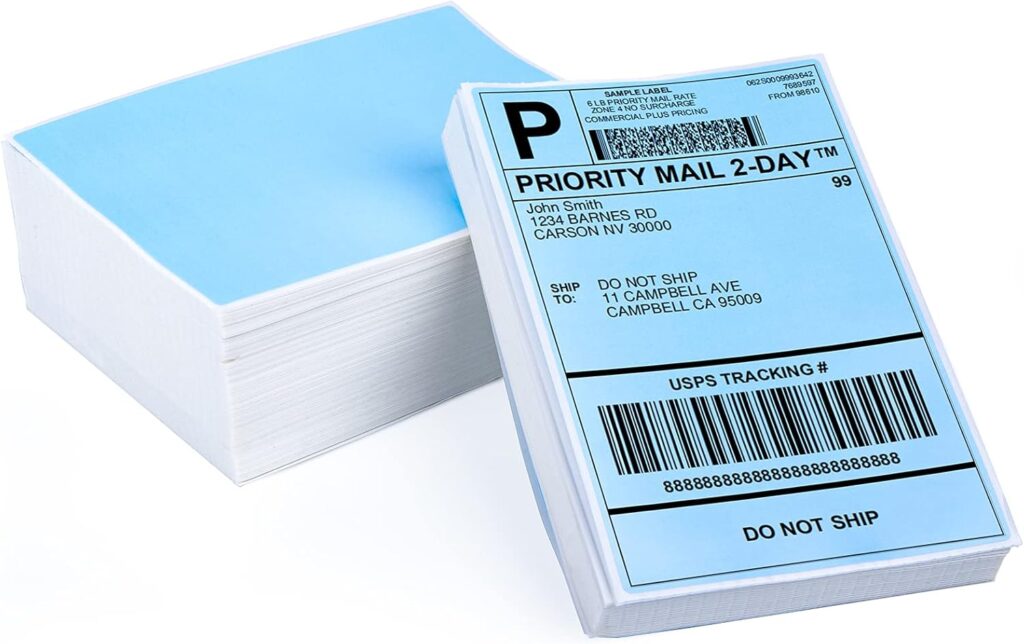
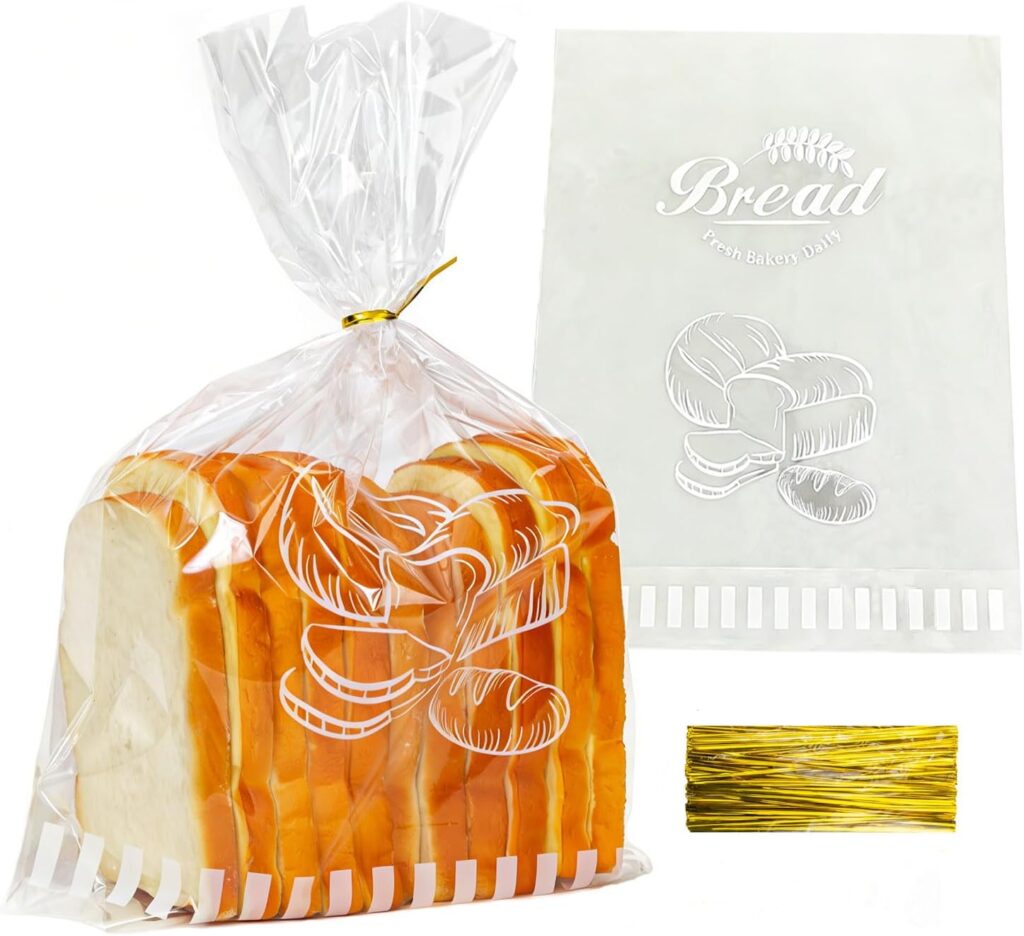
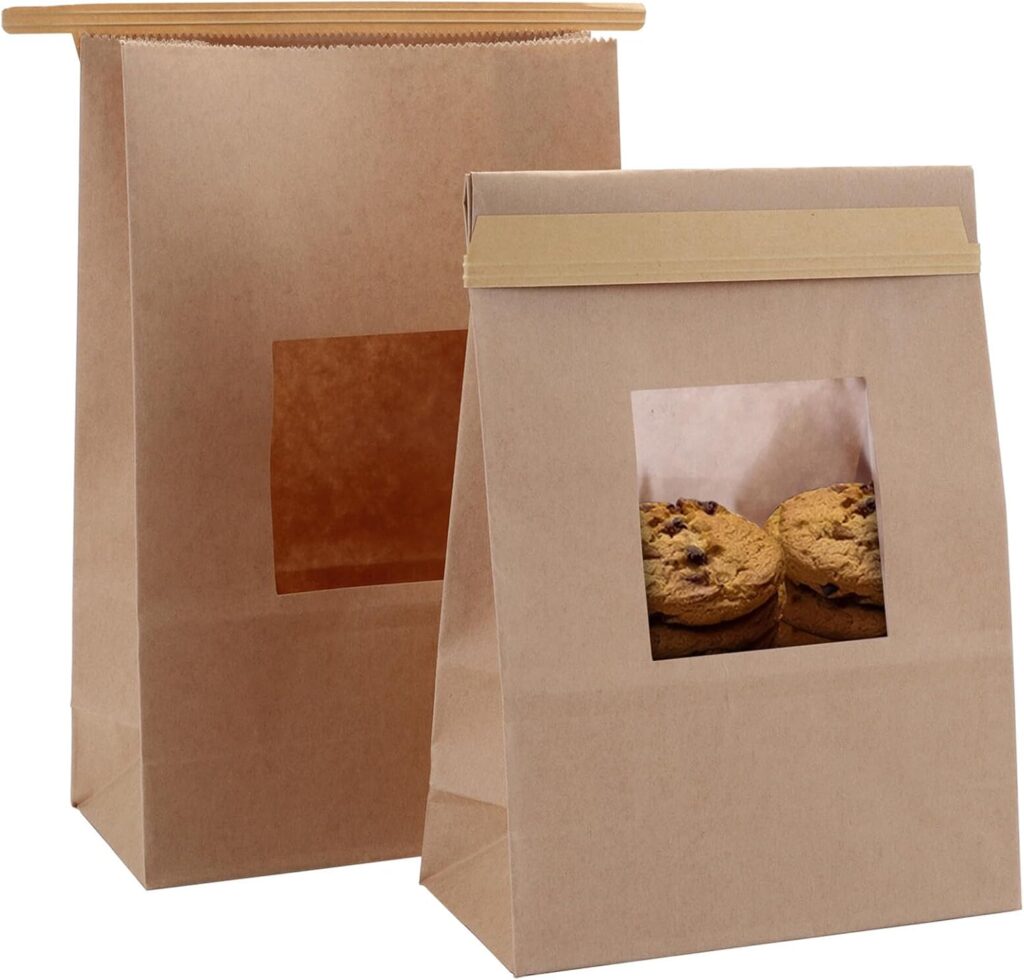
Once everything is baked, these tools help me get orders out efficiently:
👉 These small upgrades save a surprising amount of time, especially as your order volume grows.
That’s my everyday setup.
Nothing overly complicated—just tools that make my workflow smoother and help me consistently produce bread I’m proud of.
If you’re building your own micro bakery, my biggest advice is:
Start simple, and add as you grow. The right tools should support your process—not overwhelm it.
If you want most of the links above all in one place, check out my Amazon storefront below. There are a few items above from different sites but most are from Amazon. If you make any purchases I greatly appreciate it 💕. Any small commissions, at no cost to you, will go towards my bakery and homestead. Gotta keep the chickens fed and happy 😊.
👉 Browse all my go-to micro bakery tools here: Amazon Storefront
If you’re just getting started, you don’t need everything on this list. A scale, mixing containers, and a reliable oven will take you a long way. You can always add more tools as your baking grows.
👉Simple Farmhouse Sourdough Bread Recipe (Beginner-Friendly + Digestible)
Learn the full beginner-friendly process for mixing, fermenting, shaping, and baking sourdough bread.
👉How to Fix Sticky Sourdough (7 Secrets for Soft, Airy Bread)
If you’ve struggled with sticky dough or flat loaves, I’m going to walk you through exactly how to fix it
👉Browned Butter Sourdough Chocolate Chip Cookies
If you’ve been looking for the perfect sourdough chocolate chip cookies, this recipe is it!
What about you?
If you’re baking at home or building your own micro bakery, what’s one tool you use all the time—or one you’re unsure about?
👇 Leave a comment below, I’d love to hear from you!

wish you all the best

Thank you!!!

Exactly the list I was looking for
Perfect! Glad I could help 😊.

Thank you, thank you, thank you for sharing..
too kind. I appreciate you! 🤍

Hii , if we were to do your recipe for for a batch of 10 Loafs what would I times the recipe as normal, also for a batch of 10 what’s your total dough weight and weight per loaf! This would be so helpful, thanks so much !
thanks so much for posting all your tips and tricks
Hi! Your welcome! Glad you are enjoying the posts 😊. For my standard sourdough recipe you just times every ingredient by the amount you want to make. So for your ten loaves just take everything times 10. I don’t actually know the total dough weight after it’s done bulk fermenting, I don’t have a scale that would fit that bin I use. But I can tell you the shape weight. You should measure each loaf out to be between 902-904g. You may have a small bit of dough left at the end. I always pre-shape mine into balls on the table so I just take the leftovers and split it between the loaves. Hope that helps answer your question. Happy Baking!
Thank you so much !!! I’m trying your recipe right now with one loaf 24 hour cold proof I am already impressed by the height of my loaf when I pulled it out of the fridge , and ! The fact that when I scored it , it didn’t spread but still had amazing structure so appreciative 🙏🏽
Yes!!! I’m so happy for you. I’m glad you are finding my blog and recipe useful. I’d love to see the finished loaf after baking 😊. Send me a picture if you want info@bewellforlifestore.com. Happy Baking!
Hi! I had a question about baking in bulk with your recipe ! I’ve been using it for a couple weeks know, using 80 degree water , so my dough temp is 80 at the beginning of bulk , lately I’ve been experimenting with 74 degrees and notice the feel of the dough is very different and I didn’t notice as many bubbles are jiggle , at 74 degrees when baking in bulk do you use the sourdough journey and stop at 55% rise or push it ? I’m curious what you use to determine bulk with this recipe ! Thanks for all your tips and tricks !
Hi! I don’t really know exactly what percentage I bulk to at 74 degrees, but its definitely higher than 55%. I would say its close to doubling. If my dough temp is at 74 or 75 vs. 78-79, I just shape at 7 hours and then adjust my rest time in the banneton accordingly. I’ve gotten to the point where I don’t really watch the rise too closely. I’ll check the dough temp before shaping so I have an idea of how long it will rest before going in the fridge. Usually total time from mixing to fridge varies from 7.45hrs to 8.5hrs. Rather than adjusting my bulk time much (it usually only varies 15 min or so I’m shaping at 6.45 or 7 hrs) I adjust the rest time in the banneton after shaping. I don’t have a set time either it depends on a lot of things…final dough temp, how many loaves I’m putting in the fridge for the day and how warm my house is. It’s basically just using my instinct at this point… I hope that helps answer your question. Happy Baking!
This is super helpful thank you !
You’re welcome! I’m glad you found it helpful 😊.

Wow! This is absolutely amazing!! Thank you so much for sharing🫶, I’m starting with a home microbakery and this is what I needed, I’m glad I found your profile. I wish you the best on this journey! ✨
Thanks and you’re welcome! Wishing you the best as well. If you have any questions. Feel free to reach out to me! 😊

Hi I’m currently starting a micro baker and would appreciate any advice you can share with me. I have no idea how to price my sandwich bread . I see yours is $10 per loaf,but you are in the Michigan area and I’m in Las Cruces,NM which is a smaller city . The artisanal bakery here charges $15 per sourdough loaf. My area is blue collar and charging $15 per loaf is mostly unaffordable… Of course bulk buying is cheaper here than in your area and I would like to price my bread accordingly. Thank you for any guidance you can give me.

Geraldo Campos Viana
Tags: Education
Leave a Comment