Sub-Total: $0.00
My Go-To Micro Bakery Tools (What I Actually Use Daily)

 (1)")
When people picture a bakery setup, they often imagine a huge space filled with complicated equipment, not a modest home kitchen with minimal space.
But my micro bakery runs out of my home with a simple, well-used set of micro bakery tools that I rely on every single day. I don’t have a lot of fancy equipment, not even a mixer…but what I do have is the right tools to start or scale your sourdough business.
These are the essentials that keep everything moving—from mixing dough to baking bread to getting orders out the door. After more than 3 years of running a home bakery, I’m only sharing the products I genuinely use and love in my own kitchen. These recommendations aren’t just for the affiliate perks — they’re the tools that have truly worked for me day after day.
(Some of the links below may be affiliate links, which means I earn a small commission at no extra cost to you. I only share what I personally use and love.)
1. The Heart of My Bakery: My Oven
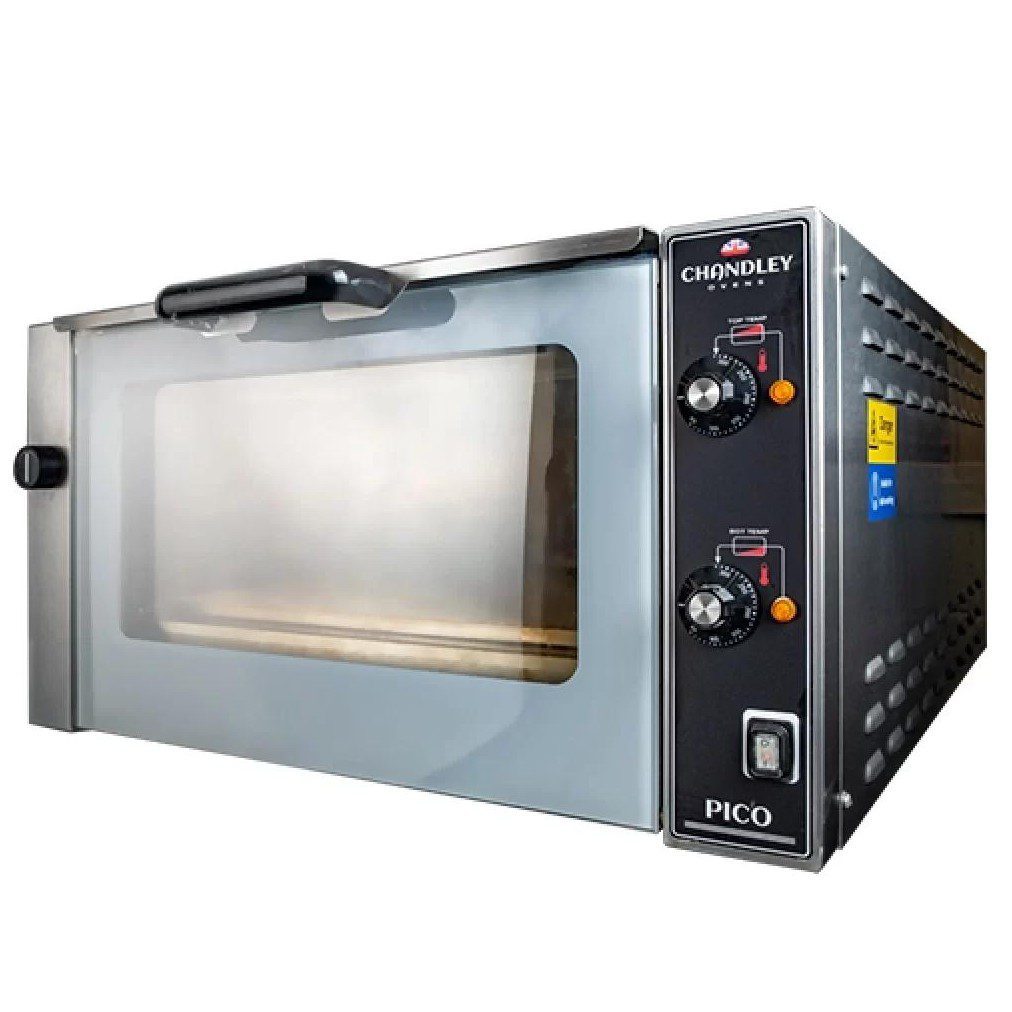
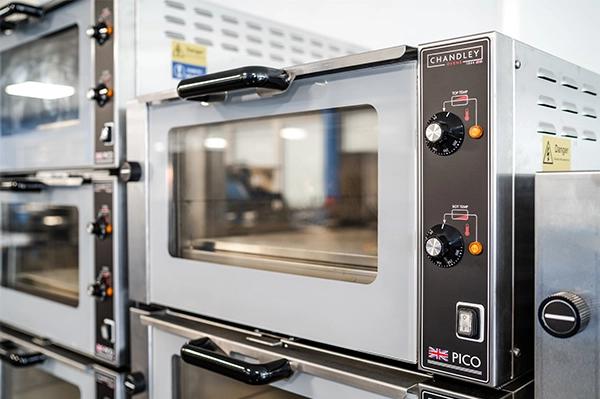

My Pico Plus oven is the center of everything I do.
- Consistent, even baking
- Handles small-batch production beautifully. I bake 5 loaves at a time, you can technically fit six but I like the extra space and airflow for browning.
- A huge upgrade from a standard home oven
- Heats up really fast (25 min) no downtime between batches
- Integrated steam and independent top and bottom heat selection
- Stackable so you can expand production with growth as needed
This is what allows me to produce high-quality bread consistently in a small space. I like this oven so much I have a second one ordered and on the way.
👉 If you’re serious about increasing your baking capacity, this is one of the biggest upgrades you can make.
Pico Plus Oven -This is the link for purchasing in the US. For other countries you will have to check directly with Chandley Ovens for purchasing options.
ISCA’s Sourdough Bread Oven Comparison Chart – This chart is a great comparison of the price and features of some of the most popular microbakery bread ovens on the market. One of the biggest reasons I chose the Pico Plus was the upfront cost. You do get a slight discount for buying two, but just buying one is a really good affordable starting point in my opinion.
*Note – If you decide to purchase this oven, here is the exact steel cart that I have mine sitting on. It’s the perfect size (30×36) and a little more heavy duty than the workspace cart I have listed below.
2. Mixing + Dough Prep (where everything starts)
These are the tools I use from the very beginning of the process:
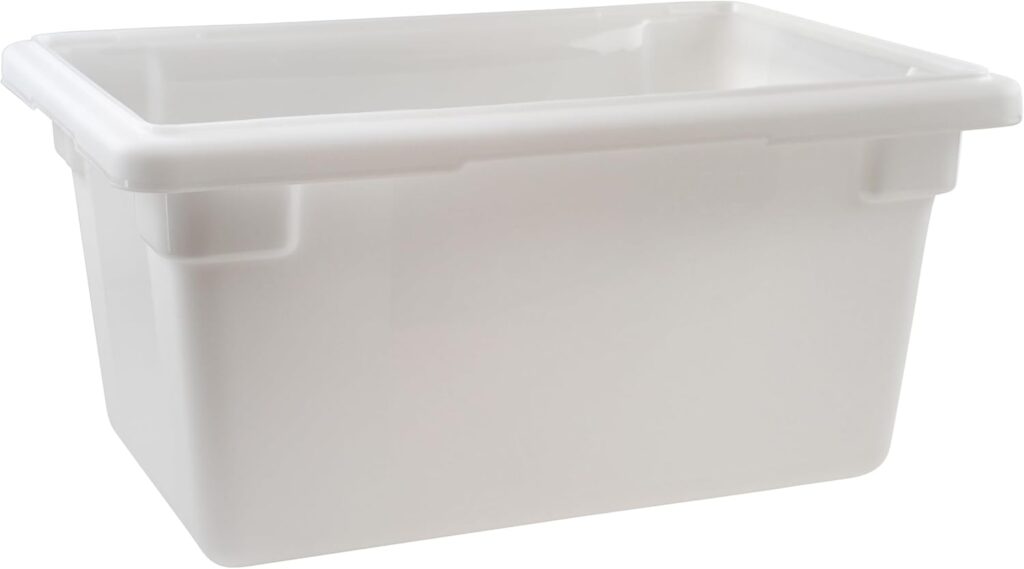
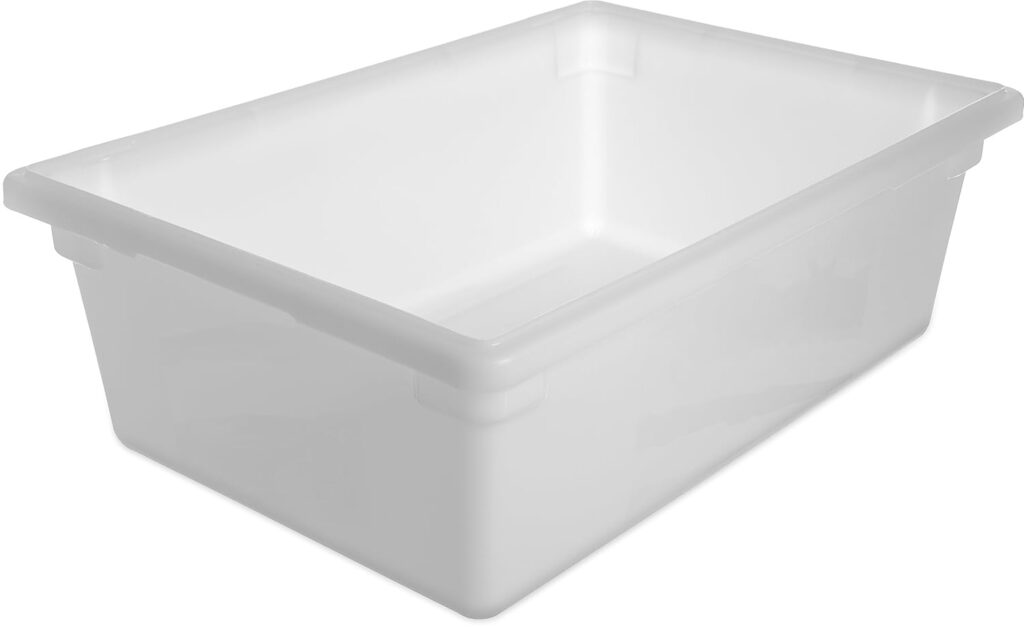
- Large food service bins → bulk mixing + fermentation (please note, lids are sold separately) The large 26 x 18 bin holds up to 20 loaves. Mine are 900g each at shaping.
- Medium food service bins → bulk mixing + fermentation (please note, lids are sold separately) the medium bin holds up to 8 or 9 loaves. I like to uses it for doughs that I cold proof in bulk overnight because they fit on the top shelf in my refrigerator.
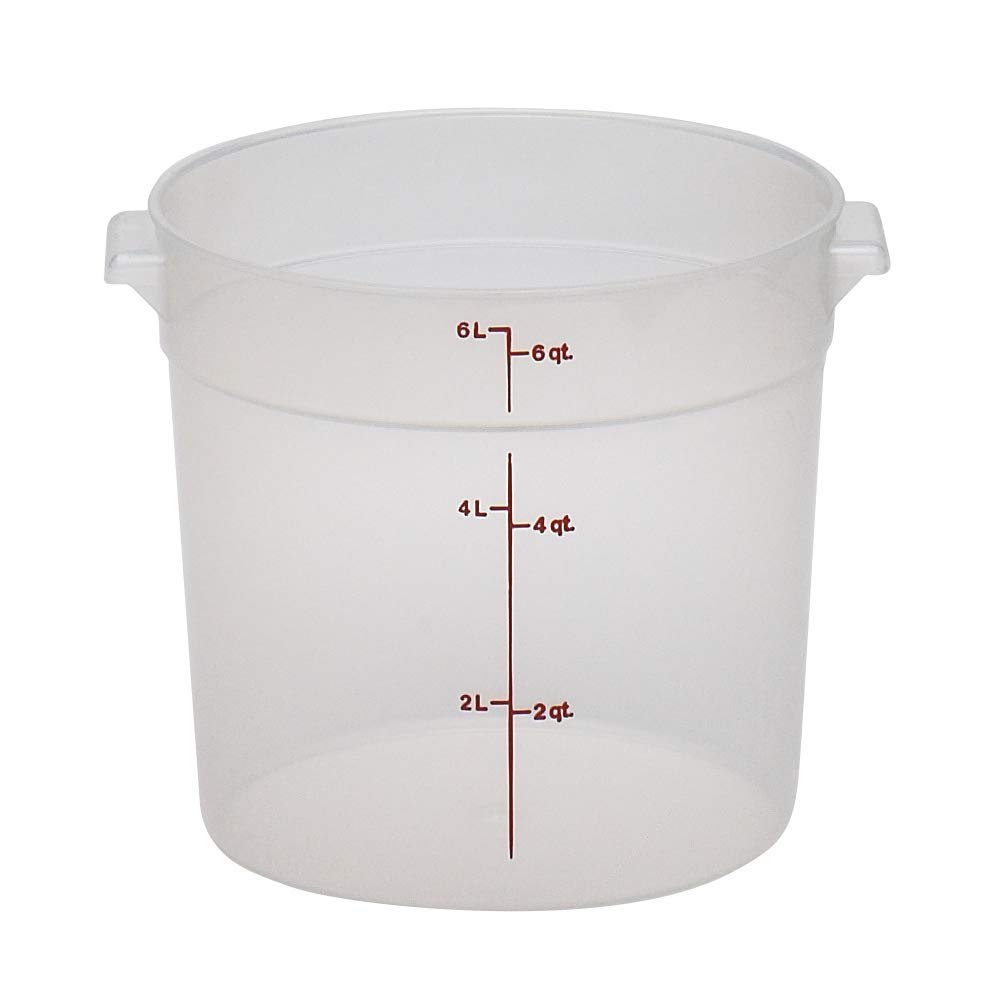
- Round Cambro containers → measuring flour, feeding starter, smaller mixes. This container is perfect for batches of starter; I use it for making 2,250g at a time.
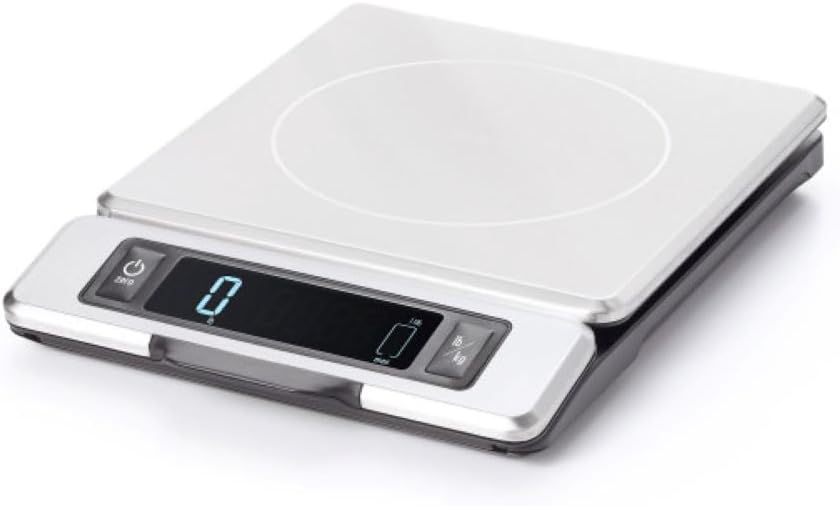
- Digital scale → I weigh everything for consistency. This scale holds up to 11lbs. It wouks great for weighing flour and shaping loaves.
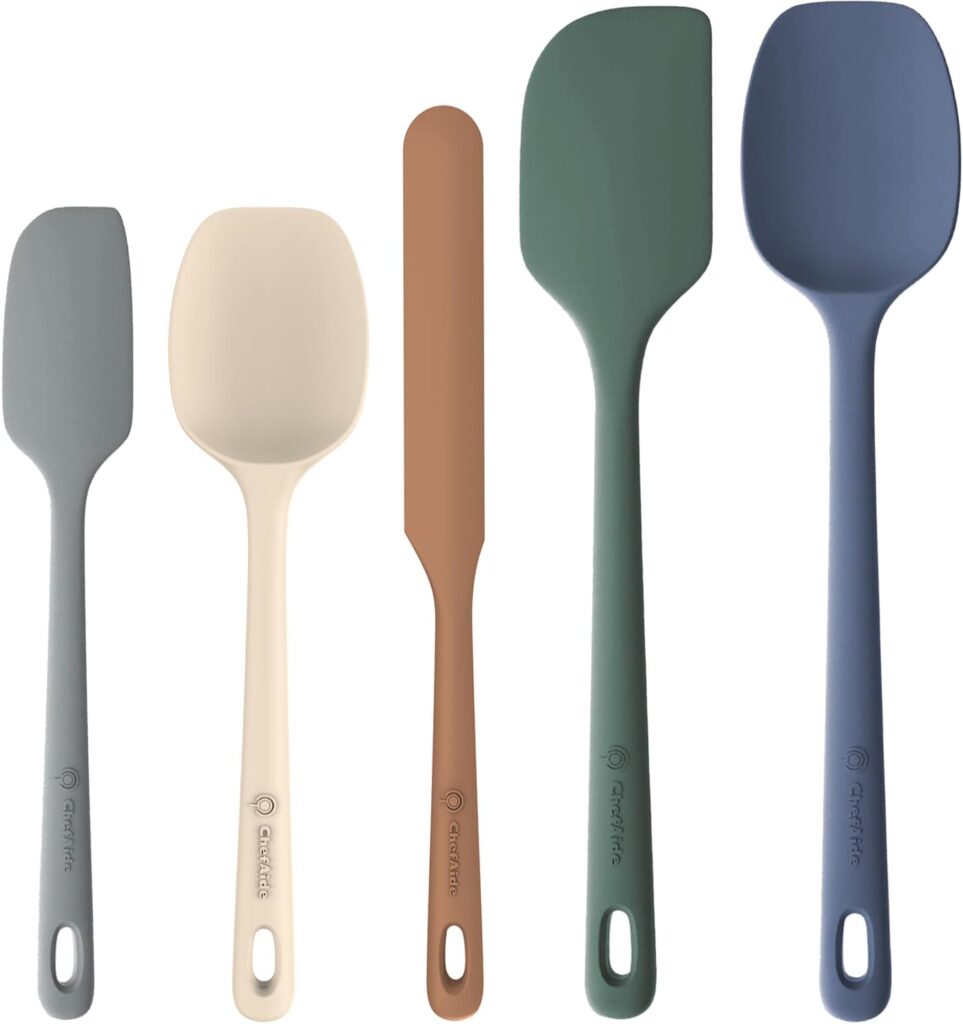
- Silicone spatulas → scraping dough, mixing, minimizing waste and because you can never have enough spatulas…
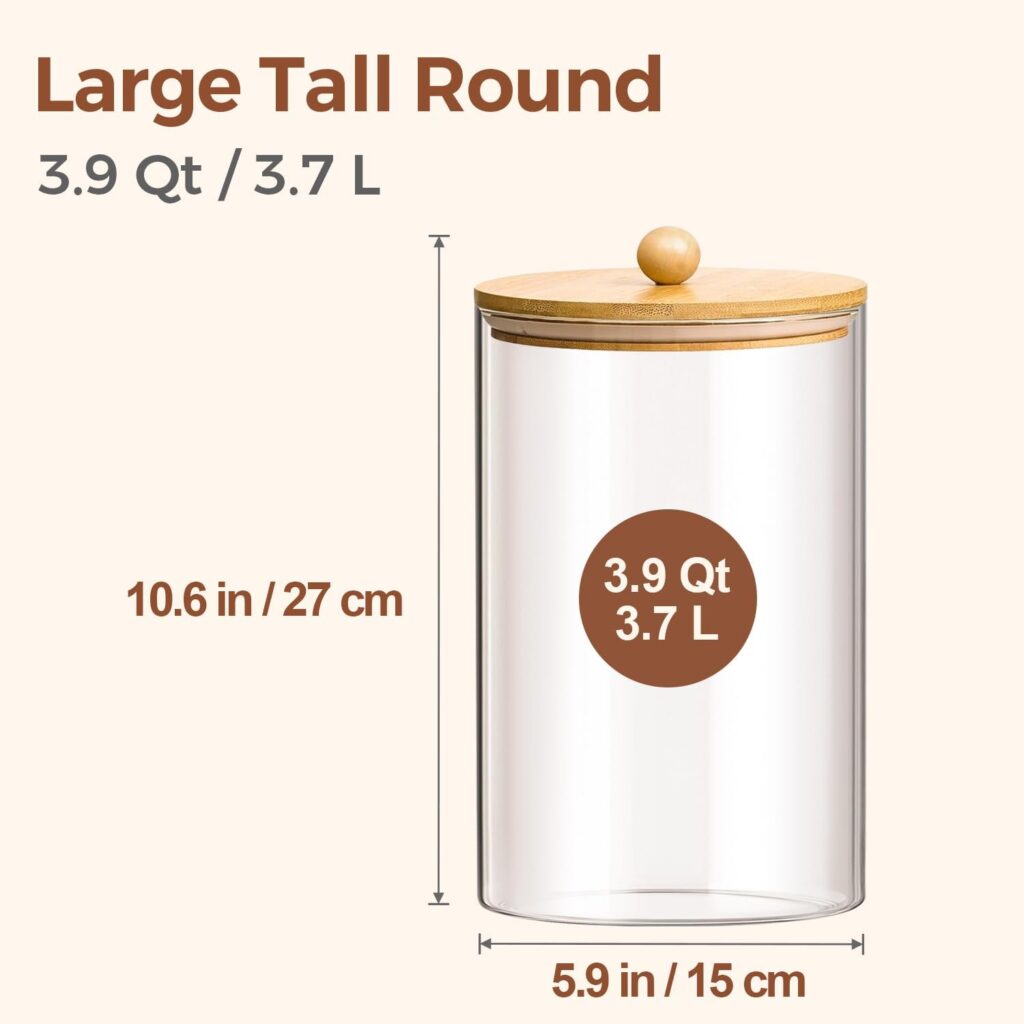
- Large Glass Jars → I like to use these for maintaining my starter when I’m not making a bulk batch or baking. The straight sides make the jars nice and easy to clean and they come in a variety of sizes. The large round one will hold about 1000g of starter.
- Digital Thermometer → I don’t stress about temperature too much but I do usually check my dough temp at least once towards the end of bulk fermentation. This gives me a good idea how quick or slow fermentation is going and how long I will rest it after shaping before going to the fridge.
👉 These are some of my most-used items—simple, affordable, and they make a huge difference in staying organized.
3. Dough Handling + Shaping
Once the dough is ready, these are my go-to tools:
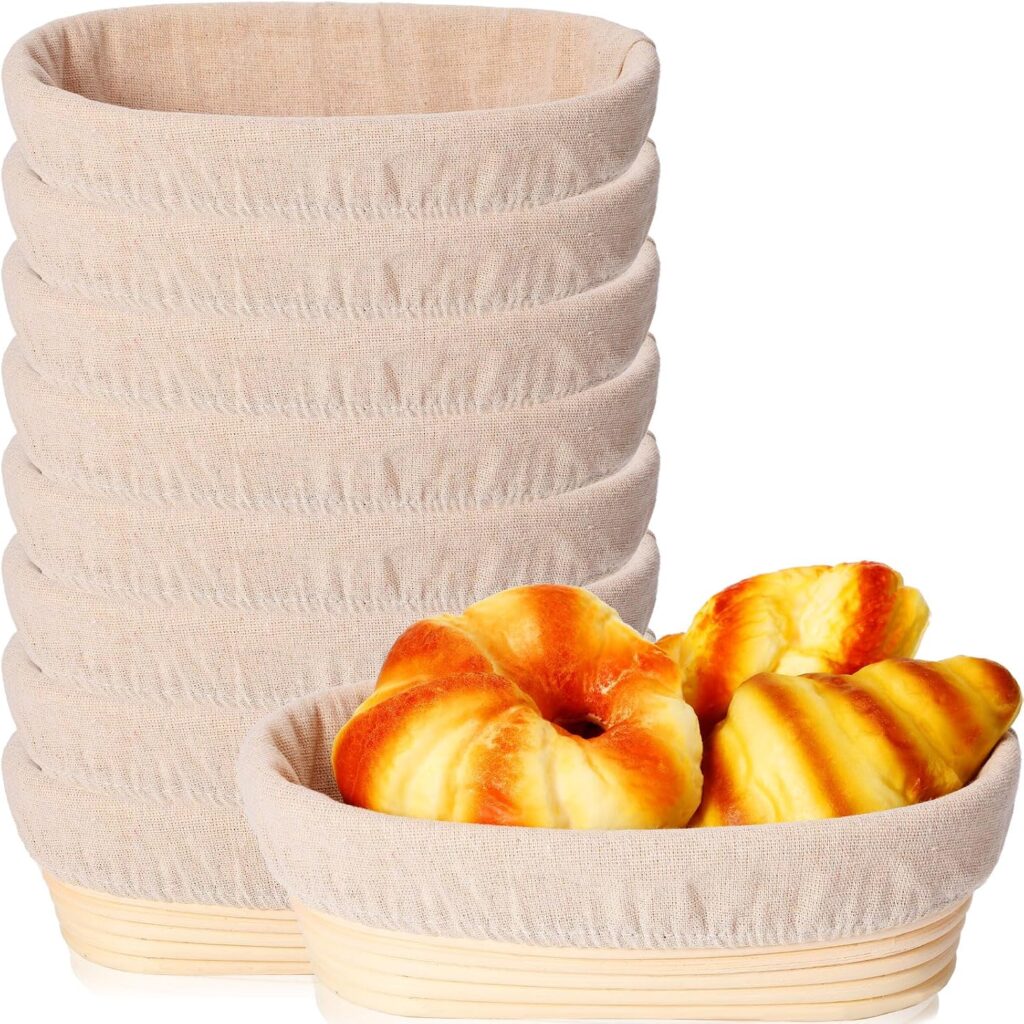
- Banneton baskets → help dough hold shape + create that classic look, necessary for overnight cold proofing. I always buy these in bulk, its a much better deal than separately.
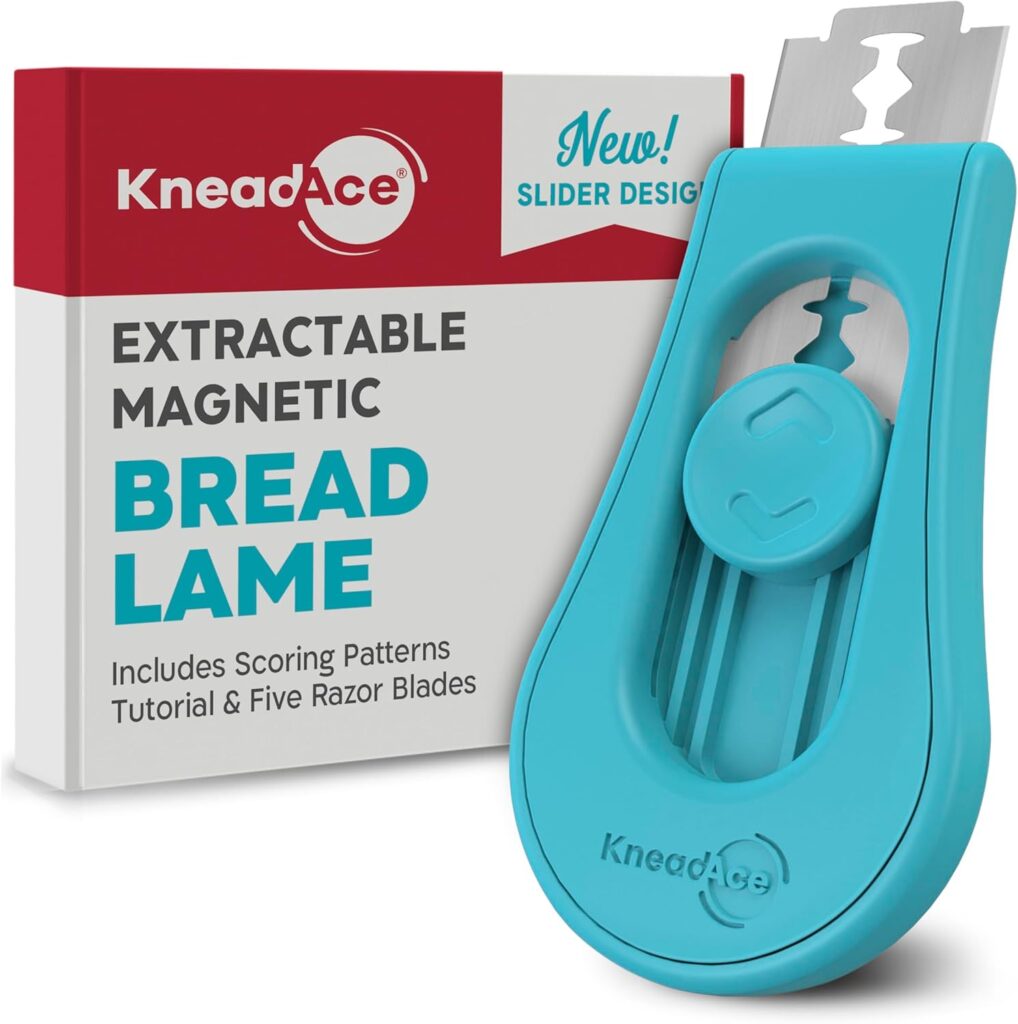
- Bread lame → scoring loaves before baking. I really like this magnetic one, and the fact that the blade slides back in is a really nice safety feature.
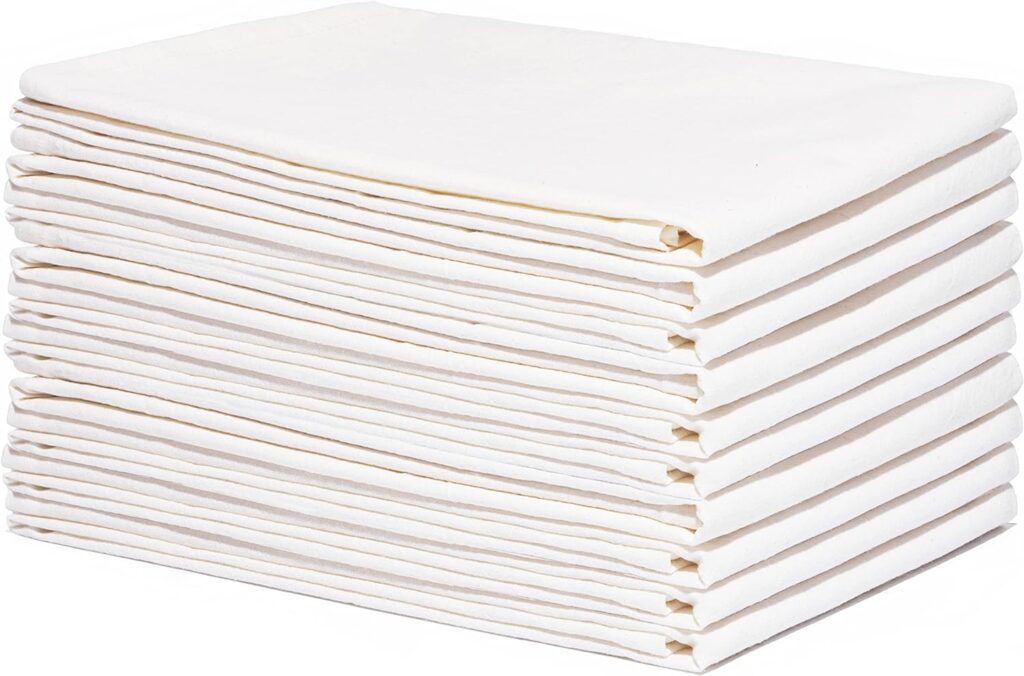
- Cotton kitchen towels → covering dough during proofing. Works perfect for sheet pans of bagels or English muffins. I use the towels damp, and cover my items as they proof.
- Flour Sifter/Duster → I like to give my dough balls a light dusting while they are sitting on the table after pre-shaping. This helps keep them from sticking when I actually shape them.
👉 If you want that artisan-style finish, these tools are what make the biggest visual difference.
4. Baking Day Essentials

This is what I use when it’s time to bake:
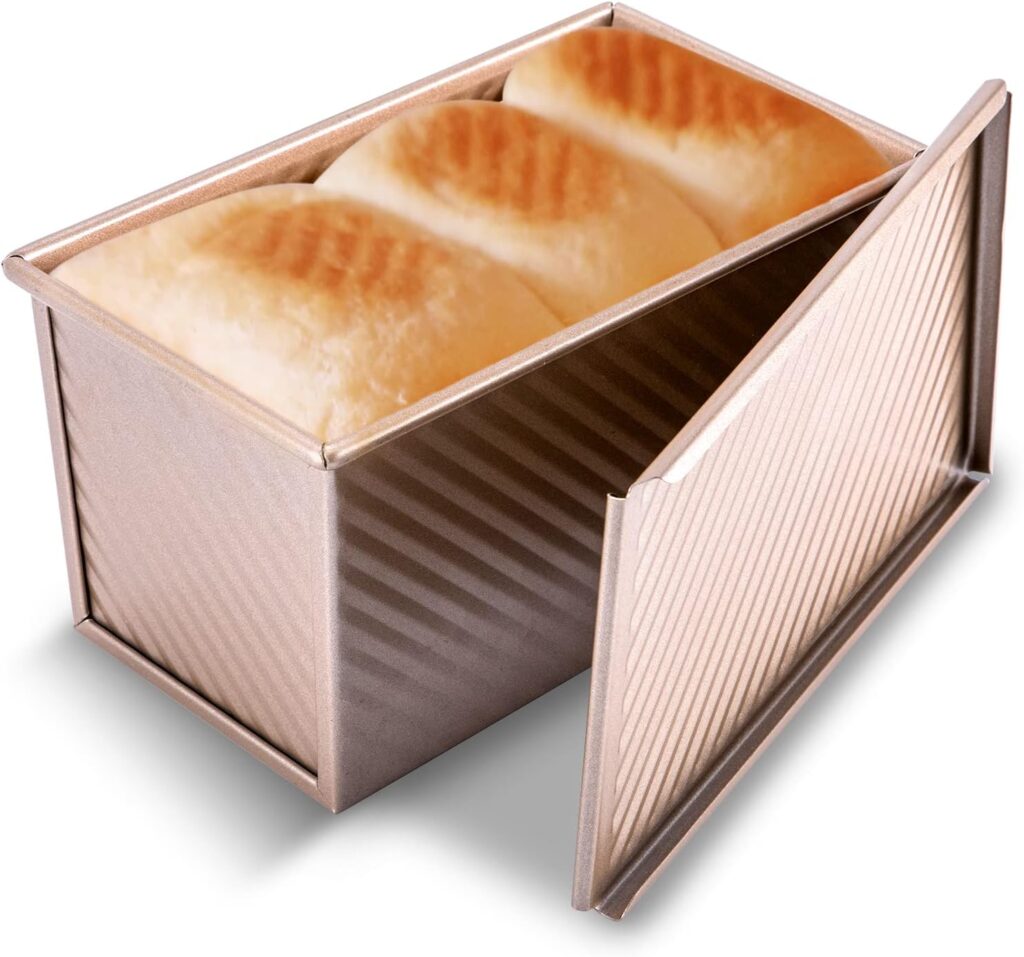
- Pullman loaf pans → for sandwich bread. I don’t use the lids but the pans work great. I especially like the holes in the bottom to release excess steam while baking.
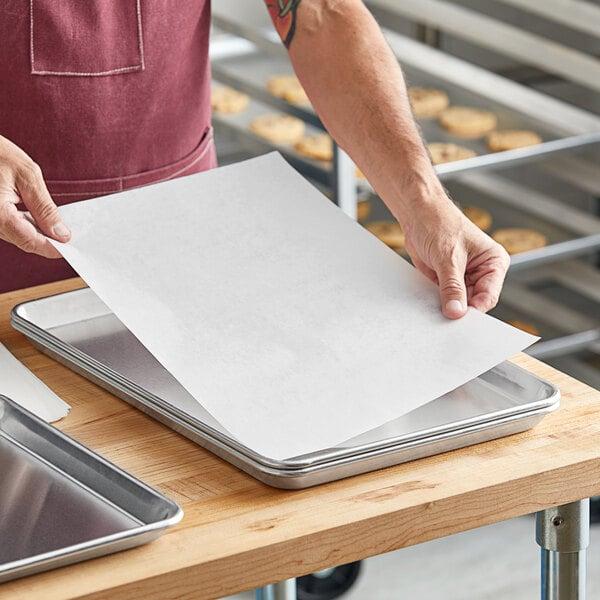
- Half sheet pans + parchment paper → for easy baking + cleanup. I use these for specialty items like cookies and scones or English muffins and bagels
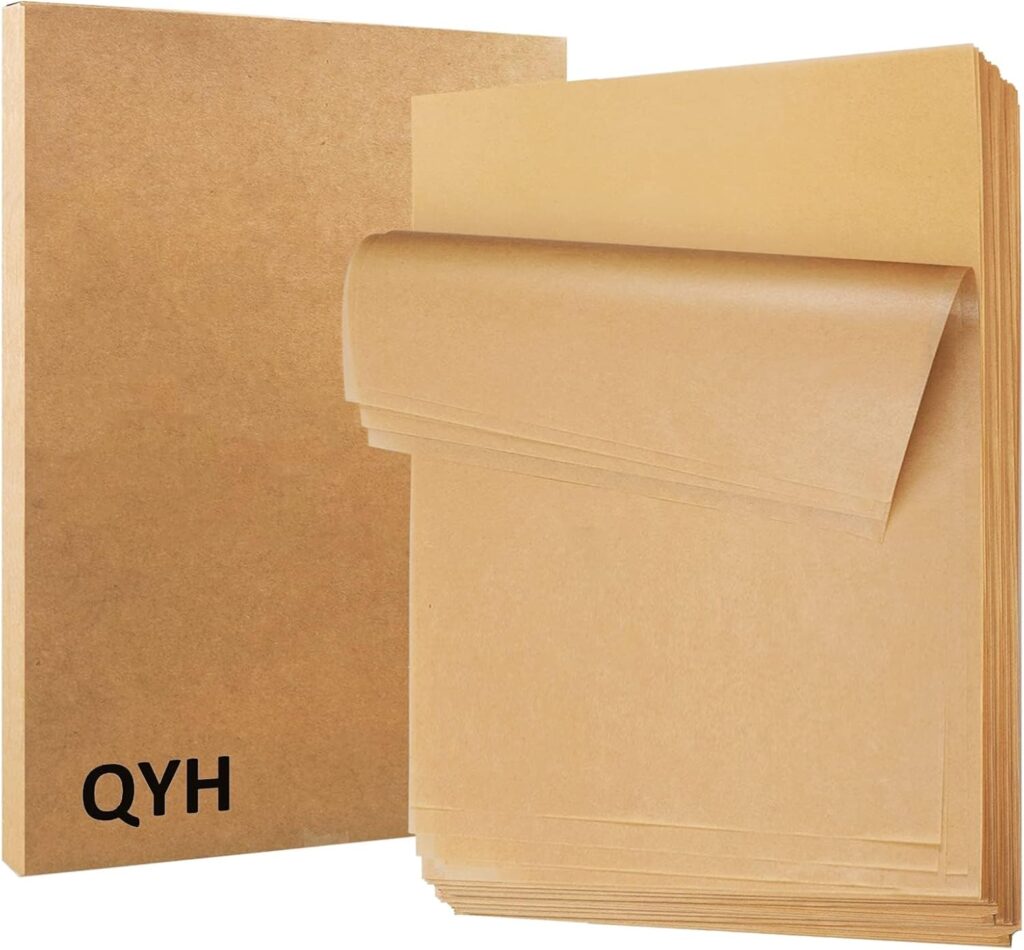
- Small parchment sheets → work great under individual loaves in my bread oven
- Silicone gloves → handling hot trays and steam safely. These are definitely a must have item, so much better than an oven mitt.
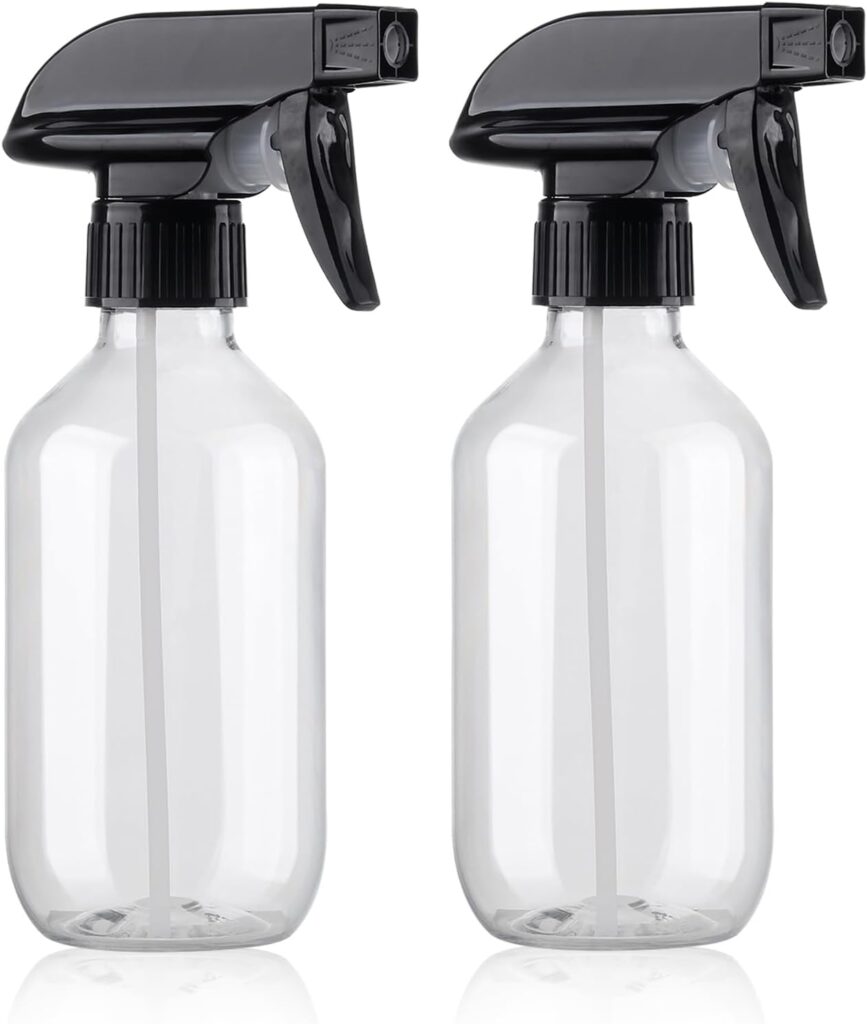
- Small spray bottle → adding moisture when needed, I spray my loaves before they go in the oven to create a nice blistered crust
- 40in Pizza Peel → This is what I use to load and unload bread in my Pico Plus
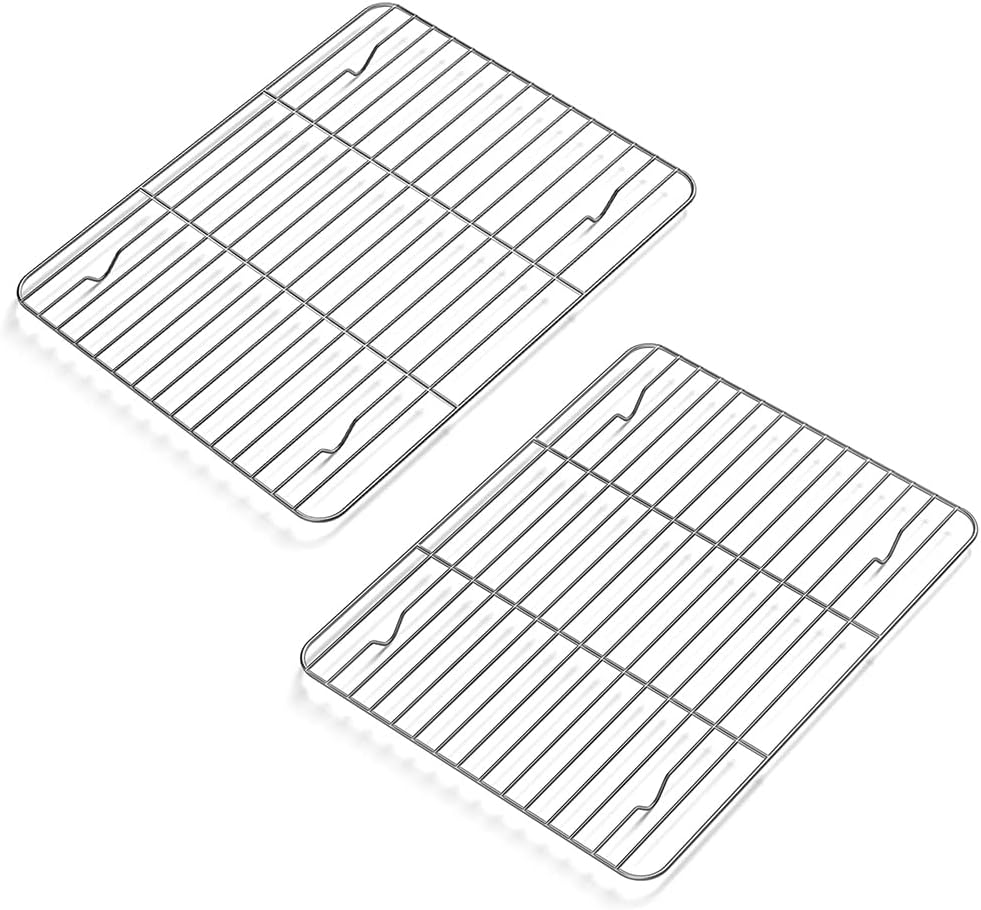
- Cooling Racks → I don’t like to put my hot loaves directly on wood racks because I feel its holds too much moisture. These small cooling racks are what I use for bread, bagels, muffins, cookies, etc. right after they com out of the oven, then I transfer to my bamboo racks.
👉 These are the kind of tools you don’t think about until you need them—and then you use them every single bake day.
5. Ingredients I Use Every Day
I keep my ingredients simple and consistent:
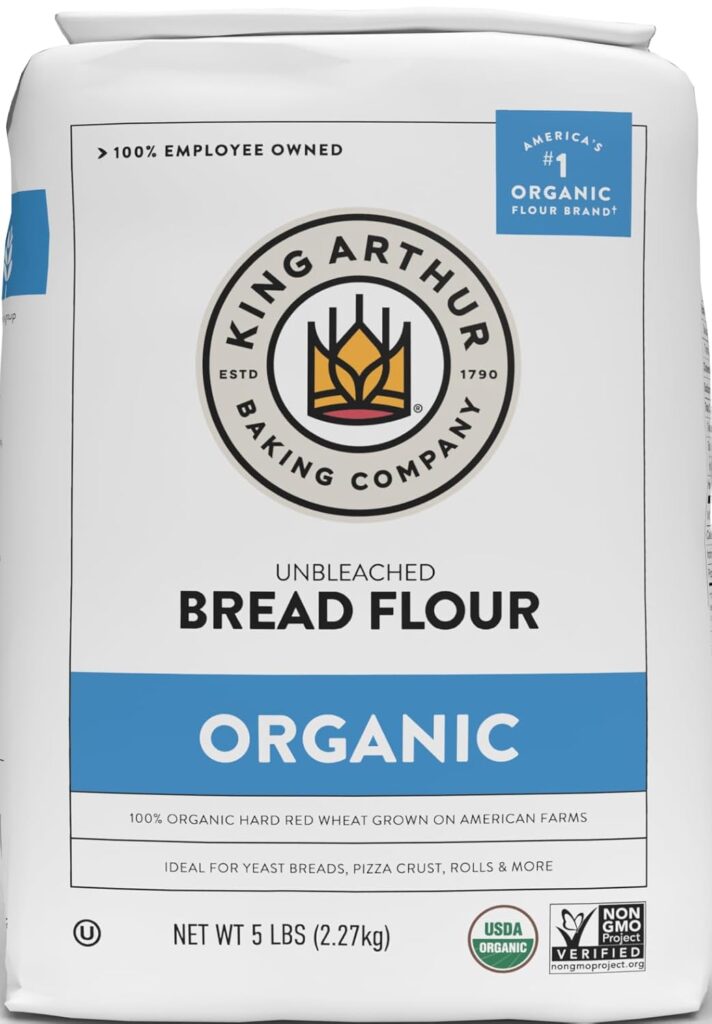
- Organic bread flour → the best I’ve tried (I buy the baker’s classic organic in 50lb bags)
- Organic bread flour → slightly lower protein content, I use this for feeding my starter and making sweets such as cookies, scones, cakes, etc.
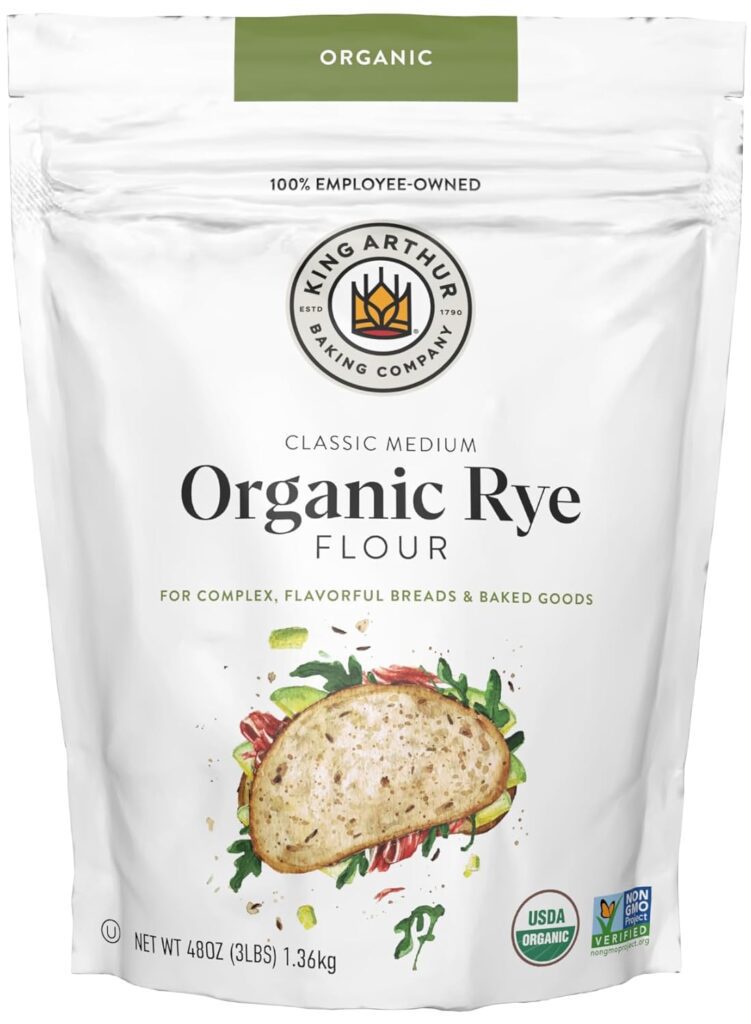
- Organic rye flour → staple in my starter feeding (great for starter health)
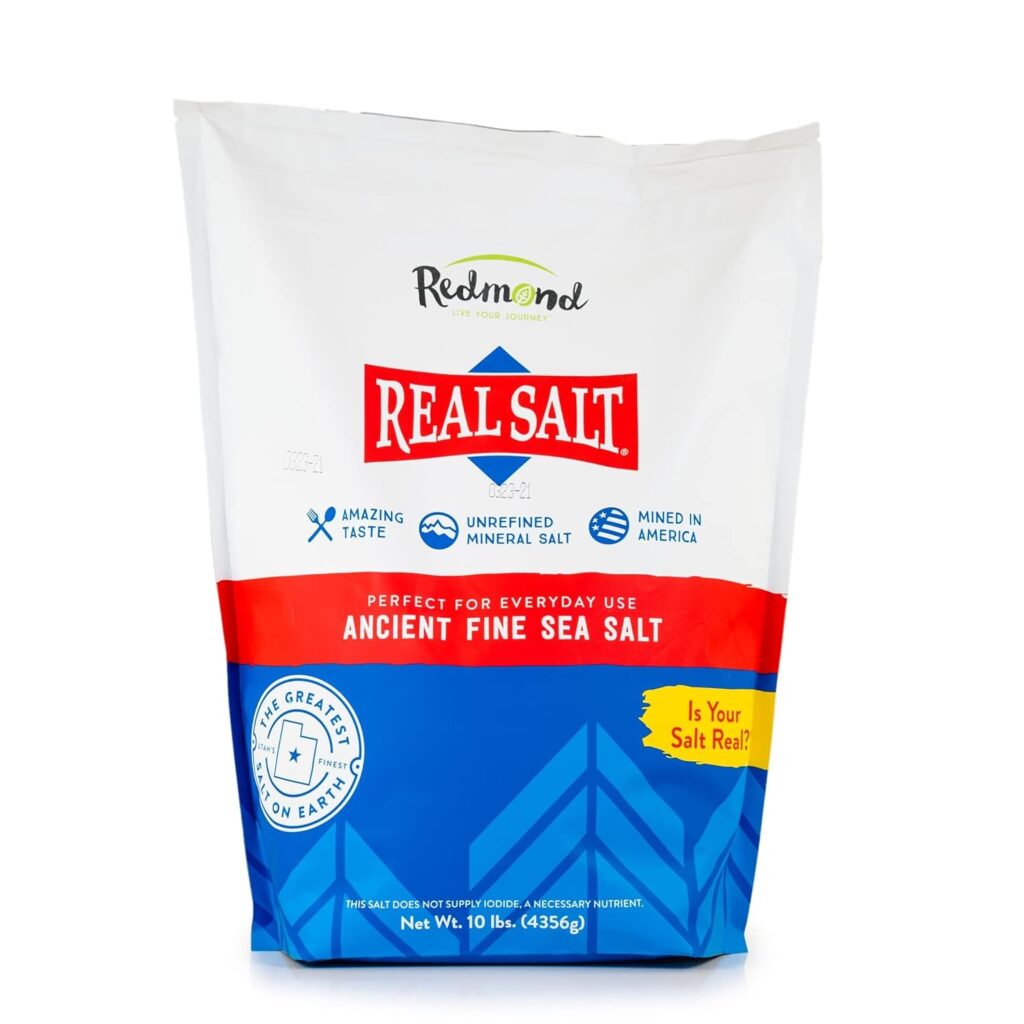
- Redmond sea salt → the only salt I use
👉 Good ingredients really do matter—you’ll notice a difference in both flavor and performance.
6. Workspace Setup

A stainless steel work table is one of the most practical upgrades I’ve made.
- Easy to clean
- Durable
- Gives me plenty of room to work and shape dough
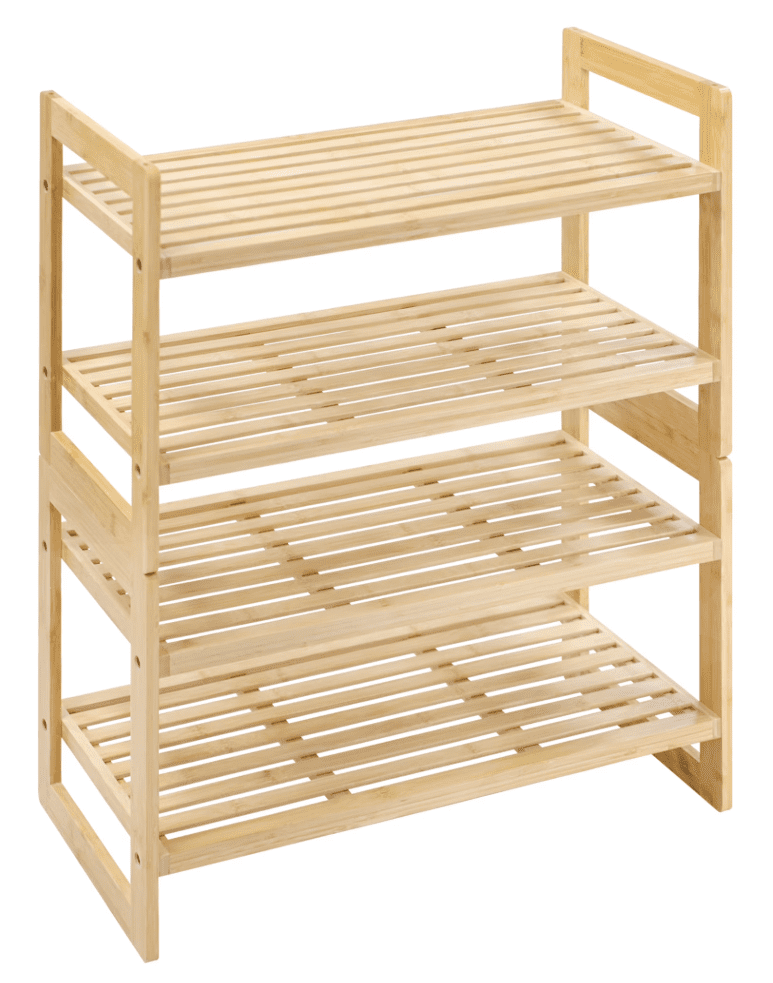
I also use multiple four-tier bamboo racks which are essential on baking days.
- Allows multiple loaves to cool at once
- Saves a ton of counter space
- Keeps airflow around the bread for better texture
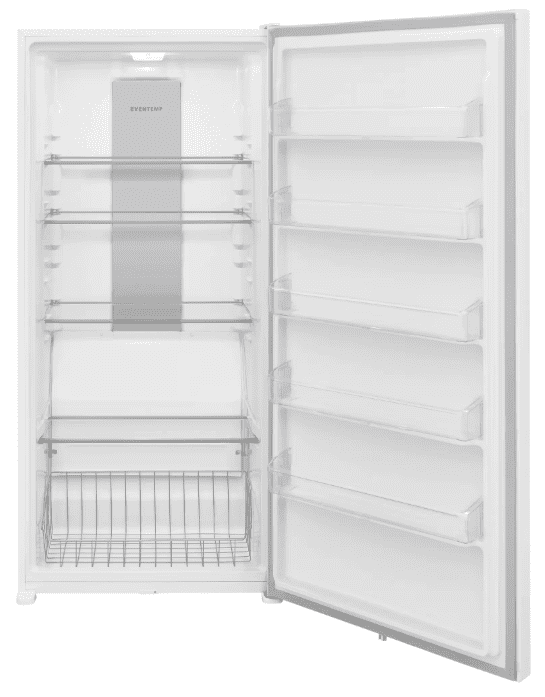
And I keep a dedicated refrigerator—my Frigidaire FRAE2024AW—as part of my setup.
- Plenty of space for dough, my husband even made some additional shelves for me
- Helps manage fermentation timing (especially for sourdough)
- Keeps everything organized and separate from our regular kitchen fridge
Cold fermentation is an important part of my process—it allows the dough to develop deeper flavor, better texture, and a more complex crumb.
This model has a large 20 cu. ft. capacity and consistent cooling, which makes it really practical for small-scale production.
👉 Having a dedicated workspace (even a small one) makes everything feel more efficient and less chaotic.
7. Packaging + Labeling
Once everything is baked, these tools help me get orders out efficiently:
- Bread bags → simple, clean packaging. I love that these ones have tabs! They are perfect for storing bread all week. I’ve tried other bread bags and expensive options but I find these keep my bread fresh the longest.
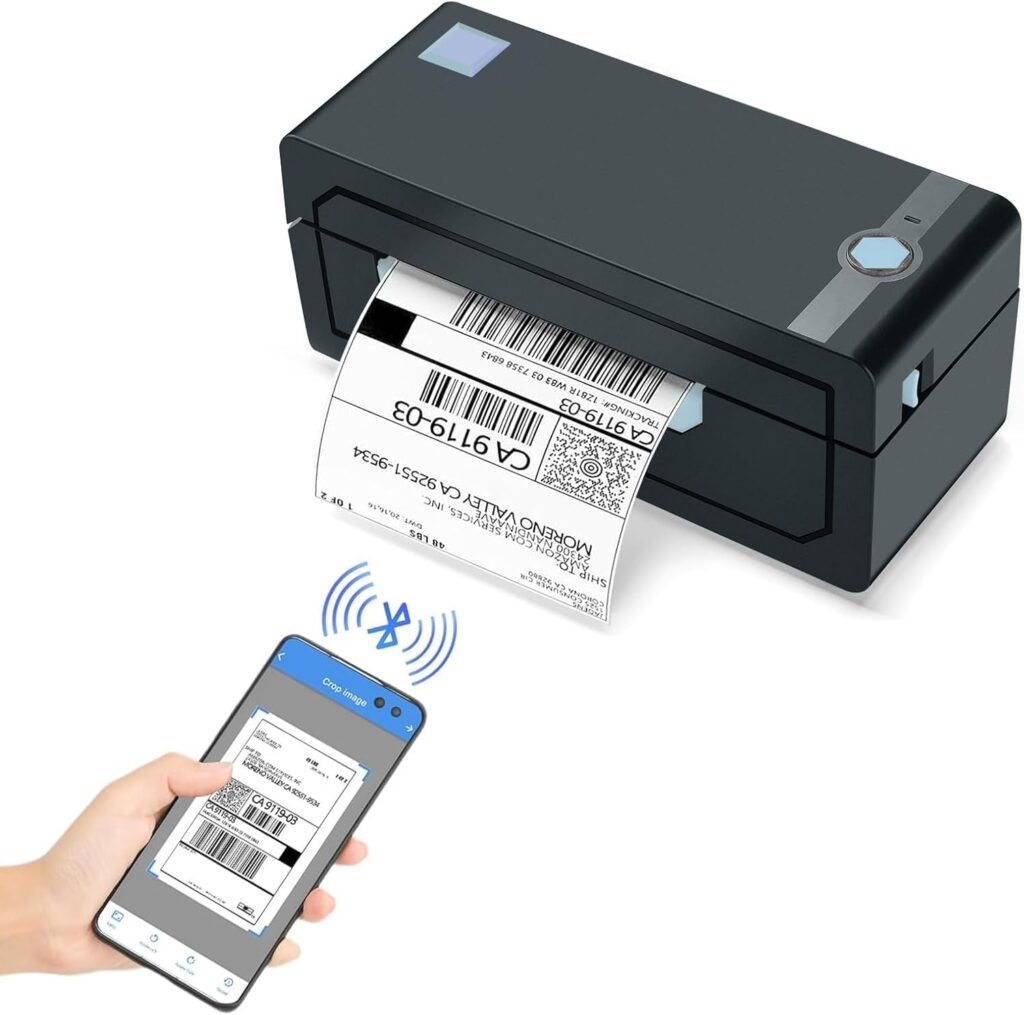
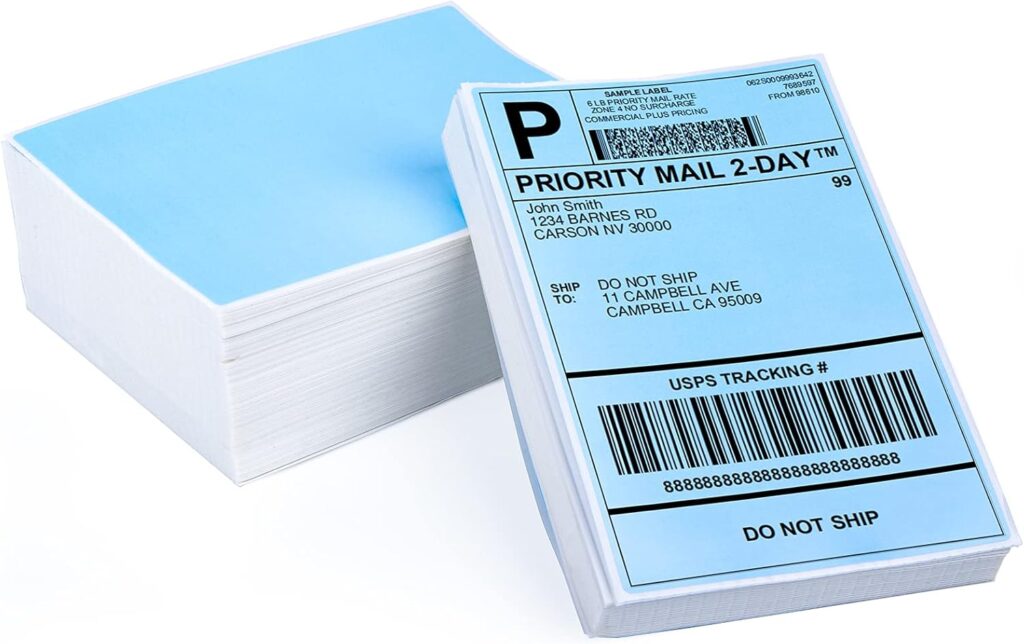
- Thermal label printer → fast, no-ink needed to print labels. Seriously, these are a million times better than a traditional ink printer. You need one if you are doing any kind of labeling.
- Thermal Labels → I like the color options on these; I use the blue ones.
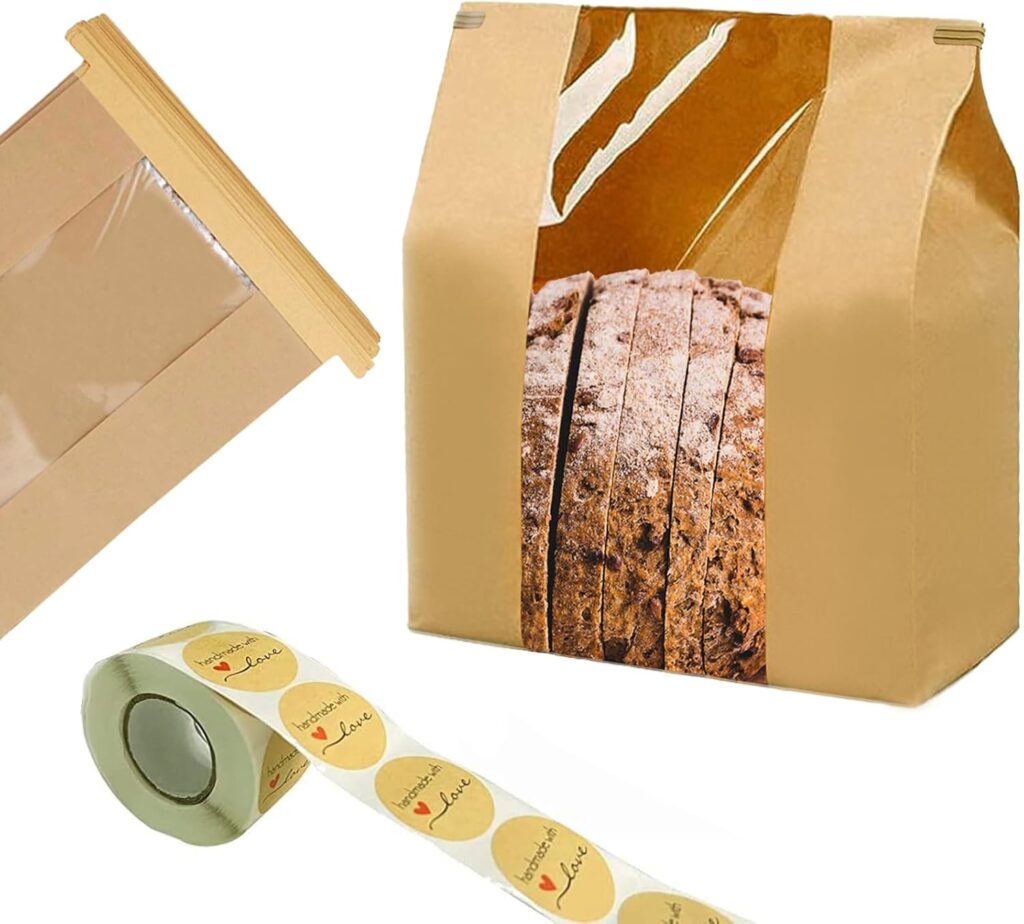
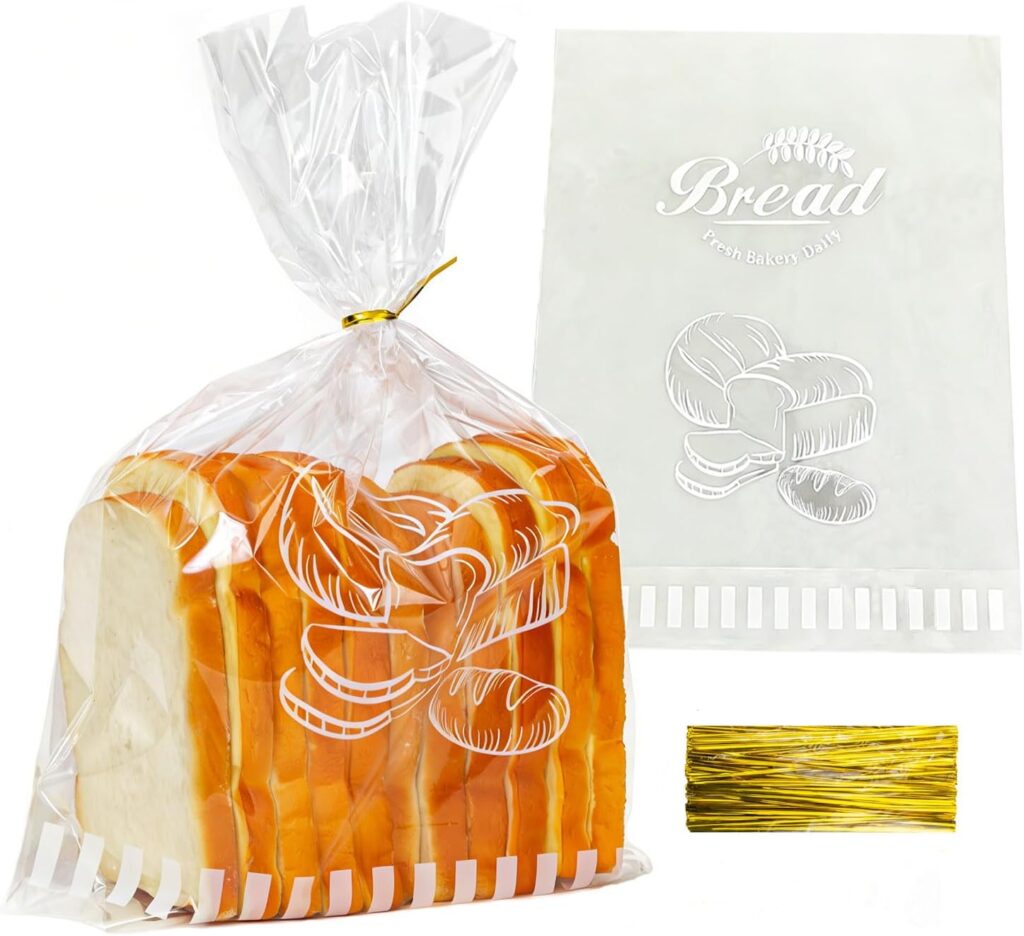
- Clear bread bags → perfect for packaging specialty items like English muffins and bagels
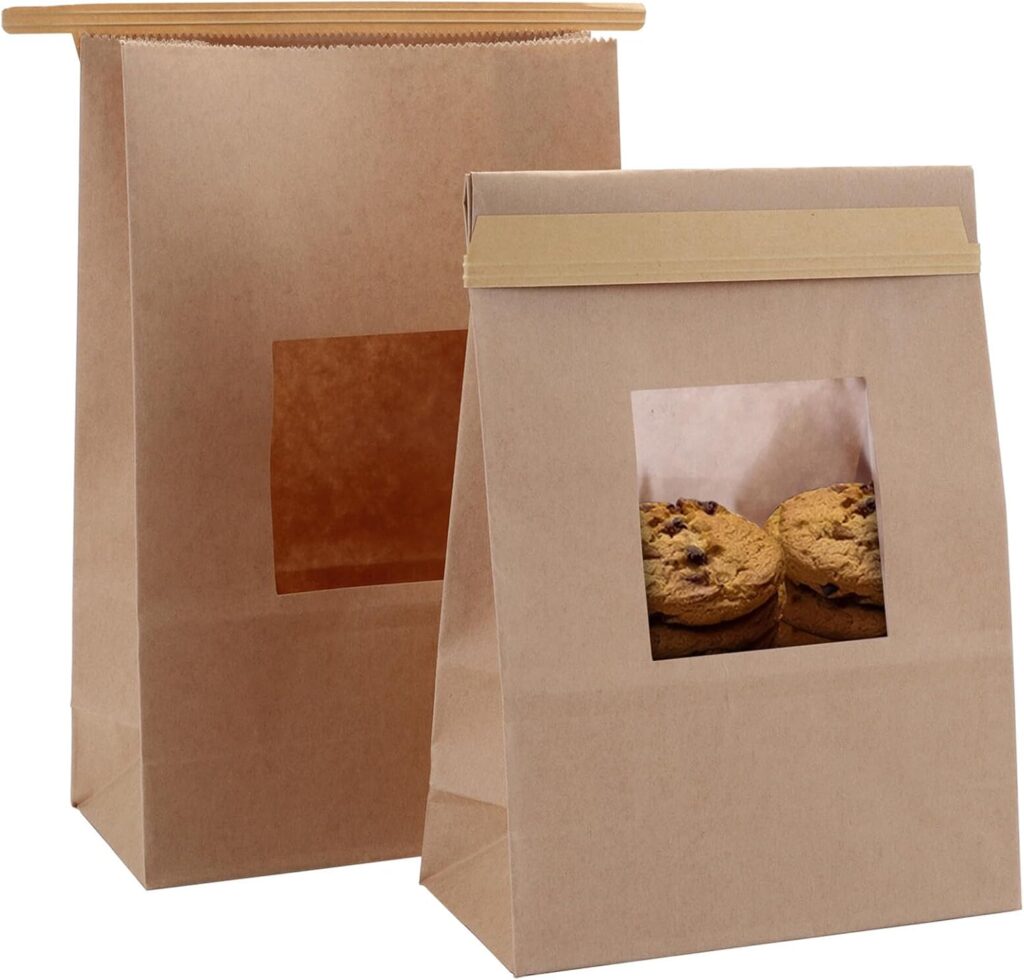
- Small brown bags → I use these for my cookies and scones
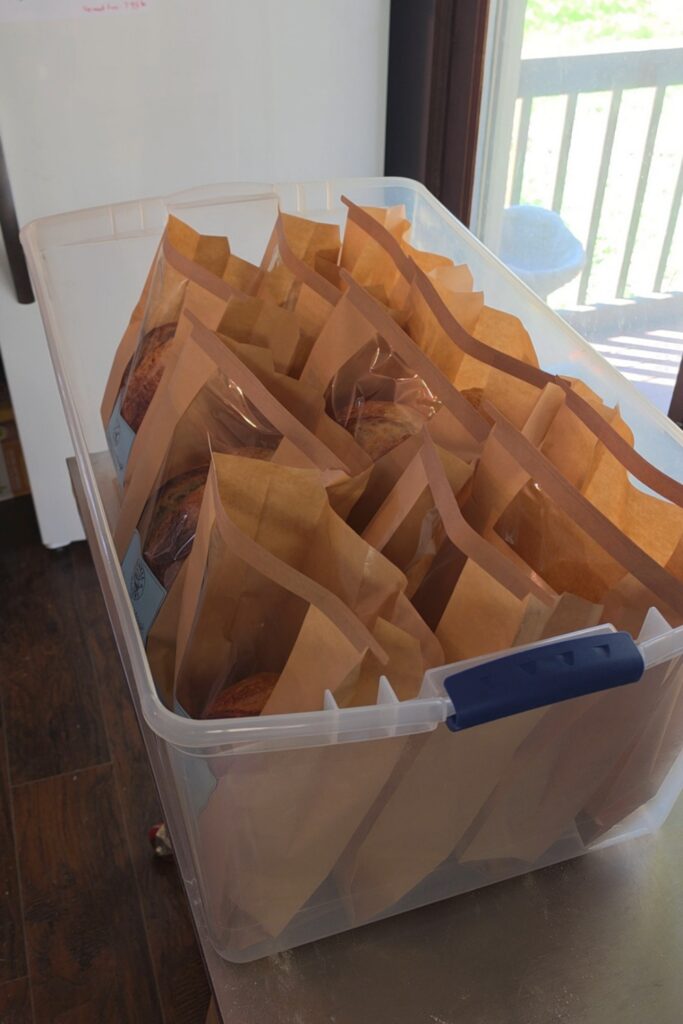
- Large Clear totes w/lid → These are perfect for transporting bread to pickup locations or keeping organized and setting out for porch pickups, I use the 105qt size
👉 These small upgrades save a surprising amount of time, especially as your order volume grows.
Closing
That’s my everyday setup.
Nothing overly complicated—just tools that make my workflow smoother and help me consistently produce bread I’m proud of.
If you’re building your own micro bakery, my biggest advice is:
Start simple, and add as you grow. The right tools should support your process—not overwhelm it.
Storefront Links
If you want most of the links above all in one place, check out my Amazon storefront below. There are a few items above from different sites but most are from Amazon. If you make any purchases I greatly appreciate it 💕. Any small commissions, at no cost to you, will go towards my bakery and homestead. Gotta keep the chickens fed and happy 😊.
👉 Browse all my go-to micro bakery tools here: Amazon Storefront
What tools do you actually need to start a micro bakery?
If you’re just getting started, you don’t need everything on this list. A scale, mixing containers, and a reliable oven will take you a long way. You can always add more tools as your baking grows.

Continue Your Sourdough Journey
👉Simple Farmhouse Sourdough Bread Recipe (Beginner-Friendly + Digestible)
Learn the full beginner-friendly process for mixing, fermenting, shaping, and baking sourdough bread.
👉How to Fix Sticky Sourdough (7 Secrets for Soft, Airy Bread)
If you’ve struggled with sticky dough or flat loaves, I’m going to walk you through exactly how to fix it
👉Browned Butter Sourdough Chocolate Chip Cookies
If you’ve been looking for the perfect sourdough chocolate chip cookies, this recipe is it!
What about you?
If you’re baking at home or building your own micro bakery, what’s one tool you use all the time—or one you’re unsure about?
👇 Leave a comment below, I’d love to hear from you!
5 responses to “My Go-To Micro Bakery Tools (What I Actually Use Daily)”
-
wish you all the best
-
Thank you!!!
-
-
Exactly the list I was looking for
-
Perfect! Glad I could help 😊.
-
-
Thank you, thank you, thank you for sharing..
too kind. I appreciate you! 🤍
Tags:

Leave a Comment