
Sub-Total: $0.00
Sourdough Fermentation Explained: Why I Use Less Starter (And What It Changes)
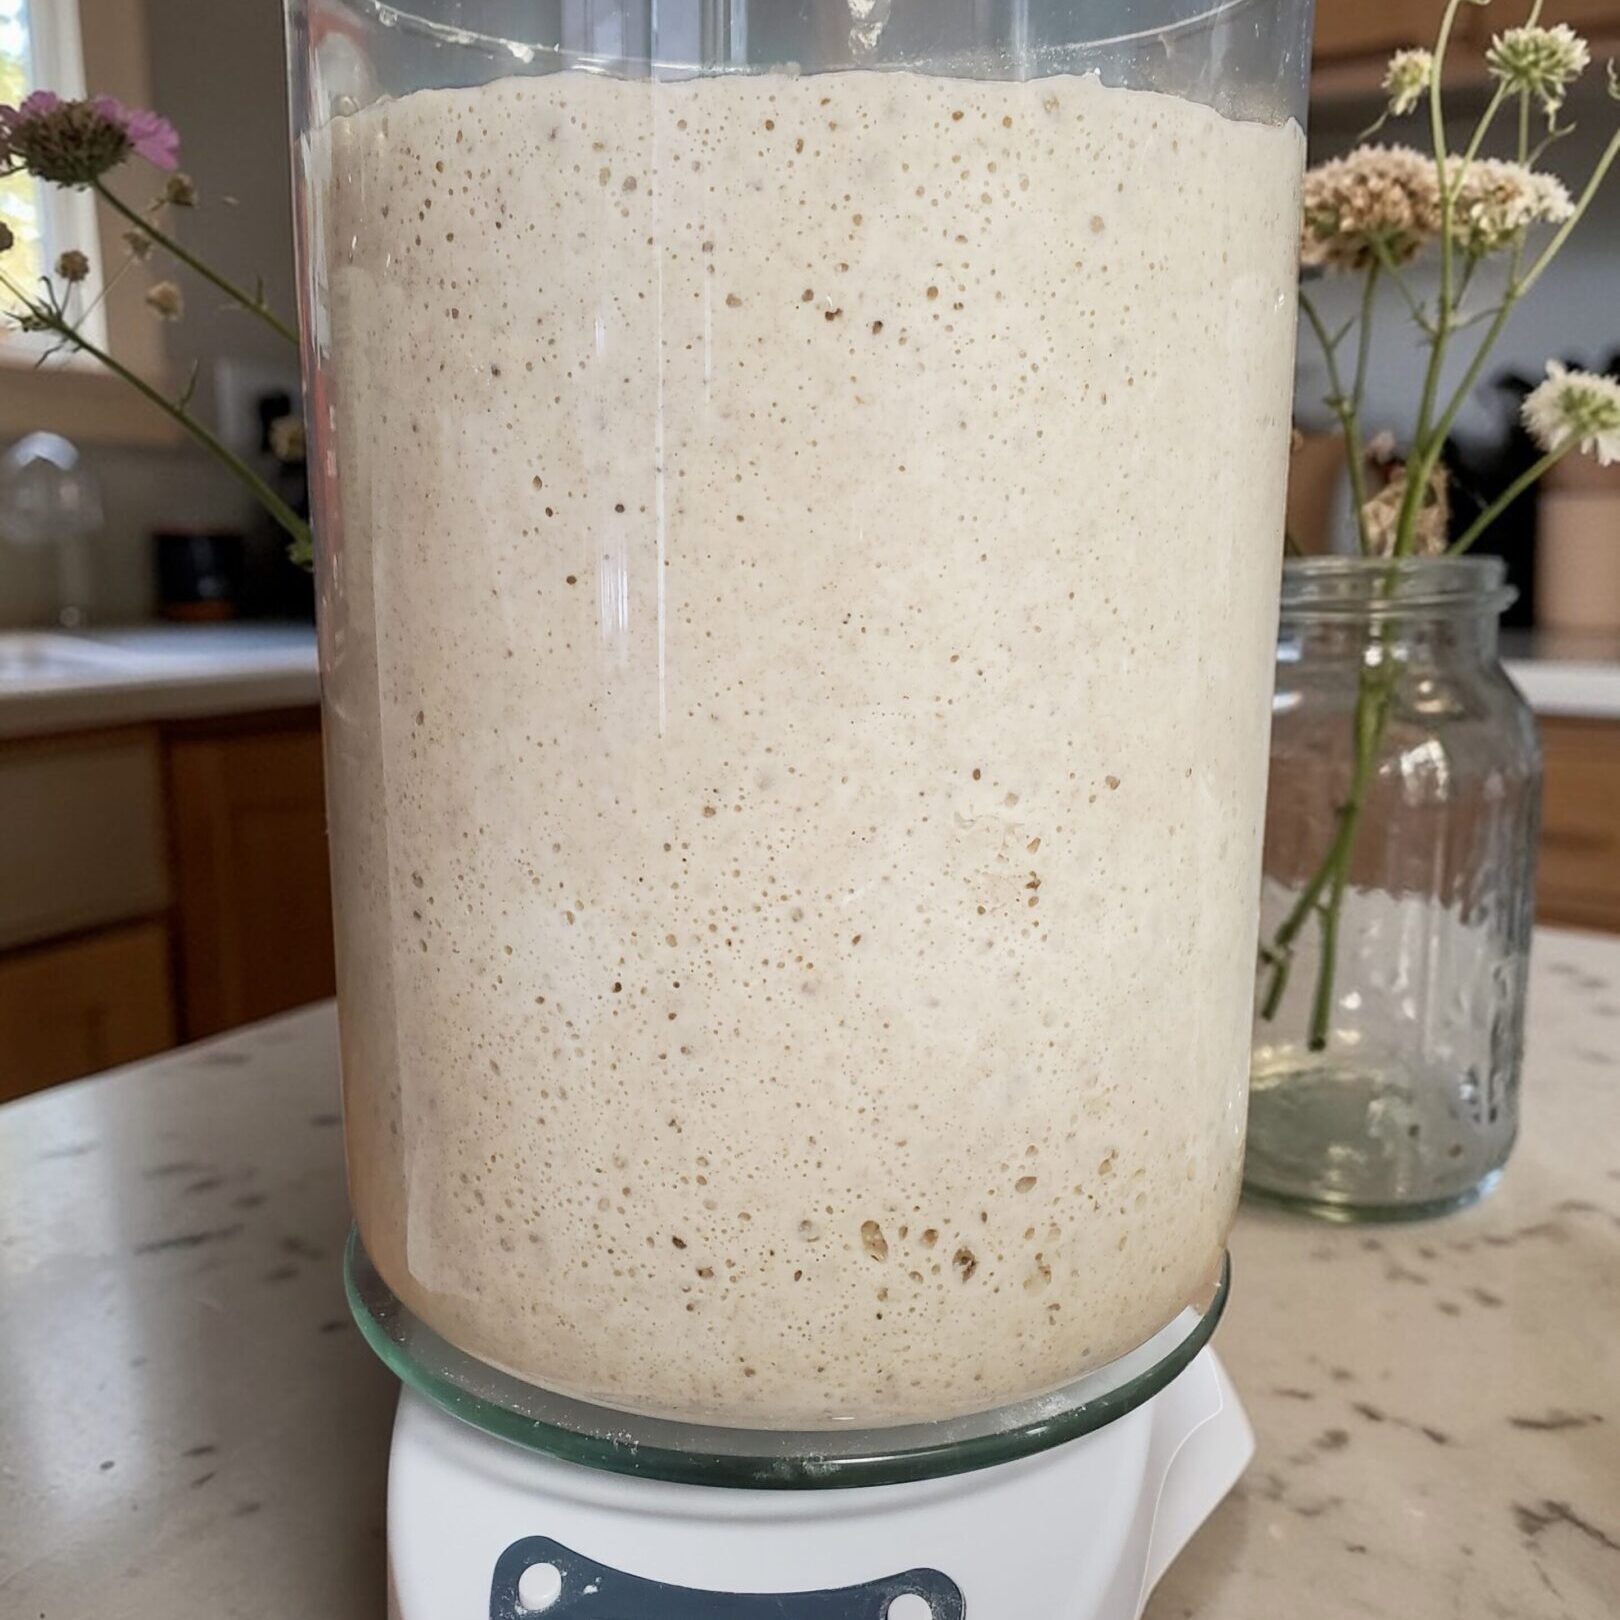
Wondering why some sourdough recipes use 50g of starter while others call for 100g or more? The amount of starter you use changes fermentation speed, flavor, dough strength, and even your baking schedule. In this article I’ll explain how starter amount affects fermentation and why I’ve settled on using less starter in my own sourdough process.
One of the biggest questions I get is why my sourdough timeline looks slightly different from other bakers.
Some recipes call for 100 grams of starter or even 125 grams. I only use 50 grams.
That one small change can completely change fermentation timing, dough behavior, flavor, and even how easy the dough is to work with.
A lot of people assume more starter is better because it makes the dough rise faster. But faster doesn’t always mean better.
Today I want to break down exactly why I use less starter, how fermentation actually works, and how you can use this information to better understand your own dough.
Just a heads up, I’m about to go a little science geek on you. 😄
Don’t worry—I promise to keep it beginner-friendly while still including enough detail for experienced bakers. This is a general overview of fermentation, not a deep dive into all the microbiology behind sourdough.
If you’re someone who loves the science as much as I do, I highly recommend checking out The Sourdough Journey. Tom Cucuzza has built an incredible resource full of experiments and educational content that dives much deeper into the science of sourdough.
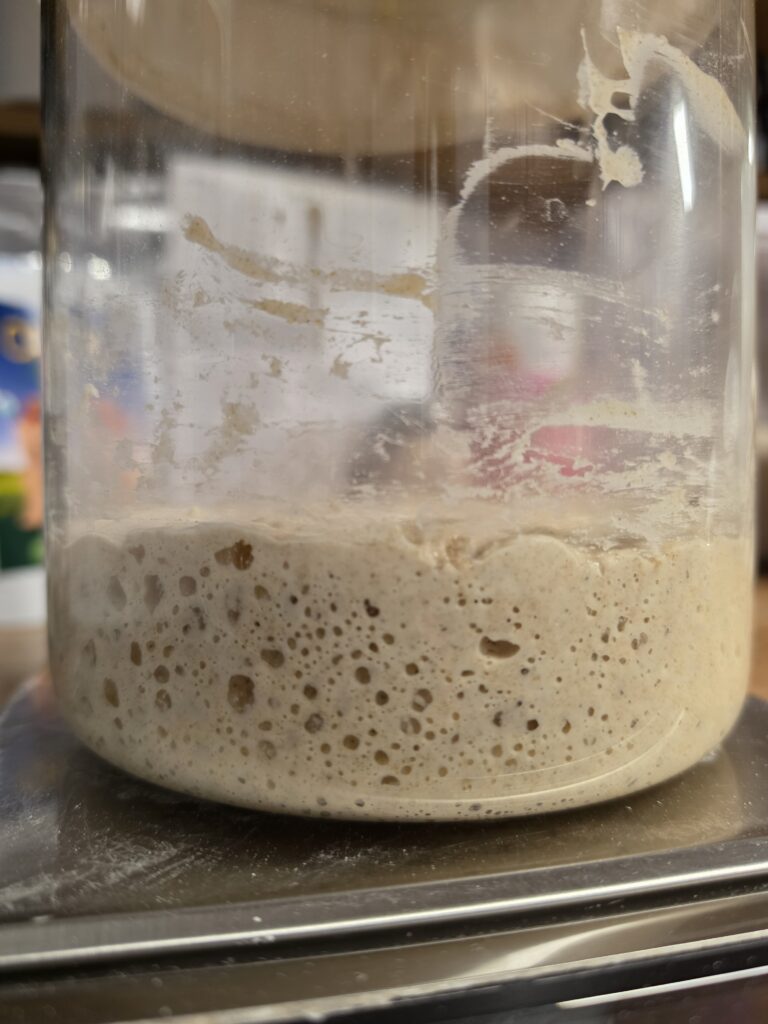
What Does Sourdough Starter Actually Do?
Your sourdough starter is made up of wild yeast and beneficial bacteria. When you mix a fresh batch of dough, those organisms immediately begin feeding on the fresh flour, producing gas, acids, and flavor.
That process is what makes sourdough rise.
The amount of starter you use directly affects how quickly fermentation begins and how fast it moves.
This is called your inoculation percentage—basically how much already-fermented flour you’re introducing into your fresh flour.
For example:
- 100g starter in a 500g flour loaf → 100 ÷ 500 = 20% inoculation
- 50g starter in a 500g flour loaf → 50 ÷ 500 = 10% inoculation
That may not sound like a huge difference, but it changes a lot.
A 20% inoculation is going to ferment much faster than a 10% inoculation because you’re starting with roughly twice as many active yeast and bacterial cells already at work.
Now, as a hobby baker or beginner sourdough enthusiast, I don’t think it’s necessary to calculate these numbers every single time you bake.
But it is helpful to understand them.
Because when you look at a recipe and see how much starter it calls for compared to how much flour is in it, you can start to get a rough idea of how quickly that dough might ferment.
And once you understand that, sourdough starts making a whole lot more sense.
Why Less Starter Takes Longer to Ferment
Think of It Like Compound Interest 💰…The easiest way to understand fermentation is to think about money.
If you put $100 in a bank account, it grows faster than $50 because you’re earning interest on a larger amount from the beginning.
Then you keep earning interest on that interest.
That’s compound growth.
Sourdough works the same way.
Your yeast and bacteria multiply and expand exponentially as they feed. The more you start with, the faster they multiply and the faster your dough ferments.
So if you start with more starter, your fermentation engine is already running bigger from the start.
If you start with less, it takes longer to build momentum.
Both will get there—but the timeline will look very different.
50g vs. 100g Starter: Fermentation Timeline
For my standard loaves, which are ~900g at shaping, I use 50 grams of starter per loaf. This lower starter amount intentionally slows fermentation, giving the dough more time to develop flavor and structure before baking. If you want my exact recipe you can find it here Simple Farmhouse Sourdough Bread Recipe.
At a dough temperature of around 74–76°F, my typical timeline looks like this:
My 50g Starter Method
- Mix dough
- Stretch and folds during the first 2 hours
- Bulk ferment continues
- Shape around 7 hours
- Rest in banneton for 1–1.5 hours
- Into the fridge around 8–8.5 hours
This gives me a slower, steadier fermentation and better control over my dough.
A recipe using 100 grams of starter usually moves much faster.
Typical 100g Starter Method
- Mix dough
- Stretch and folds during the first 2 hours
- Bulk fermentation often finishes around 4.5–5.5 hours
- Shape around 5 hours
- Into the fridge around 6–6.5 hours
Again, neither is wrong.
They’re just different.
The important thing is understanding what your starter amount is doing to your timeline.
How Starter Amount Changes Flavor
This is one of the biggest reasons I prefer using less starter.
A lot of people assume that more starter automatically means a more sour loaf, but it’s not quite that simple.
Using more starter does speed up fermentation because you’re starting with more active yeast and bacteria. That means acids begin building faster, which can create a tangier flavor on a shorter timeline.
But here’s the important part:
Faster fermentation doesn’t always mean deeper flavor.
When you use less starter, the dough simply has more time to develop. That longer timeline gives the yeast and bacteria more time to work, develop flavor, and build acids gradually.
This often creates:
- A deeper, more complex flavor
- Better acid balance
- More time for gluten development
- Often easier digestion
And when you pair that longer bulk fermentation with a cold proof, that flavor development continues even more.
Cold fermentation slows everything down, but it doesn’t stop it.
The yeast and bacteria keep working slowly, continuing to build flavor and strengthen the dough.
That’s one of the biggest reasons I use a lower inoculation percentage.
It gives me more control over the fermentation process and helps create the flavor profile I’m after.
For me, that slower and steadier fermentation is where true sourdough flavor really develops.
How Dough Temperature Affects Fermentation
Starter amount matters, but temperature can completely change your timeline too.
This is one of the biggest things beginner bakers overlook.
Even just a few degrees can make a huge difference. That’s why two bakers can follow the exact same recipe and still have completely different fermentation times.
Here’s what fermentation can look like using my 50g starter method:
At 74°F
- Slower, steadier fermentation
- Shape around 7.5 hours
- Dough feels tighter and stronger
- Easier scoring
At 75–76°F (my sweet spot)
- Shape around 7 hours
- Into fridge at 8–8.5 hours
- Strong structure
- Predictable fermentation
At 77–78°F
- Shape around 6–6.5 hours
- Faster rise
- Softer dough
- Less margin for error
At 79–80°F
- Shape around 6 hours
- Dough gets looser and more jiggly
- Higher overproof risk
- Harder handling
Personally, I prefer cooler dough.
When my dough creeps up to 80°F, it becomes much harder to manage. It’s softer, looser, and much closer to over fermenting.
At 74–76°F, it feels stronger and easier to shape.
If you’re still learning how to judge fermentation, my Simple Farmhouse Sourdough Bread Recipe walks through the entire process step by step.
Dough Feel Matters More Than the Clock
This is something recipes can’t teach you.
At cooler temperatures, dough usually feels:
- Firmer
- Stronger
- Easier to shape
At warmer temperatures, dough often feels:
- Looser
- Stickier
- More jiggly
Like I said earlier, this is why two people can follow the exact same recipe and have completely different results.
The dough itself tells the story.
If your dough feels unusually sticky, don’t assume you’ve done something wrong. In many cases, it’s simply fermenting warmer or faster than expected. Learning to recognize these changes in dough feel is one of the biggest steps toward becoming a more confident sourdough baker.
Still struggling with sticky dough? Be sure to check out my article, How to Fix Sticky Sourdough (7 Secrets for Soft, Airy Bread), where I walk through the most common causes of sticky dough and exactly how to fix them.
How Water Temperature Affects Sourdough Fermentation
Your starting water temperature helps determine your final dough temperature.
And your final dough temperature controls your fermentation speed.
That means your water can either help you or work against you.
Here’s a simple guide:
If your kitchen is cool:
Use warmer water (80–90°F)
If your kitchen is average:
Use room temperature water (70–75°F)
If your kitchen is warm:
Use cool or cold water (55–65°F)
A simple rule:
Warmer dough ferments faster.
Cooler dough ferments slower.
Use your water temperature to help control your dough timeline 😉.
Don’t Watch the Clock—Watch the Dough
This is probably the biggest shift beginner bakers need to make.
Recipes can give estimated times, but fermentation is always influenced by:
- Starter strength
- Starter amount
- Dough temperature
- Room temperature
- Water temperature
Instead of watching the clock, watch for:
- 50% or more rise in volume
- Bubbles around the sides
- A smoother surface
- Slight jiggle
- Elasticity
- Strong structure during shaping
Those signs matter more than the number of hours.
Why Cold Proofing Improves Sourdough
And this is the part I think makes sourdough…well, sourdough.
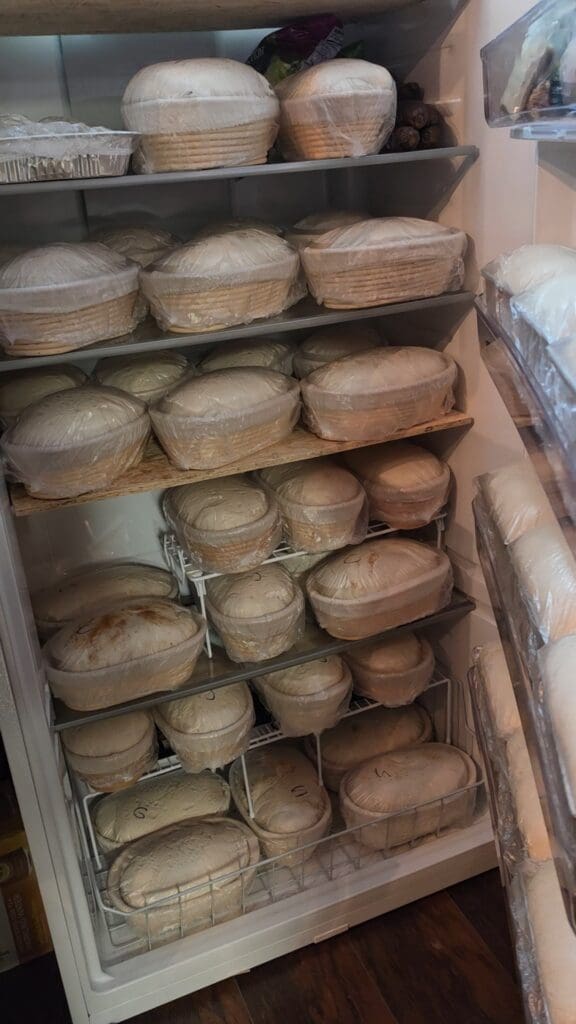
After shaping and a short final rest on the counter, I place my dough into the fridge for a cold proof of usually 16+ hours or more.
This slows fermentation way down—but it doesn’t completely stop it.
The yeast and bacteria keep working, just much more slowly.
That slow cold fermentation does several important things:
- Builds deeper flavor
- Increases sourness
- Improves digestibility
- Strengthens the dough
- Makes scoring easier
- Helps create better oven spring
This is why cold proofing matters so much.
A loaf that goes straight from shaping to baking can still be good—but it won’t have the same depth of flavor or complexity as a properly cold-proofed loaf.
It’s also important to know:
If your dough goes into the fridge warm, fermentation will continue faster for the first few hours before fully cooling down.
If your dough goes into the fridge cooler, it slows down much quicker.
That’s why your bulk fermentation temperature matters so much before refrigeration.
Everything works together.
When Might You Want More Starter?
Using more starter isn’t wrong—it simply serves a different purpose.
A higher inoculation can be useful when:
- You’re short on time and want a faster same-day bake.
- Your kitchen is very cold and fermentation is moving slowly.
- You’re trying to fit sourdough into a busy schedule.
- You’re experimenting with different timelines and flavor profiles.
That’s why you’ll find so many different sourdough recipes online. They’re all balancing the same variables—starter amount, temperature, and time—to fit different goals.
Neither approach is “better.”
They’re simply different tools that help you control fermentation.
Final Thoughts
Using less starter isn’t better.
It’s just different.
For me, it gives me a longer, steadier fermentation, better flavor development, and more control over my dough.
The biggest lesson I’ve learned over the years is that sourdough isn’t about following the clock—it’s about understanding the process.
Once you understand these four variables, you can confidently adjust almost any sourdough recipe to fit your kitchen and your schedule:
- Starter amount (inoculation percentage)
- Dough temperature
- Bulk fermentation time
- Cold proof duration
Those four levers control almost everything in sourdough.
If your dough is fermenting too quickly, you now know which variables to adjust. If it’s moving too slowly, you know how to encourage it along. Instead of wondering why your dough behaves differently than someone else’s, you’ll understand the reasons behind it.
That’s when sourdough becomes less frustrating and a whole lot more enjoyable.
Because once you understand fermentation, you stop fighting your dough.
You start working with it, and that’s when sourdough starts getting a whole lot easier.

Continue Your Sourdough Journey
👉 How to Get a Better Rise in Sourdough Bread
Discover the simple changes that can dramatically improve oven spring, loaf height, and crumb structure—without changing your recipe.
👉My Go-To Micro Bakery Tools (What I Actually Use Daily)
These are the essentials that keep everything moving—from mixing dough to baking bread to getting orders out the door.
👉My Exact Sourdough Baking Schedule (How I Make It Work In My Home Bakery)
See how I manage fermentation, shaping, and baking when making dozens of loaves each week.
20 responses to “Sourdough Fermentation Explained: Why I Use Less Starter (And What It Changes)”
-
Interesting topic, I need to keep a log for my baking.
-
Thank you, I have learnt alot in this article.
-
You’re welcome. Thanks for the comment, glad I could help expand your knowledge 😊.
-
-
I See that you only use white bread flour.
Can you help by telling me how it will work with brown bread flour or brown whole wheat flour.
The ratio,for starter,dough and fermented time.To get the same holey look your sourdough white bread comes out-
Hi! Yes, I currently just use white bread flour, but I will be getting a mill soon and experimenting with whole grains. I don’t have much experience with them now but I do know whole wheat flour absorbs more water so you need to increase the water by roughly 7.5% based on the amount of whole grain flour you use. I would suggest trying the recipe with half whole wheat and half white to see how it comes out and adjust from there. So you take 250g x .075 = 18.75g. If you do that 50/50 blend you would need to add about 19g of extra water. If you try 100% whole wheat 500g x .075 = 37.5g extra water. Hope this helps!
-
Shouldn’t we multiply the amount of water used here by 7.5%? In other words, if we’re using a 70% hydration ratio and 700 grams of water for 1 kg of flour; also 250 grams of that flour is whole wheat, shouldn’t we multiply half of the water amount (375 grams) by 7.5%? 375 g × 0.075 = 28.125 g of water should be added, so instead of 700 grams, we should use 728 grams of water, right?
-
Hi! In general whole wheat absorbs 5-10% more water than white flour, so multiplying the amount of water for the whole wheat by 7.5% is a good starting point. I have started working with fresh milled flour recently and I only multiple the amount of water in regard to the amount of whole grain flour I’m using. So if your using 1kg flour and 250g is whole wheat I would not multiply half the water, only 25% because 25% of your mixture is whole wheat. So 175 x .075 = 13.125. Hope that helps! Every flour is a little different so you may have to adjust a few times until it comes out how you like 😊.
-
-
-
-
Thanks for all the wonderful tips. I’ve learned a lot from you. Your math above is based on 500gr loaf but in a 10″ banneton wouldn’t you use 900 g – 1000 g?
Thanks!-
You’re welcome. Glad you enjoyed it! The loaf I make and reference has 500g of flour, with the rest of the ingredients its about 900g at shaping.(500g flour, 350g water, 50g starter, 9g salt)
-
-
Thank you so much. You are so clear on everything and so thorough. Bless you for taking so much time for us all.
-
You’re very welcome! 🙂 Thanks for commenting and letting me know it was helpful. Happy baking!
-
-
Great insight, ty!
-
You’re welcome 😊.
-
You’re welcome! 😊
-
-
I am looking forward to trying 50g of starter next time I bake
-
and thank you so much for taking the time to share this info!
-
Thank you for taking the time to explain this. It helps immensely. I do sourdough loaves every week and usually work with 1800g of strong white, 1100ml water, 300g of starter, 45g pure honey, 45ml of extra virgin olive oil, 33g pink Himalayan salt. This will yield around 4 2lb loaves and 1 1lb loaf. I have not done cold proofing after shaping, but on occasion have had to place the full dough in my tub and set it in the fridge until next day. I do mostly sandwich bread as boules tend to be a bit more floppy. I think I might try one loaf using your recipe and let it cold ferment. I will let you know how I get on.
Sylvia -
This is all such good information!
I’m wondering at what temperature you consider a kitchen cold, average, and warm.
Thank you !-
Hi! Thanks 😊. For me personally, I would consider cool to be 68° F and below, and average or preferred temp to be 70° F, on the warmer side would be 72° F or higher. I know this doesn’t sound like much difference but its surprising how much just one degree can affect bulk amounts of dough during fermentation.
-
-
I’m a new sour dough baker and am so glad I came across your site early on! I will be studying your posts on a regular basis. This unique journey is a bit daunting but also fascinating. I know it’s a process and a bit complex at times but well worth the effort! I’m a farmers market vendor and am hoping that by next spring I can introduce some of these delicious breads to my current products.
I will just say that as a newbie my head is spinning because of all the variables and differences in recipes. If I do decide to sell the breads then I absolutely will need to have a very good understanding of the whole process but also make it streamlined for volume baking. I only have my home kitchen to work in, not a commercial kitchen. All that being said, I’m sticking with your website from now on. No more surfing the web and only getting more confused. lol. I’ll be here to stay. : )


Tags: Education

Leave a Comment