
Sub-Total: $0.00
How to Make a Sourdough Starter From Scratch (A Beginner’s Guide)
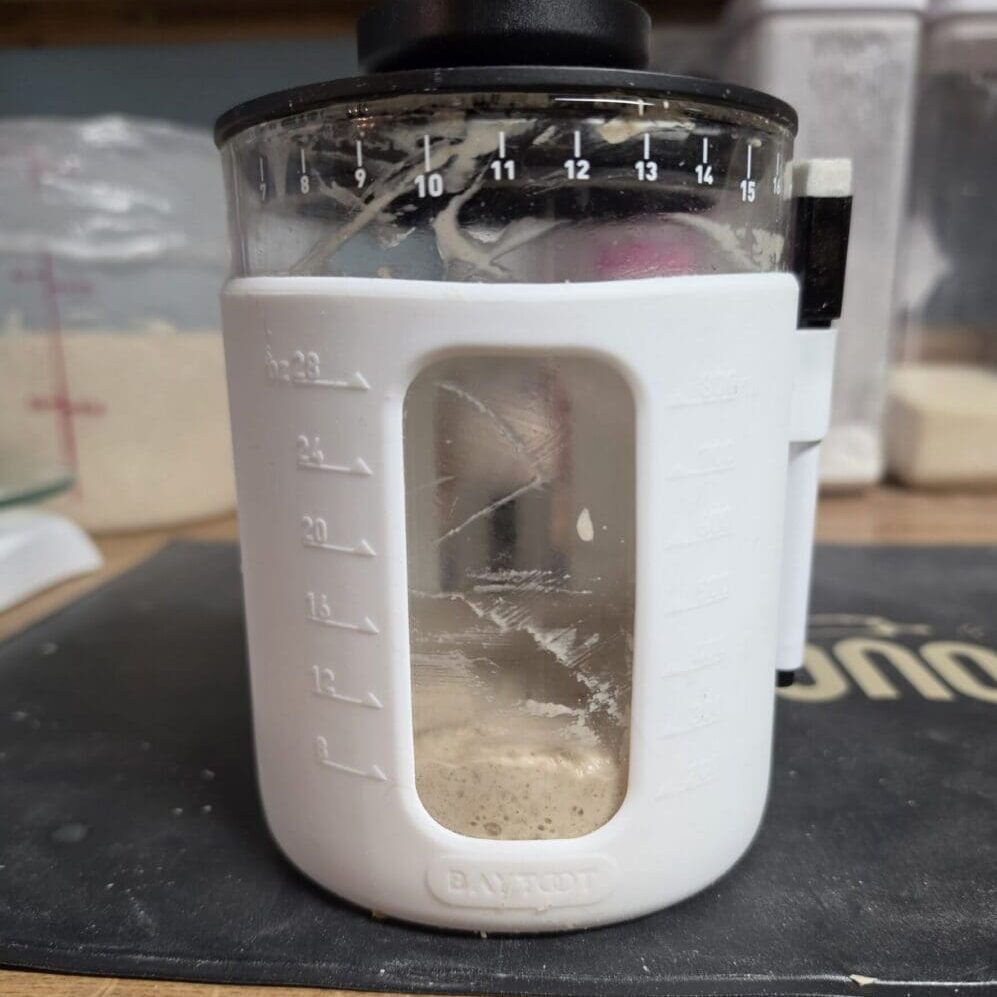
So, you want to make your own sourdough starter? Let’s talk about it!
I can’t tell you how many times I’ve been asked how to make a sourdough starter from scratch! I’ve shared other bakers’ articles more times than I can count, and I finally decided it was time to create my own guide.
But I didn’t want to just put together another generic recipe for everyone to follow. I wanted to do it myself, document the process as it happened, and make adjustments along the way based on how my starter was behaving. So that’s exactly what you’ll find here! You’ll get my day-by-day instructions, the feeding ratios I used, and a look at what happened when I baked with my own 10-day-old starter.
If you’ve been following me for a while, you probably know that I’m a big fan of keeping sourdough simple. And while I personally prefer starting this process with a dehydrated sourdough starter (more on that in a minute!), I know plenty of you want to experience the process of creating one from scratch.
And I get it! There’s something pretty cool about mixing flour and water, letting nature do its thing, and eventually turning that little jar of bubbly goodness into homemade sourdough bread.
The good news? You don’t need fancy equipment, special ingredients, or a degree in microbiology. 😂
You need flour, water, a little patience, and a willingness to trust the process.
First, What Exactly Is a Sourdough Starter?
A sourdough starter is a living culture of wild yeast and beneficial bacteria that develops when flour and water ferment together.
Unlike commercial yeast, which comes in a packet, your starter develops naturally. Once established, it becomes the leavening agent that helps your sourdough bread rise while contributing to its flavor and texture.
Think of it as your little baking partner. Feed it regularly, keep it happy, and it’ll help you make some pretty amazing bread!
Why I Personally Prefer Starting With a Dehydrated Starter
Before we jump into the recipe, I want to share something.
Although making a starter from scratch absolutely can work, I generally recommend trying an established, dehydrated sourdough starter first.
Why? Honestly, from my own personal experience… lol.
About eight years ago, I tried to make a sourdough starter. And I mean tried. For months! It either smelled like vomit or dirty socks, and I just couldn’t seem to get the right conditions for a healthy starter. So, I gave up. 🙁
I didn’t try again until about four years ago, when I got a starter from another baker. It was a game changer! I was making beautiful bread right off the bat. If it hadn’t been for that dehydrated starter, I wouldn’t be where I am today, teaching others what I’ve learned. 🫶
I’m not telling you this to discourage you. I’m sharing it because I understand how frustrating the process can be. I’ve been there!
So, if you give this a try and it doesn’t work out, please don’t give up on sourdough. Consider trying an established, dehydrated starter instead. You might be surprised by the difference it makes! 😉
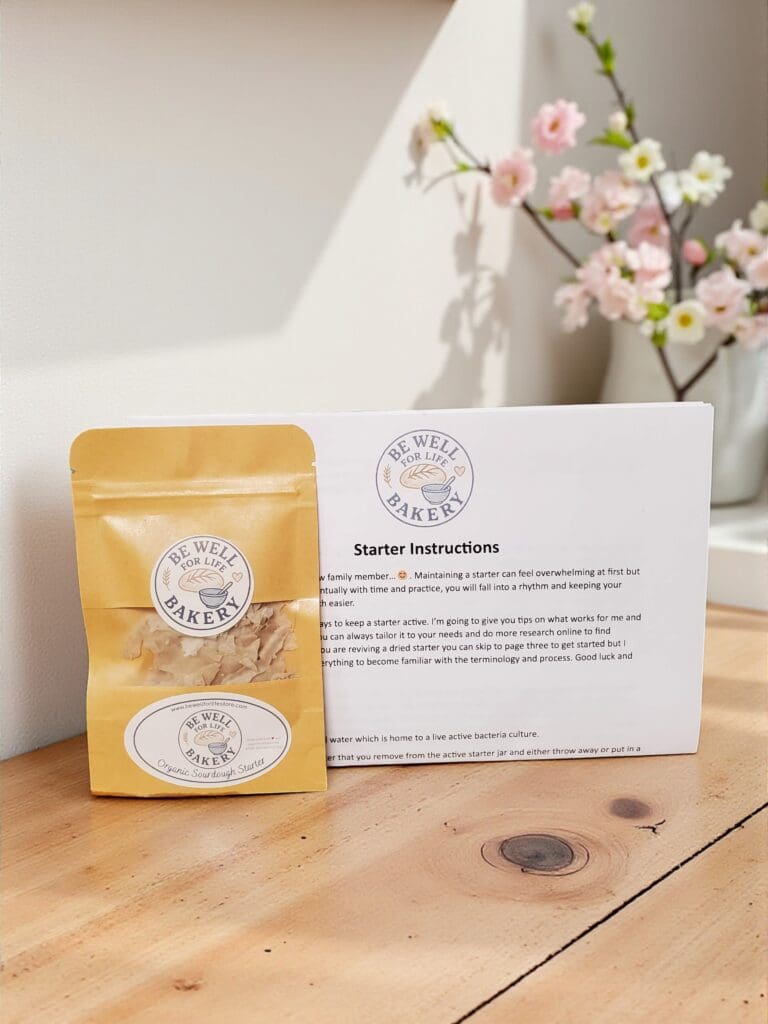
What you get when you buy a dehydrated starter or get one from a friend is an established, living culture rather than developing one from the beginning.
When you make a starter from scratch, you’re creating the conditions for a stable community of wild yeast and bacteria to develop but that doesn’t necessarily mean the right ones are going to show up 😉. It takes time, and the process can be unpredictable. One day your starter might smell like dirty socks and the next day it smells like vomit 🤮. If you have tried this before, you may know exactly what I’m talking about. The yeast and bacteria can take a while to find their balance, and sometimes the process just doesn’t go as planned…
A dehydrated starter gives you a head start because it contains an existing sourdough culture that can be reactivated with flour and water.
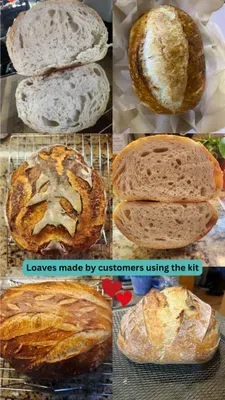
If you are interesting in trying mine, I’ll share the product link below:

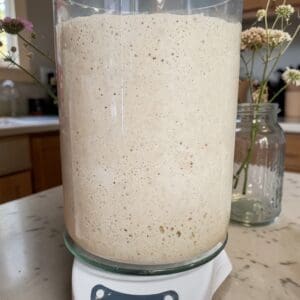
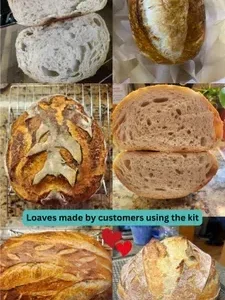







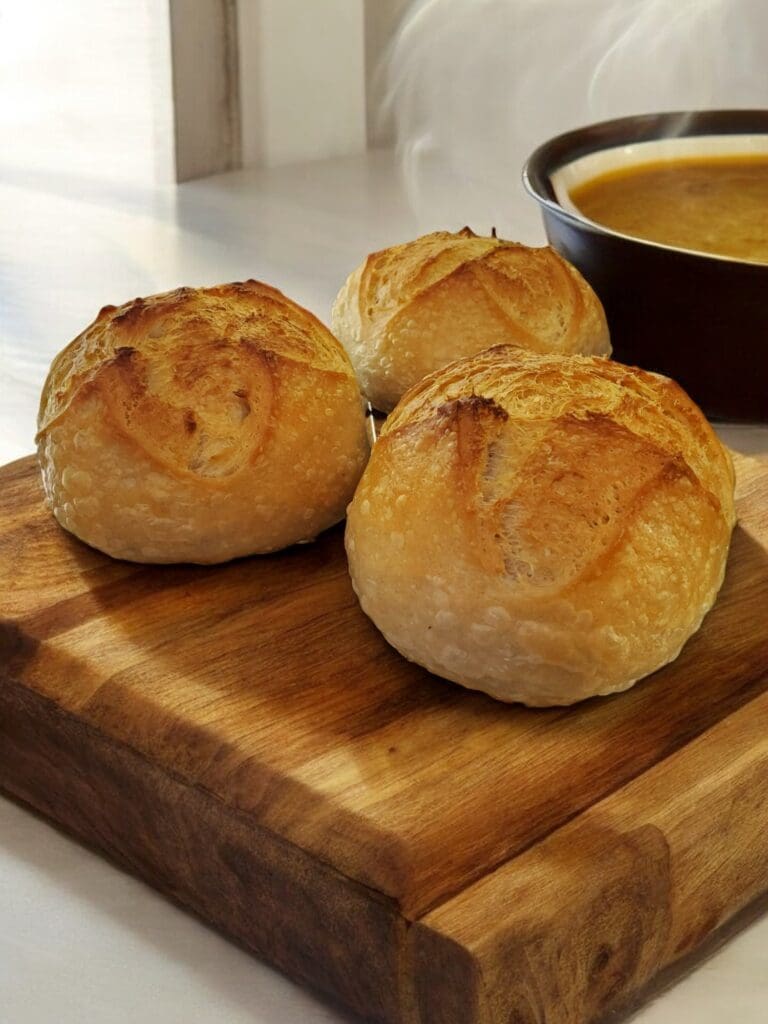
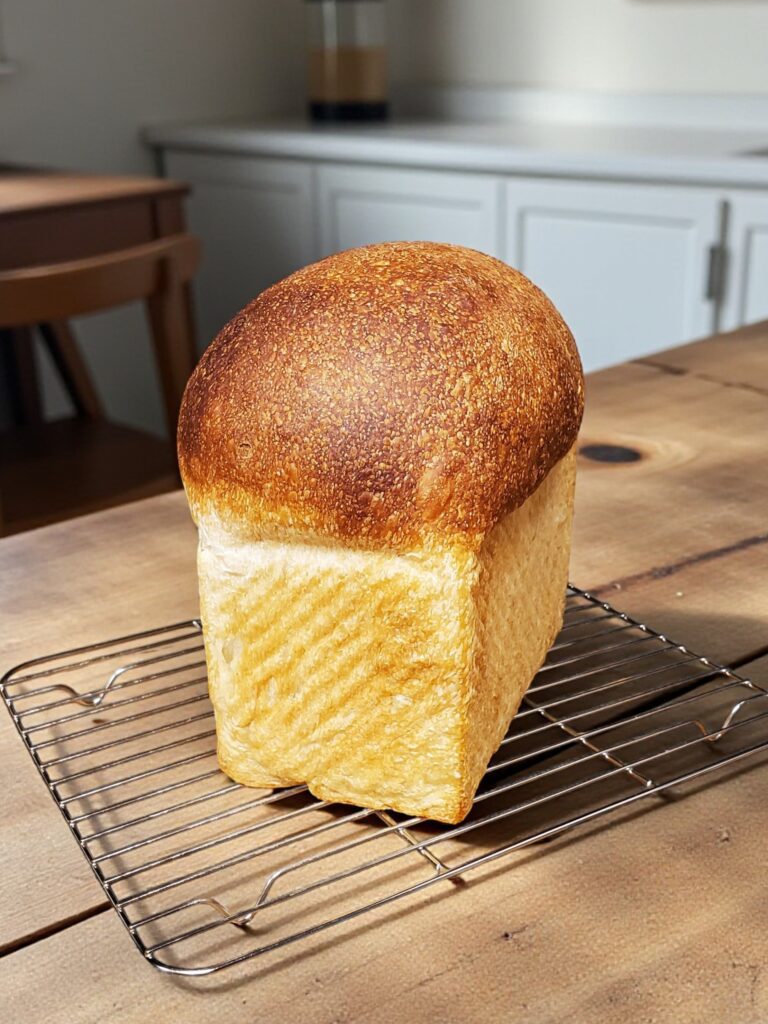

Organic Sourdough Starter
$12.00
Ships in a small envelope via USPS
Flat rate shipping: $3.50 U.S. / $7.50 Canada and Puerto Rico
⭐ Beginner friendly
⭐ Ready to bake with in 3-4 days
⭐ The same starter used weekly in my micro-bakery
That said, if you want to make your own from scratch, I’m happy to walk you through it!
Just remember that whichever method you choose, developing a strong, reliable starter takes patience and proper care.
A Quick Note Before We Begin: Every Starter Is Different!
Before you dive in, I want to set realistic expectations. ❤️
I’m sharing this recipe because so many of you have asked how to make a sourdough starter from scratch, and I wanted to try the process myself and document it as I went.
But here’s something important to understand: your results may not look exactly like mine, and that doesn’t mean you’re doing anything wrong!
I work with sourdough starter regularly in my home bakery, so my kitchen is a little different from someone who’s never made sourdough before. I have established starters, flour, and all the little things that come with baking sourdough frequently. It’s possible that my environment influenced this experiment, even though I made every effort to keep my new starter separate from my existing ones.
I was intentional about starting from scratch. I washed my utensils thoroughly before using them and took care not to introduce any of my established starter into this new one. I genuinely wanted to see what would happen when I started fresh!
That said, I can’t guarantee that my environment had absolutely no influence on the outcome. Your starter will develop at its own pace, influenced by things like your flour, water, temperature, and environment. If yours takes longer to become active, that’s okay! Be patient, keep feeding it, and pay attention to what it’s telling you.
This is an experiment we’re doing together, not a race to see who can bake bread first. 😊
One More Thing Before We get Started…I Promise 😅 The Really Cool Science Behind Your Sourdough Starter
Okay, one more quick tangent before we get started… I want to get a little sciencey for a minute, because I think this is one of the coolest things about sourdough!
Did you know that even if two people start with the exact same recipe and ingredients, their sourdough starters can develop very different microbial communities?
A sourdough starter isn’t just yeast floating around in a jar. It’s a living community of wild yeasts and bacteria that develops and changes as it ferments. And the ingredients and environment it lives in help shape that community.
In fact, researchers studied 18 professional bakers from different locations who used the same flour and a standardized recipe to create their own starters. Even with those similarities, the resulting starters developed surprisingly diverse microbial communities.
The researchers found that flour was a major source of the microorganisms in the starters, but the bakers’ hands and surrounding environments also appeared to contribute. Some microorganisms found in the starters were shared with those on the bakers’ skin. Read the study here.
Isn’t that fascinating?!
Now, this doesn’t mean your starter completely transforms into an entirely different culture in a set number of days, or that your hands are the only thing responsible for its unique character. It’s a combination of factors, including flour, the surrounding environment, and the conditions you create when feeding and maintaining it.
But it does help explain why your starter will gradually develop its own characteristics in your kitchen.
So whether you create a starter from scratch or purchase an established starter from me or another baker, neither option is better or more authentic simply because of how it began.
An established starter gives you a head start, while starting from scratch lets you experience the development process yourself. Both can become wonderful, active starters that make delicious bread.
And that starter you purchased? As you feed it, maintain it, and bake with it in your own environment, its microbial community can shift and adapt over time. Meaning, you don’t have to create a starter from scratch to make it yours. ❤️
Now that we got the intro out of the way…Let’s get started!
What You’ll Need
You don’t need much…
Equipment
- A clean glass jar or other food-safe container with plenty of room for growth
- A kitchen scale
- A spoon or small spatula
- A loose-fitting lid or cloth cover (I like a lid to keep the bugs out)
*A note about the jar, this is the exact jar that I used for my starter that’s pictured at the beginning. I think it’s a great size for maintaining a small starter. The seller was kind enough to give me a discount code to share❤️! It’s BEWELL5 you can apply it in the checkout screen on Amazon.
Ingredients
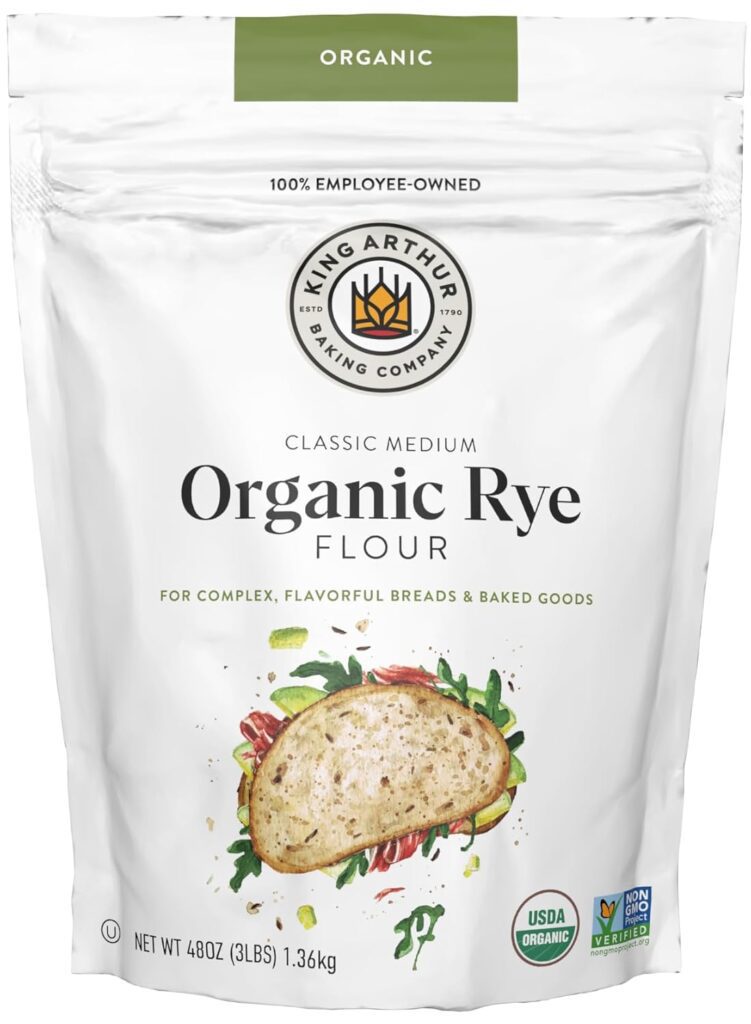
- Rye flour for the initial mixture and ongoing feedings
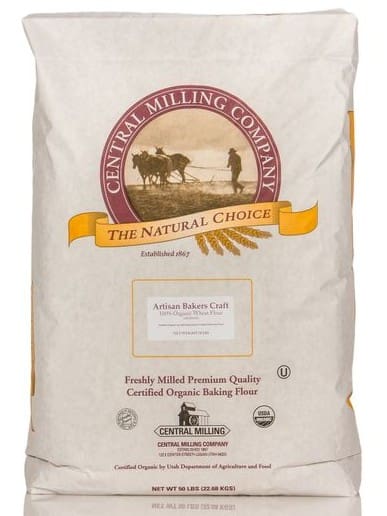
- Unbleached bread flour for ongoing feedings
- Water
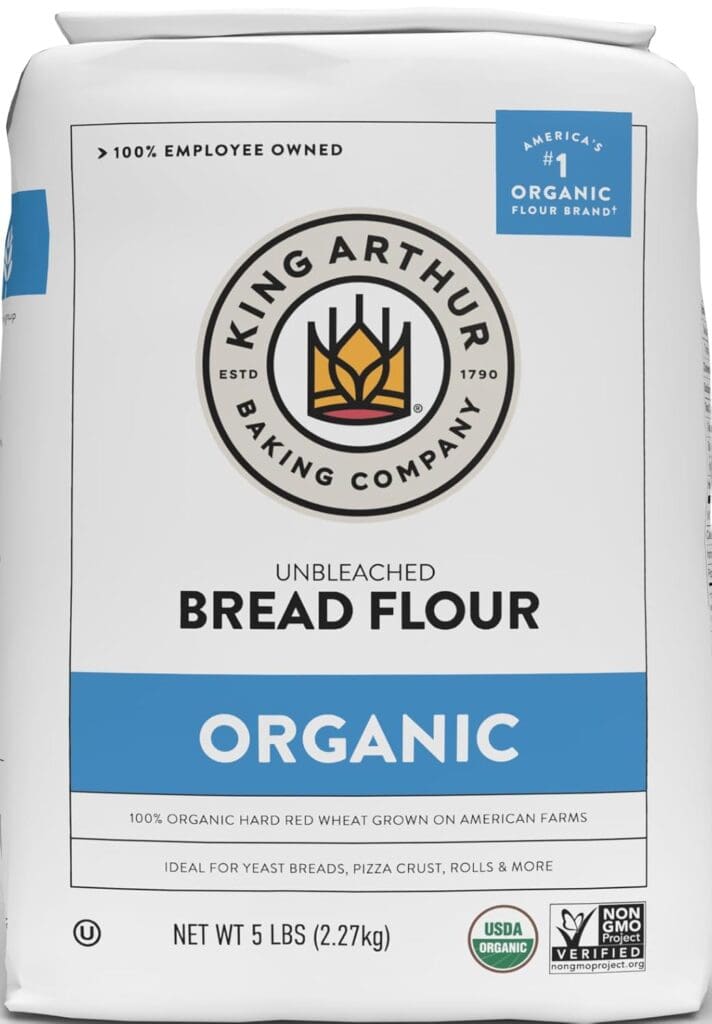
My two recommended bread flours are below: Central Milling Organic Artisan Bakers Craft Flour (the un-malted version) and King Arthur Organic Bread Flour.
If you want to duplicate my exact ingredients, for this specific new starter I used the Central Milling bread flour and King Arthur rye for the feedings and the loaf was made with King Arthur bread flour. I prefer the King Arthur bread flour for baking since it has a higher protein content.
I recommend weighing your ingredients in grams rather than using measuring cups. Flour can vary significantly in volume depending on how it’s scooped and packed, while weight gives you a much more consistent measurement.
For the water, I prefer purified water. I use reverse osmosis water that has been remineralized in my own baking process. If you’re using tap water, consider whether chlorine levels might interfere with fermentation. Spring water or drinking water usually works best.
How to Make a Sourdough Starter From Scratch: Day-by-Day Instructions
Day 1: Mix Your Flour and Water
You’ll need:
- 25 grams rye flour
- 25 grams water
For this first feeding you will just be using rye flour. We start adding bread flour at the next feeding.
- Combine the flour and water in your clean jar.
- Mix thoroughly until no dry flour remains.
- Scrape down the sides of the jar.
- Cover loosely and leave it in a warm location.
Aim for a comfortable room temperature, around 70°F.
That’s it! You’ve officially started your sourdough journey.
Let the mixture rest for approximately 24 hours.
Day 2: Let It Do Its Thing
Today, your only job is to check on your starter.
Most likely, you won’t see much happening yet. It may also smell a little unpleasant, but don’t panic! That’s something you can encounter during the early stages. I shared a video of mine below so you can see what it looked like. It’s basically a dense little lump that’s not doing much at all.
Don’t worry if nothing exciting is happening. Fermentation takes time, and every kitchen is a little different.
Give the mixture another day to develop.
Day 3: Begin Feeding
Now it’s time to begin your feeding routine. From now on, aim to feed your starter approximately every 24 hours, ideally around the same time each day. No need to be exact!
- Transfer 30 grams of your starter into a clean jar.
- Add 10 grams of rye flour.
- Add 20 grams of bread flour.
- Add 30 grams of water.
- Mix until everything is combined.
- Scrape down the sides, cover loosely, and let it rest for another 24 hours.
*Note: If you want to just keep using the same jar, you can scoop it all out onto a plate and just put the amount back in that you need. That’s what I did for each feeding.
You can discard the remaining starter from yesterday or compost it. I don’t recommend using the discard from these early days in recipes because the culture is still developing.
A NOTE ABOUT THE FLOUR BLEND I USE
One thing I want to clarify is that I never completely stop using rye flour in my sourdough starter! I use a blend of 1/3 rye flour and 2/3 bread flour for my feedings, and that doesn’t change once my starter is established.
Even for everyday maintenance, I continue using this same flour blend. I like keeping a little rye in the mix because it provides additional nutrients and helps support an active starter.
So, whenever you see a total flour amount in my feeding instructions, just remember that I’m using 1/3 rye flour and 2/3 bread flour unless otherwise specified. ❤️
Days 4–6: Keep Feeding Consistently
For the next few days, we’re going to keep things simple and stick with the same feeding routine.
Each day:
- Keep 30 grams of starter.
- Add 30 grams of flour (10g rye flour and 20g bread flour).
- Add 30 grams of water.
- Mix well, scrape down the sides, and cover loosely.
- Leave it in a warm location until the next feeding.
At this point, you might see bubbles, notice your starter rising a little, or even see a big burst of activity followed by a few quieter days.
All of this can be normal during the early stages of developing a starter!
Keep an eye on the smell, too. It may smell floury at first, then develop a tangy, fermented aroma as the culture changes.
Don’t panic if things seem to slow down. We’re still building a stable culture, and that takes time.
Day 7: Let’s Give That Starter a Little More Food
By Day 7, your starter may be getting more active. You might notice that it rises and falls well before your next feeding.
This can be a sign that it’s using up its food relatively quickly. When that happens, I like to increase the amount of flour and water compared to the amount of starter I’m keeping.
Today, let’s adjust the feeding to:
- 20 grams of starter
- 30 grams of flour (10g rye flour and 20g bread flour)
- 30 grams of water
Mix everything together, cover loosely, and let it ferment for another 24 hours.
You may be wondering why we’re changing the amounts. This is a good time to introduce an important sourdough concept: feeding ratios.
What Is a Sourdough Feeding Ratio?
A feeding ratio tells you how much starter, flour, and water you’re using in relation to one another. The numbers are always listed in this order:
Starter : Flour : Water
For example, a 1:1:1 ratio means you’re using equal weights of all three ingredients.
- 10g starter + 10g flour + 10g water
- 20g starter + 20g flour + 20g water
- 30g starter + 30g flour + 30g water
All three examples use a 1:1:1 ratio. The quantities are different, but the proportions are the same.
With today’s feeding, we’re using 20g starter, 30g flour, and 30g water. That’s a 1:1.5:1.5 ratio.
We’re giving the starter more food relative to the amount we’re keeping, which can help it go longer between feedings without exhausting its food supply as quickly.
Day 8: Increase the Feeding Ratio Again
Today, we’re increasing the feeding ratio to 1:2:2.
Here’s what you’ll need:
- 20 grams of starter
- 40 grams of flour (13g rye flour and 27g bread flour)
- 40 grams of water
Mix everything together, scrape down the sides of the jar, and let it ferment for another 24 hours.
So, what does 1:2:2 mean?
It means that for every 1 part starter, you’re adding 2 parts flour and 2 parts water, measured by weight.
Here are a few examples:
- 10g starter + 20g flour + 20g water
- 20g starter + 40g flour + 40g water
- 30g starter + 60g flour + 60g water
See how that works? You don’t have to use the exact quantities in my recipe. You can make a smaller or larger feeding, as long as you keep the same proportions.
As your starter becomes more active, adjusting the feeding ratio gives you another way to manage fermentation. The goal is to give your culture enough fresh food for the time it will be sitting between feedings.
Day 9: Let’s Increase It to a 1:4:4 Ratio
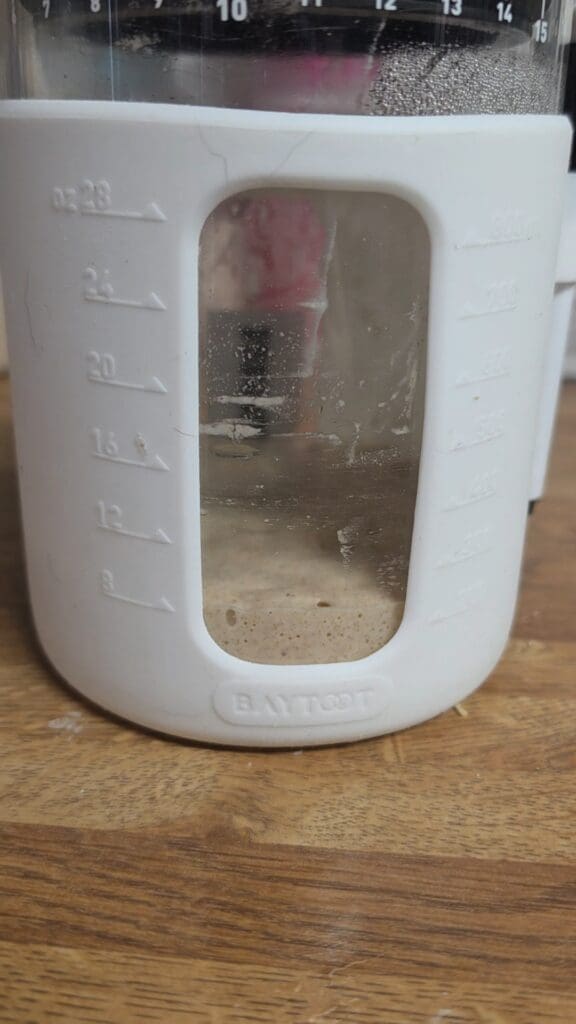
Today, we’re going to make another adjustment.
Here’s your feeding:
- 10 grams of starter
- 40 grams of flour (13g rye flour and 27g bread flour)
- 40 grams of water
That’s a 1:4:4 ratio.
Why are we reducing the amount of starter we’re keeping? Because we want to give it a larger amount of fresh flour and water relative to the existing culture.
Remember, the ratio isn’t about how much starter you have in your jar. It’s about the relationship between the starter, flour, and water you’re using at each feeding.
For example, all of these are 1:4:4 feedings:
- 10g starter + 40g flour + 40g water
- 20g starter + 80g flour + 80g water
- 30g starter + 120g flour + 120g water
You can adjust the quantities to suit your needs. Just remember that the flour and water amounts are each four times the weight of the starter you’re keeping.
And don’t worry if you’re not baking with your starter yet. We’re still developing a healthy, active culture.
Day 10: Is Your Starter Ready to Bake With?
This is the exciting part!
By Day 10, your starter may be ready for its first loaf. Mine has developed enough activity that I’m ready to give it a try.
But here’s the important thing: Your starter’s activity matters more than its age.
Before baking, look for these signs:
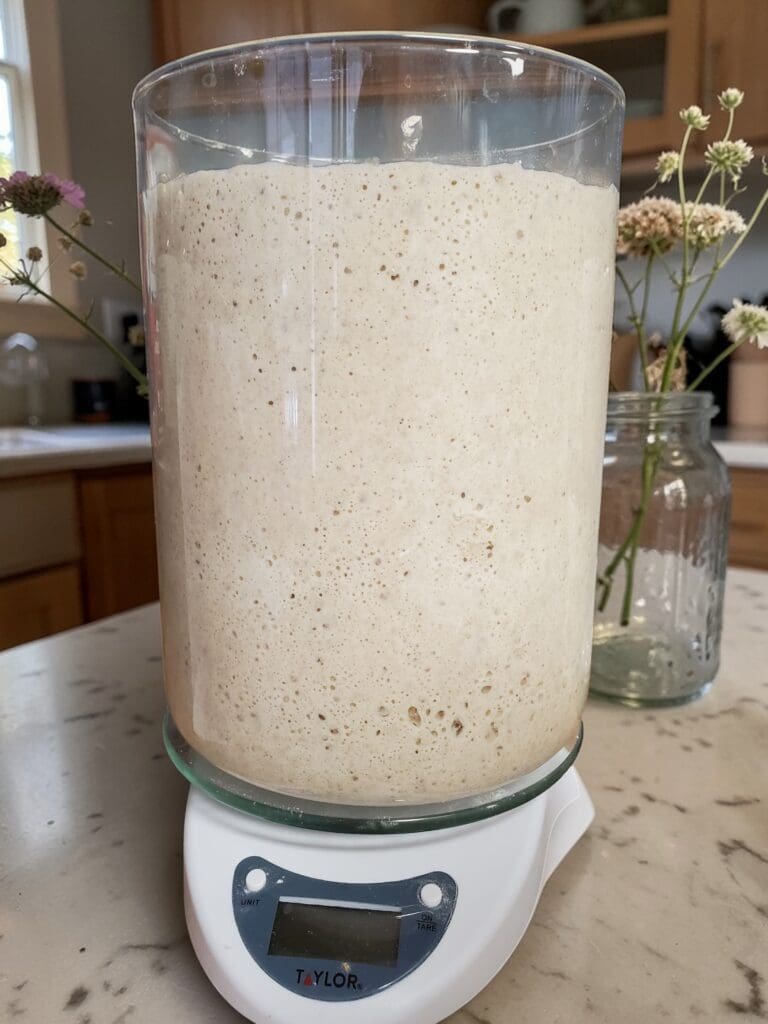
- Significant rise: Your starter rises noticeably after feeding, ideally doubling in size.
- Plenty of bubbles: You see bubbles throughout the starter, not just a few on the surface.
- A fresh, yeasty smell: It smells pleasantly fermented rather than strongly unpleasant or rotten.
- Consistent activity: It shows a repeatable pattern of rising after feedings.
- Gluten development & structure: When you tilt your jar or scoop your starter, look for a stretchy, web-like consistency. It should pull and stretch into strands, almost like a little web (think Freddy Krueger fingers! 😂), rather than simply running like a liquid. You may also notice little pockets and holes forming as it stretches. This is another encouraging sign that your starter is developing structure and holding onto the gases produced during fermentation.
If your starter is showing these signs, it’s time to try your first loaf! 🎉
I know how exciting it is to finally get to this point. You’ve spent the last 10 days feeding and caring for your starter, and now you get to see what it can do.
If you’re ready to bake, start with my Simple Farmhouse Sourdough Bread Recipe. It’s a great place to start putting your new starter to work!
READY TO BAKE? 🍞
Put your new starter to the test with my Simple Farmhouse Sourdough Bread Recipe!

Keep in mind that your first loaf is also a learning experience. If your dough doesn’t rise quite as expected, your starter may need a little more time to build strength.
Not quite there yet? Don’t worry! If your starter is still sluggish, isn’t rising much, or has very little activity, continue feeding it at a 1:4:4 ratio every 24 hours while it develops. Some starters simply need more time, and that’s perfectly okay.
The goal is to have a strong, reliably active starter—not just one that’s reached Day 10.
My Real-Life Experiment: From Starter to Loaf!
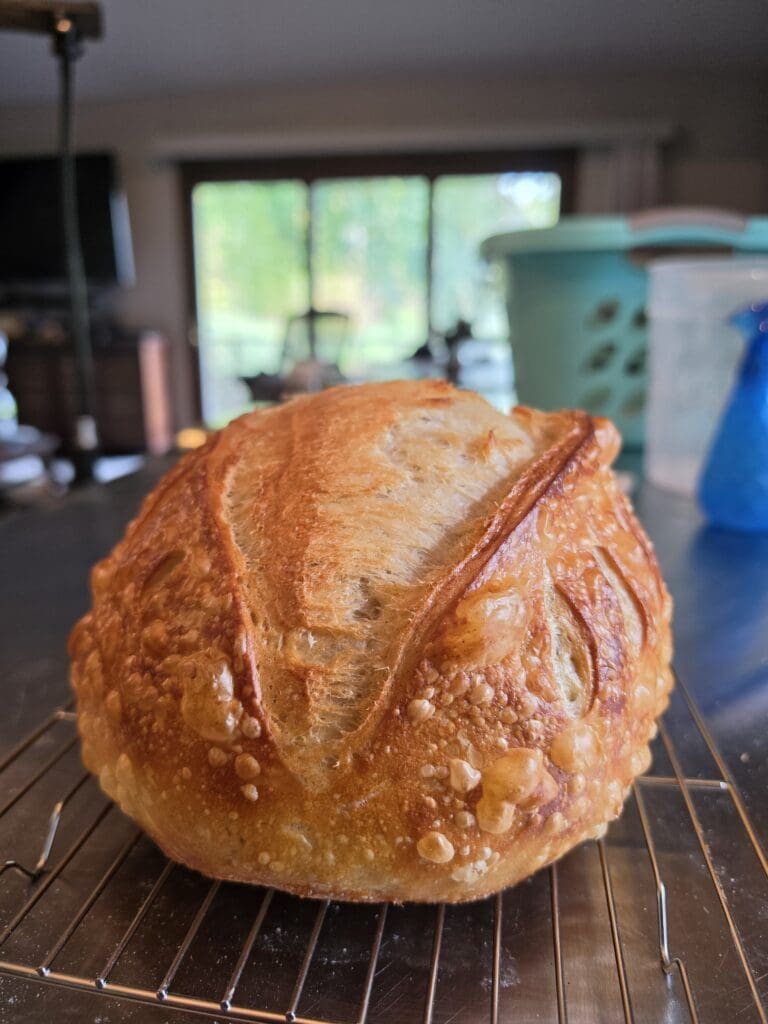
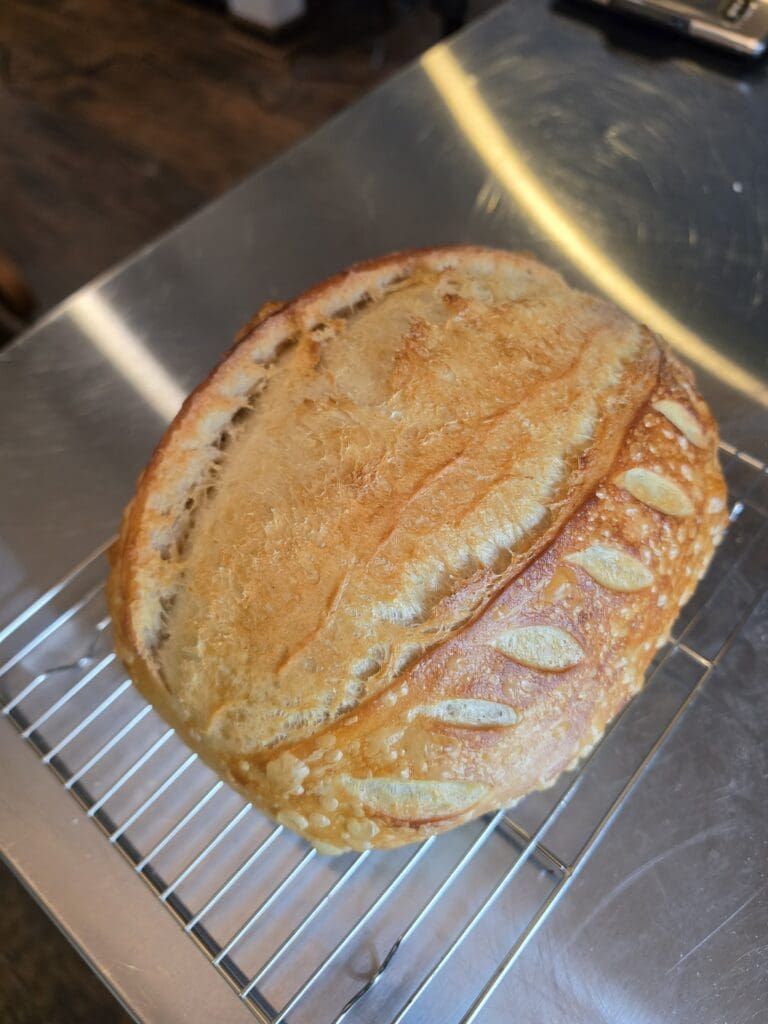
As I was writing this recipe, I was actually making my own starter right alongside you! I wanted to document the process as it happened, so I adjusted my feeding ratios as my starter became more active and I observed how quickly it was using up its food.
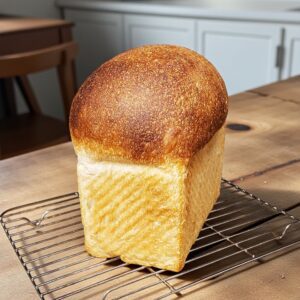
By Day 10, my starter was bubbly, rising significantly, and had that fresh, yeasty smell I was looking for. I decided it was time to put it to the test, and the result? A beautiful loaf of sourdough bread! 😍
I was thrilled with how it turned out, but remember that my kitchen environment and experience with sourdough may have influenced the results. Your starter may develop differently, and that’s perfectly okay!
Use what you see, smell, and observe to guide you rather than treating Day 10 as a deadline. If your starter isn’t showing consistent activity yet, keep feeding it and give it more time. There’s no need to rush it!
I’ll continue sharing what I learn as I experiment, because that’s part of the fun of sourdough. We’re learning together! ❤️
Maintaining Your Starter: What Ratio Should You Use?
Once your starter is established, your feeding routine will depend on how often you bake, the temperature of your kitchen, and how quickly your starter uses up its food.
If you plan to keep your starter on the counter and feed it just once a day, I recommend trying a 1:5:5 ratio.
That means one part starter, five parts flour, and five parts water.
Here are some examples:
- 10g starter + 50g flour + 50g water
- 20g starter + 100g flour + 100g water
- 30g starter + 150g flour + 150g water
You don’t have to keep 10 grams of starter just because that’s the first example. You can keep 20g, 30g, or another amount that works for you.
The key is to multiply the weight of your starter by five to calculate both the flour and water.
For example, if you keep 20 grams of starter, you’ll add 100 grams of flour and 100 grams of water.
A larger feeding ratio gives the starter more fresh food relative to the existing culture. This can be helpful when you’re feeding only once a day, especially if your starter has been using up its food too quickly.
However, a 1:5:5 ratio isn’t a magic number that works for every kitchen. If your starter is very active or your kitchen is warm, it may still peak and fall well before 24 hours. If that happens, you may need to adjust the ratio, temperature, or feeding frequency.
One sign I like to pay attention to is how my starter smells at the end of the day, just before feeding. A mild, sweet, yeasty, or slightly wine-like smell can be normal. If it smells sharply acidic or strongly vinegary, that may be a sign that it has used up its food and needs a feeding adjustment.
If I think my starter is becoming overly acidic, I like to use my double-feed method to freshen it up and help restore balance. This method is very easy to do. It’s simply two feedings in one day, with no discard in between. You can find the details here:
👉 The Double Feed Method: My Sourdough Starter Prep Routine
And if you’re still working on developing your starter, don’t feel like you need to rush into maintenance ratios. Follow the developmental feeding instructions above until your starter is reliably active.
The goal isn’t to follow a ratio just because someone on the internet says it’s the right one. It’s to learn how your starter behaves and give it what it needs!
A Few Tips to Help You Succeed
1. Temperature Matters
Wild yeast and bacteria are affected by temperature.
A cooler kitchen will generally slow fermentation, while a warmer environment will speed it up.
Try to keep your starter somewhere with a relatively stable temperature. Avoid placing the jar somewhere excessively hot, such as an oven that might accidentally be turned on.
Personally, I like my kitchen to be around 68–71°F. You can absolutely work outside that range, but keep in mind that cooler temperatures will generally slow fermentation, while warmer temperatures will speed it up. An oven with the light on can get warmer than you might expect, so I wouldn’t use it as a proofing spot without checking the temperature first.
2. Keep Your Jar Clean
Scrape down the sides after each feeding and avoid leaving thick streaks of starter around the rim.
Use a clean container when needed, and keep your starter covered to help prevent contamination while still allowing you to manage the pressure that can build up during fermentation.
If you see fuzzy mold or unusual pink or orange discoloration, discard the starter and begin again with a clean container.
3. Don’t Obsess Over Bubbles
Bubbles are encouraging, but they aren’t the only indicator of a healthy starter.
What matters most is consistent activity over time.
A starter that bubbles once and then sits quietly for several days may still be developing. Keep feeding it and watch for a reliable pattern.
4. Don’t Rush the Process
I know it’s tempting to bake bread as soon as your starter starts bubbling.
Trust me, I understand the excitement!
But an immature starter may not have enough leavening power to raise your dough properly.
Give it time to establish itself. Your future loaves will thank you.
5. Watch What Your Starter Does, Not Just the Clock
The daily schedule is a starting point, not a guarantee that your starter will be ready at the same time every day.
As your starter becomes more active, it may rise and fall before your next scheduled feeding, which is totally normal.
Pay attention to its behavior and adjust as needed.
Pay attention to how long it takes your starter to peak and when it begins to fall. You don’t have to use it at the exact moment it peaks; there’s quite a bit of leeway. I like to use it within a few hours of peak but I have even used it 5 or 6 hours later with no issues.
Also, I don’t re-feed my starter at peak if I’m not using it. I feed mine every 24 hours and it’s usually pretty much fallen completely and hungry by that point.
What Happens After Your Starter Is Established?
Once your starter is mature, you’ll need to learn how to maintain it.
If you bake frequently, you can keep it at room temperature and feed it according to how quickly it uses up its food. Usually a 1:5:5 or 1:6:6 ratio should be enough.
If you bake less often, refrigeration can make maintenance much easier.
You’ll also need to learn how to build enough starter for your recipes without creating a mountain of unnecessary discard.
That’s where feeding ratios and timing become especially helpful! Be sure to check out my Double Feed article that I shared the link to above and also check out this one on starter care:
👉 How to Care for a Sourdough Starter
Ready to Bake Some Bread?
Once your starter is reliably active, it’s time for the fun part: baking!
If you’re looking for a beginner-friendly loaf to try, make sure to check out my Simple Farmhouse Sourdough Bread Recipe.
And as I mentioned earlier, if you want to learn more about feeding your starter efficiently, check out my article on the Double-Feed Sourdough Method.
It’s a great way to prepare the amount of starter you need for baking without discarding starter between your two feedings and being able to bulk up to a large amount of starter quickly and easily.
Happy baking, friends! ❤️
Be sure to leave a comment below if you have any questions or want to share your experience after trying it out!
NEW Apparel!
-

Eat Real Bread Pullover Hoodie
Price range: $42.95 through $45.95 -

Eat Real Bread T-Shirt
Price range: $28.95 through $31.95 -
Fresh Bread. Good Coffee. Slow Mornings. T-Shirt
Price range: $24.95 through $27.95 -

Rise & Bake T-Shirt
Price range: $24.95 through $27.95
Continue Your Sourdough Journey
👉 How to Get a Better Rise in Sourdough Bread
Discover the simple changes that can dramatically improve oven spring, loaf height, and crumb structure—without changing your recipe.
👉Sourdough Fermentation Explained: Why I Use Less Starter (And What It Changes)
Wondering why some sourdough recipes use 50g of starter while others call for 100g or more? I’ll explain how starter amount affects fermentation and why I’ve settled on using less starter in my own sourdough process.
👉My Go-To Micro Bakery Tools (What I Actually Use Daily)
These are the essentials that keep everything moving—from mixing dough to baking bread to getting orders out the door.
Leave a Comment